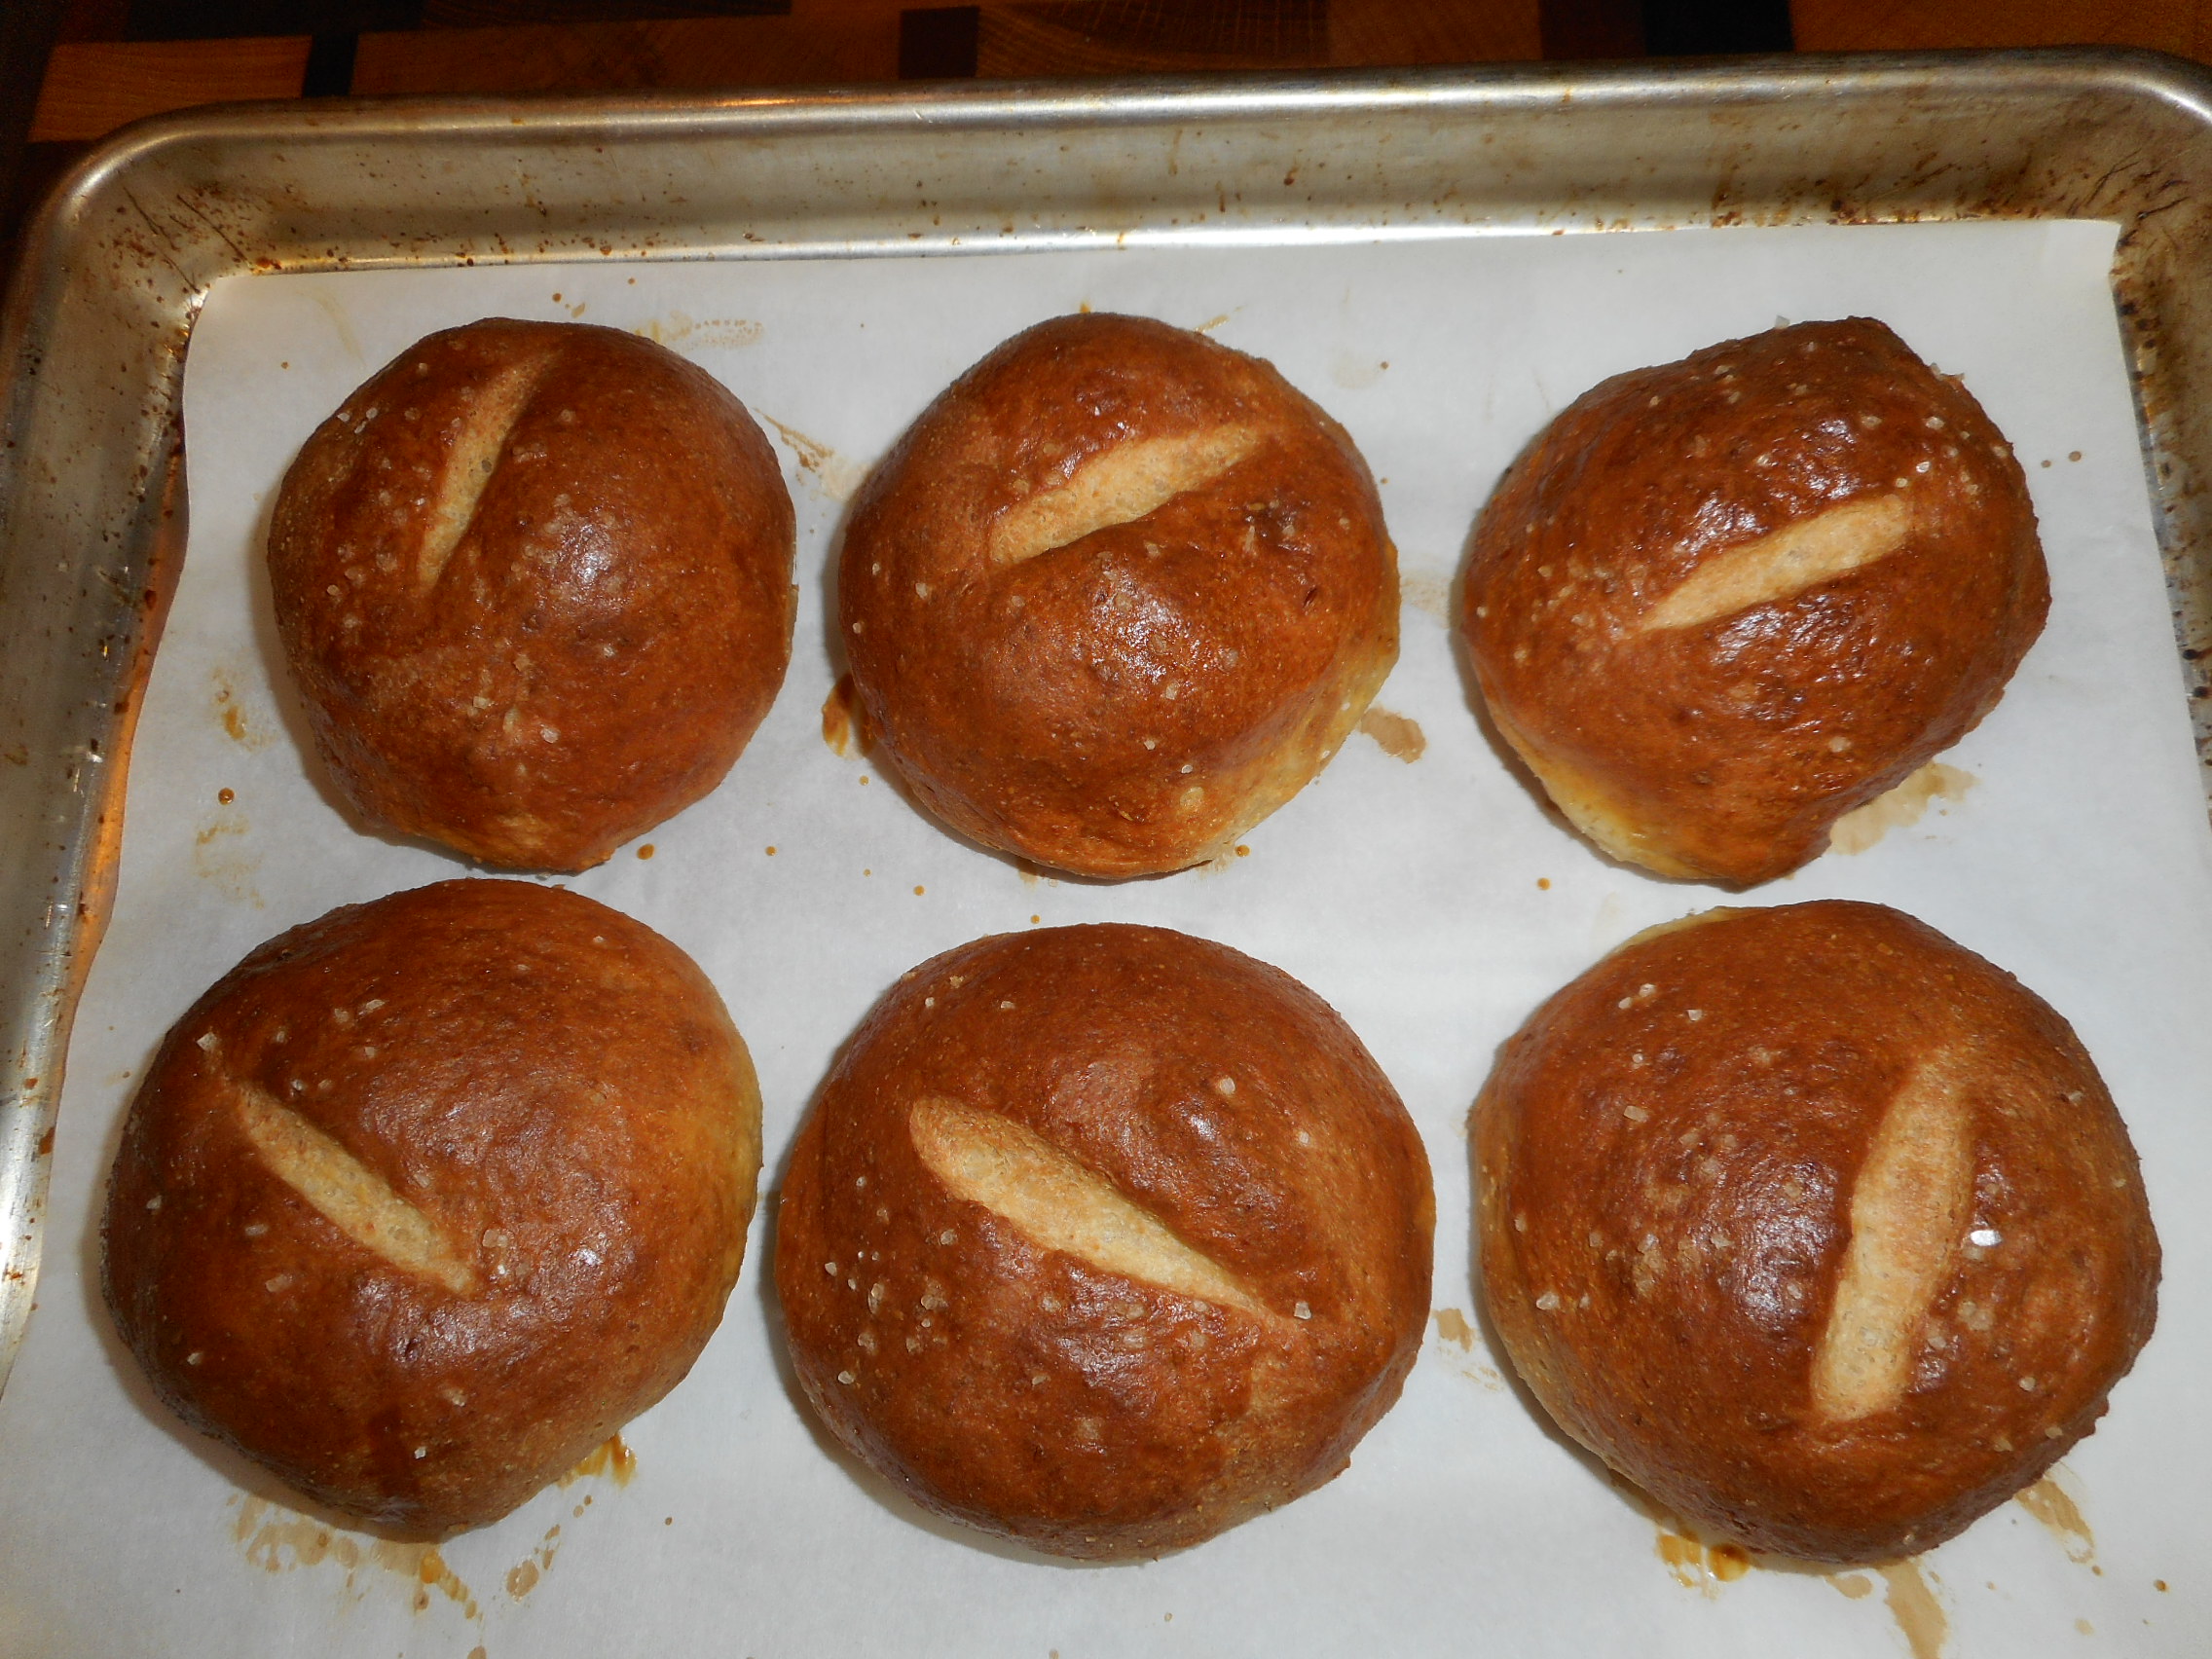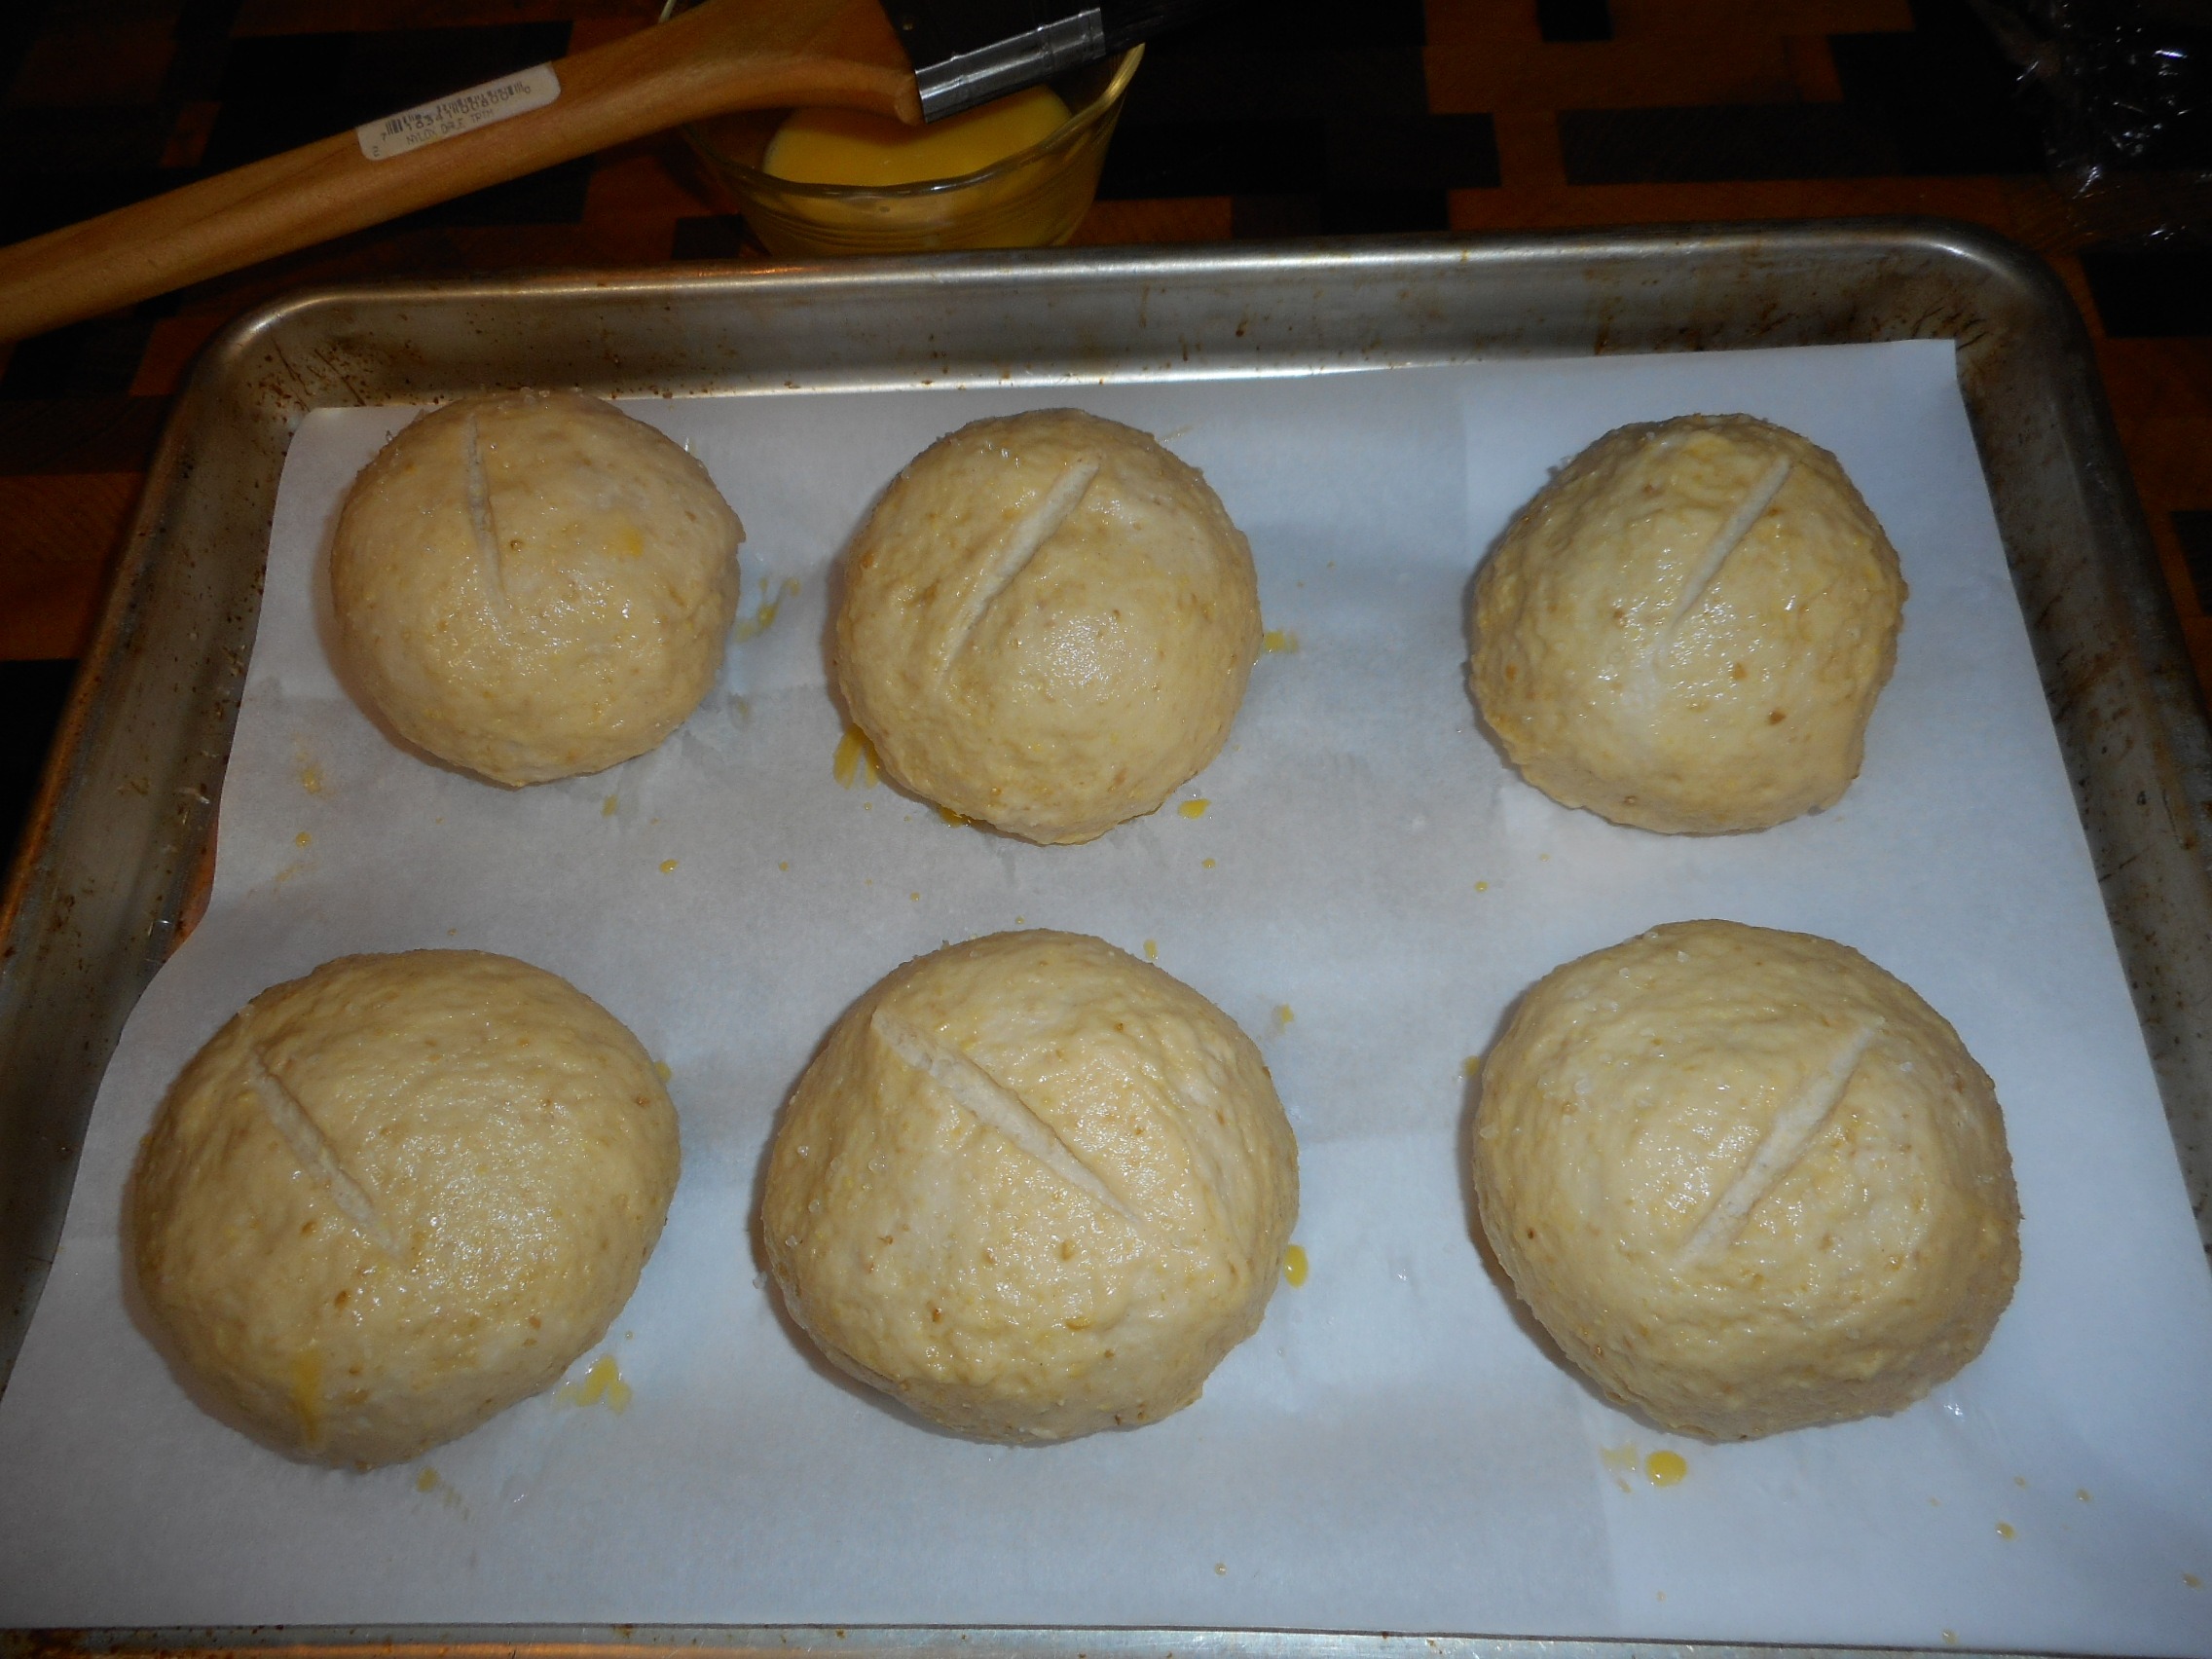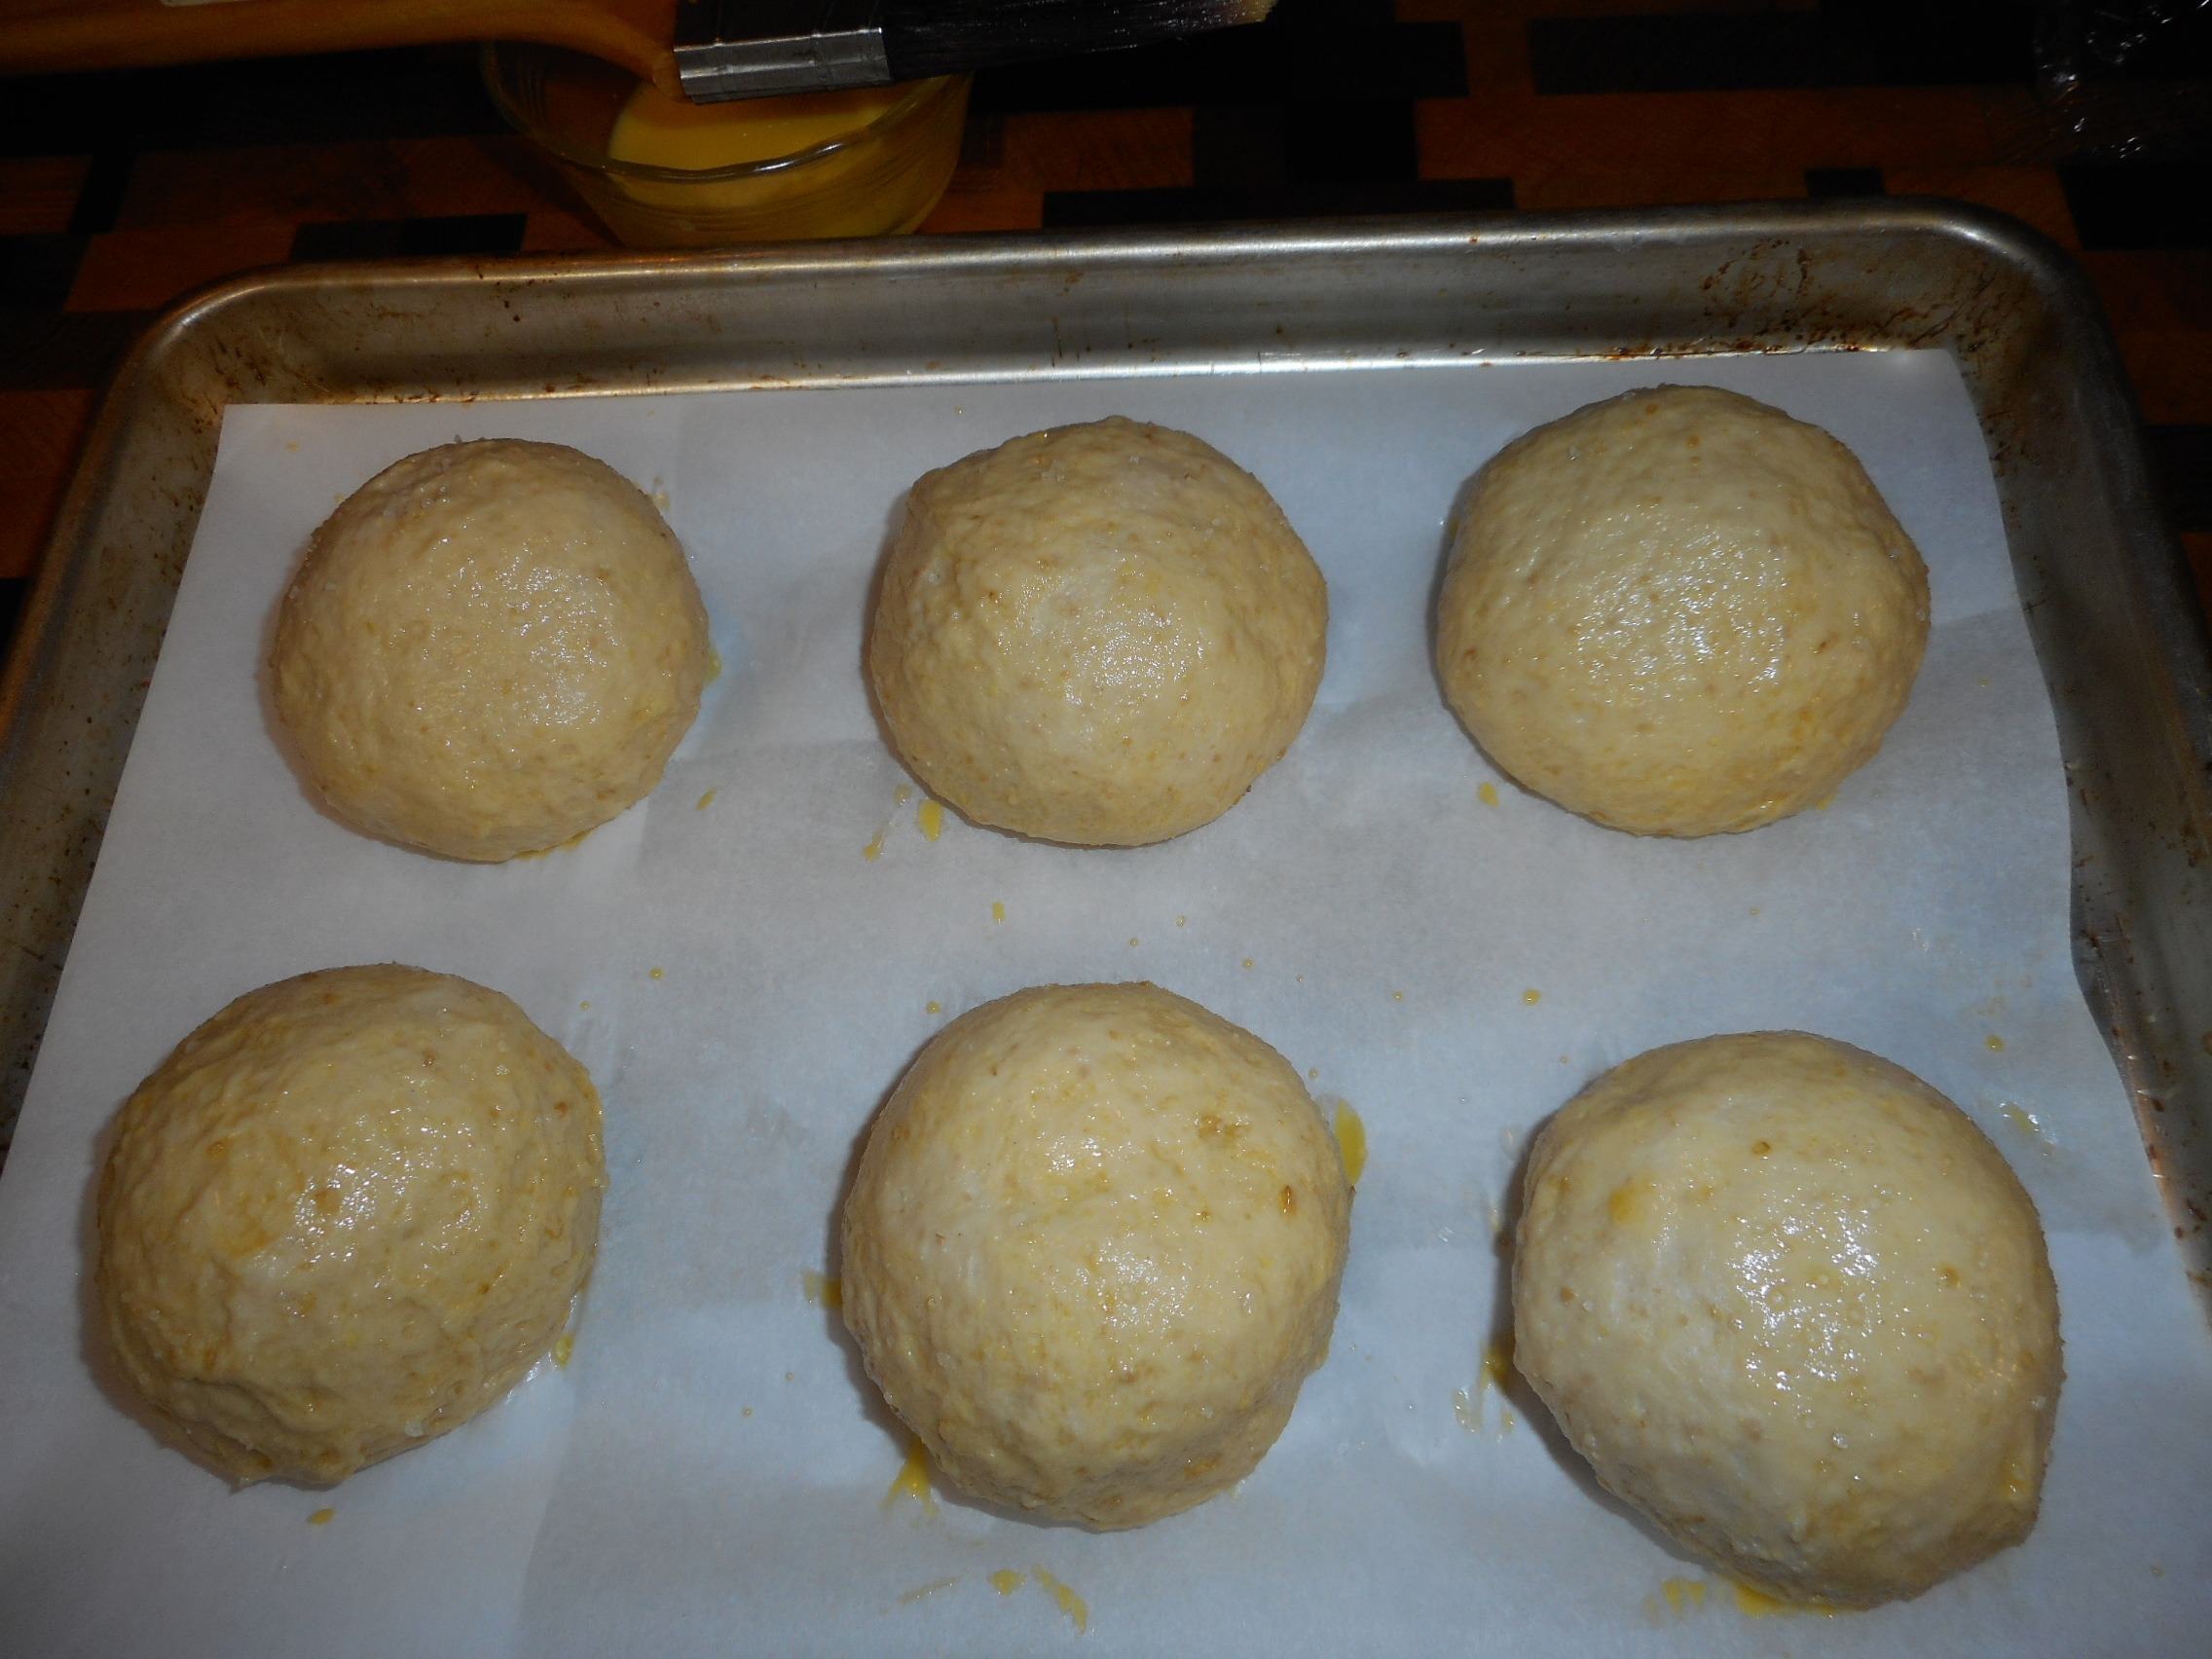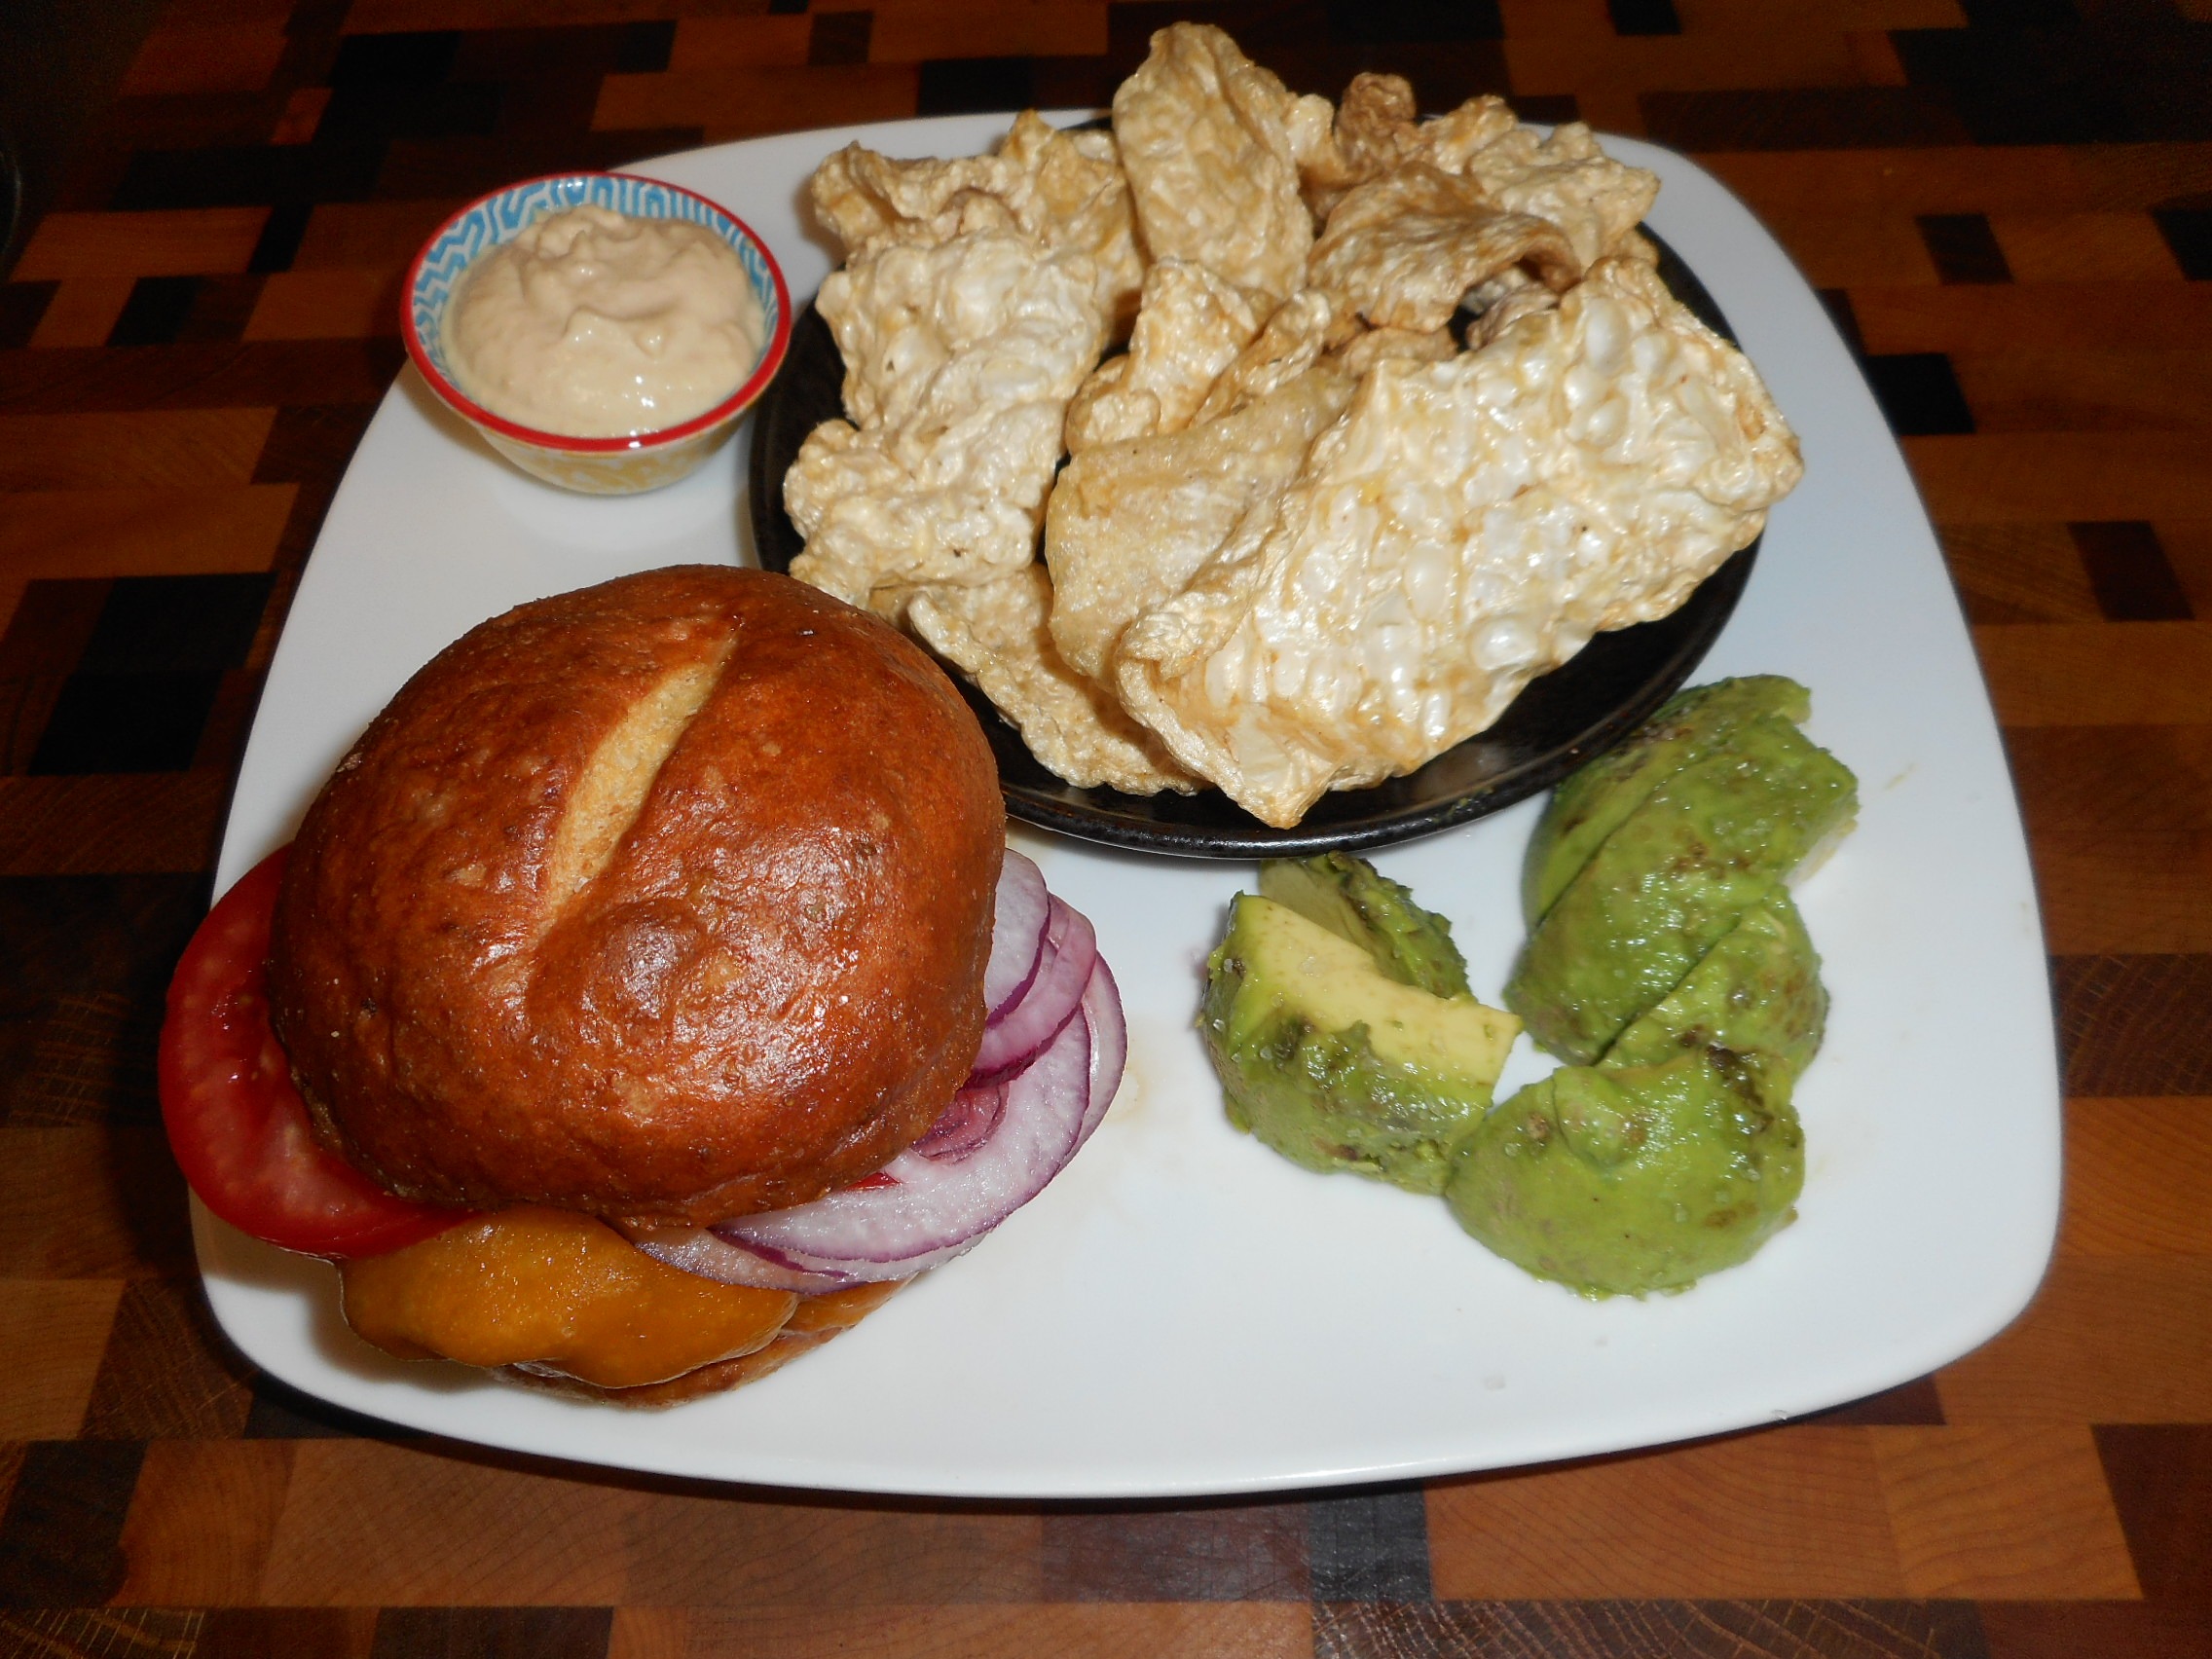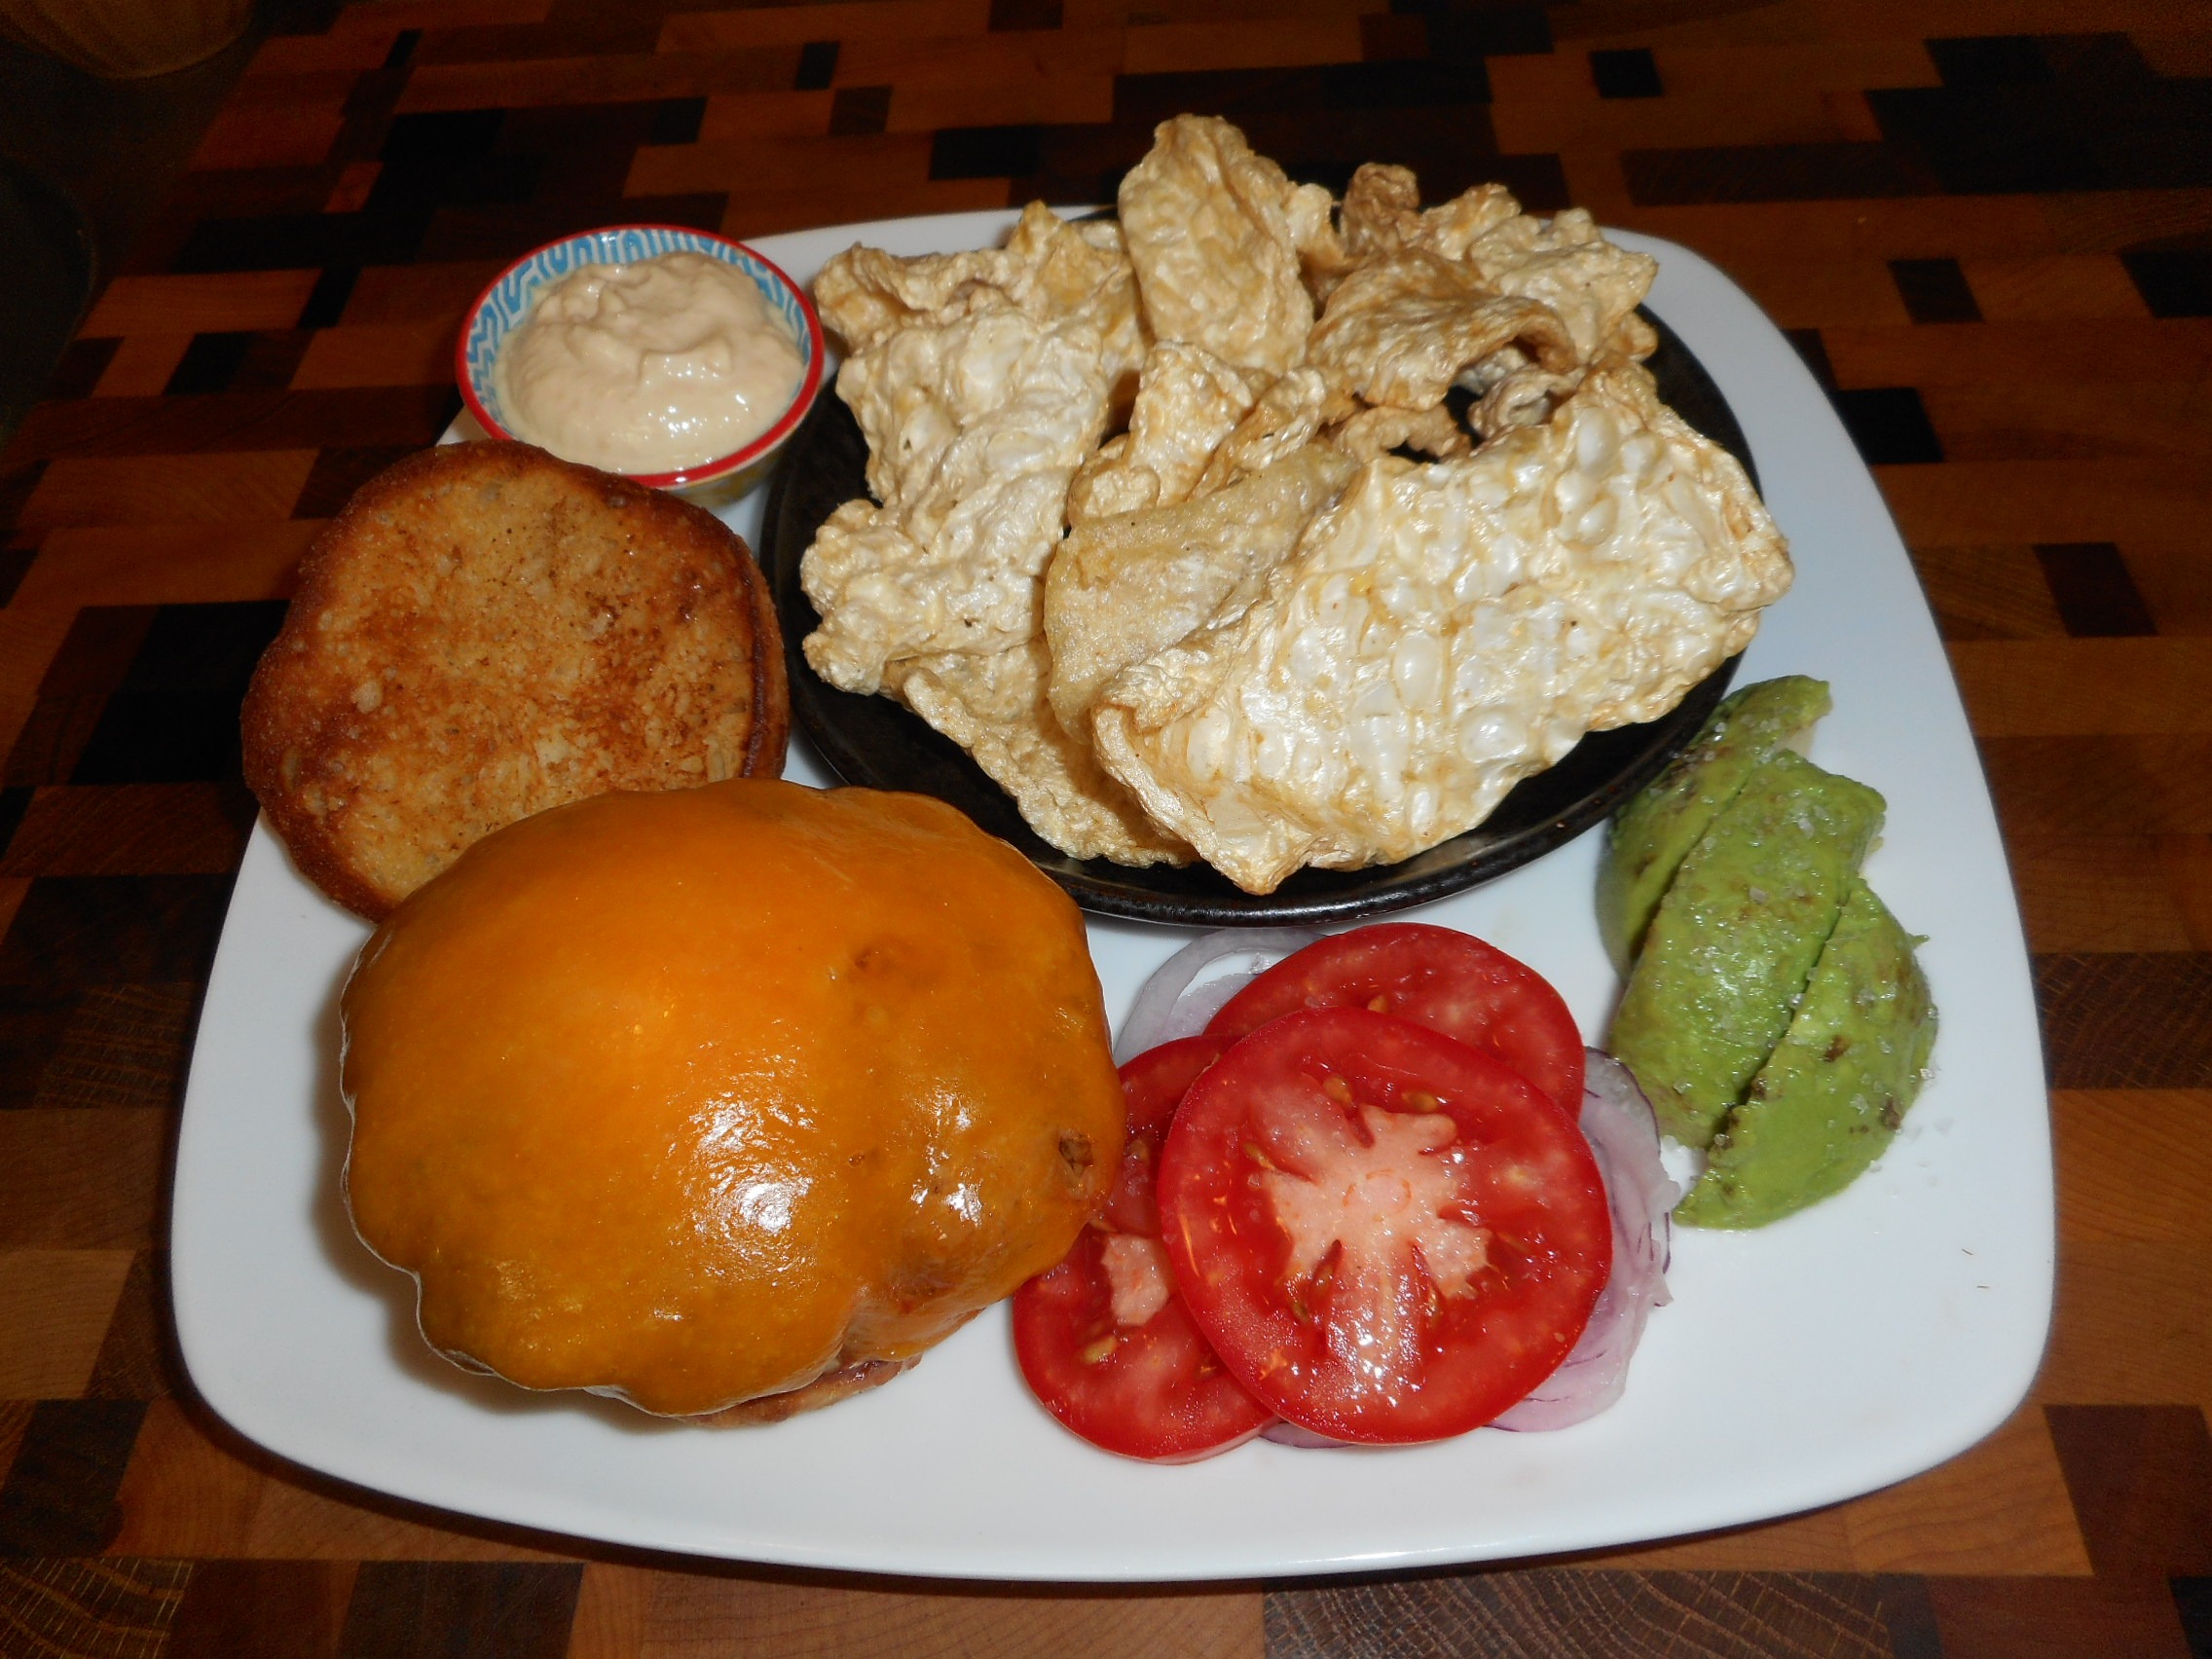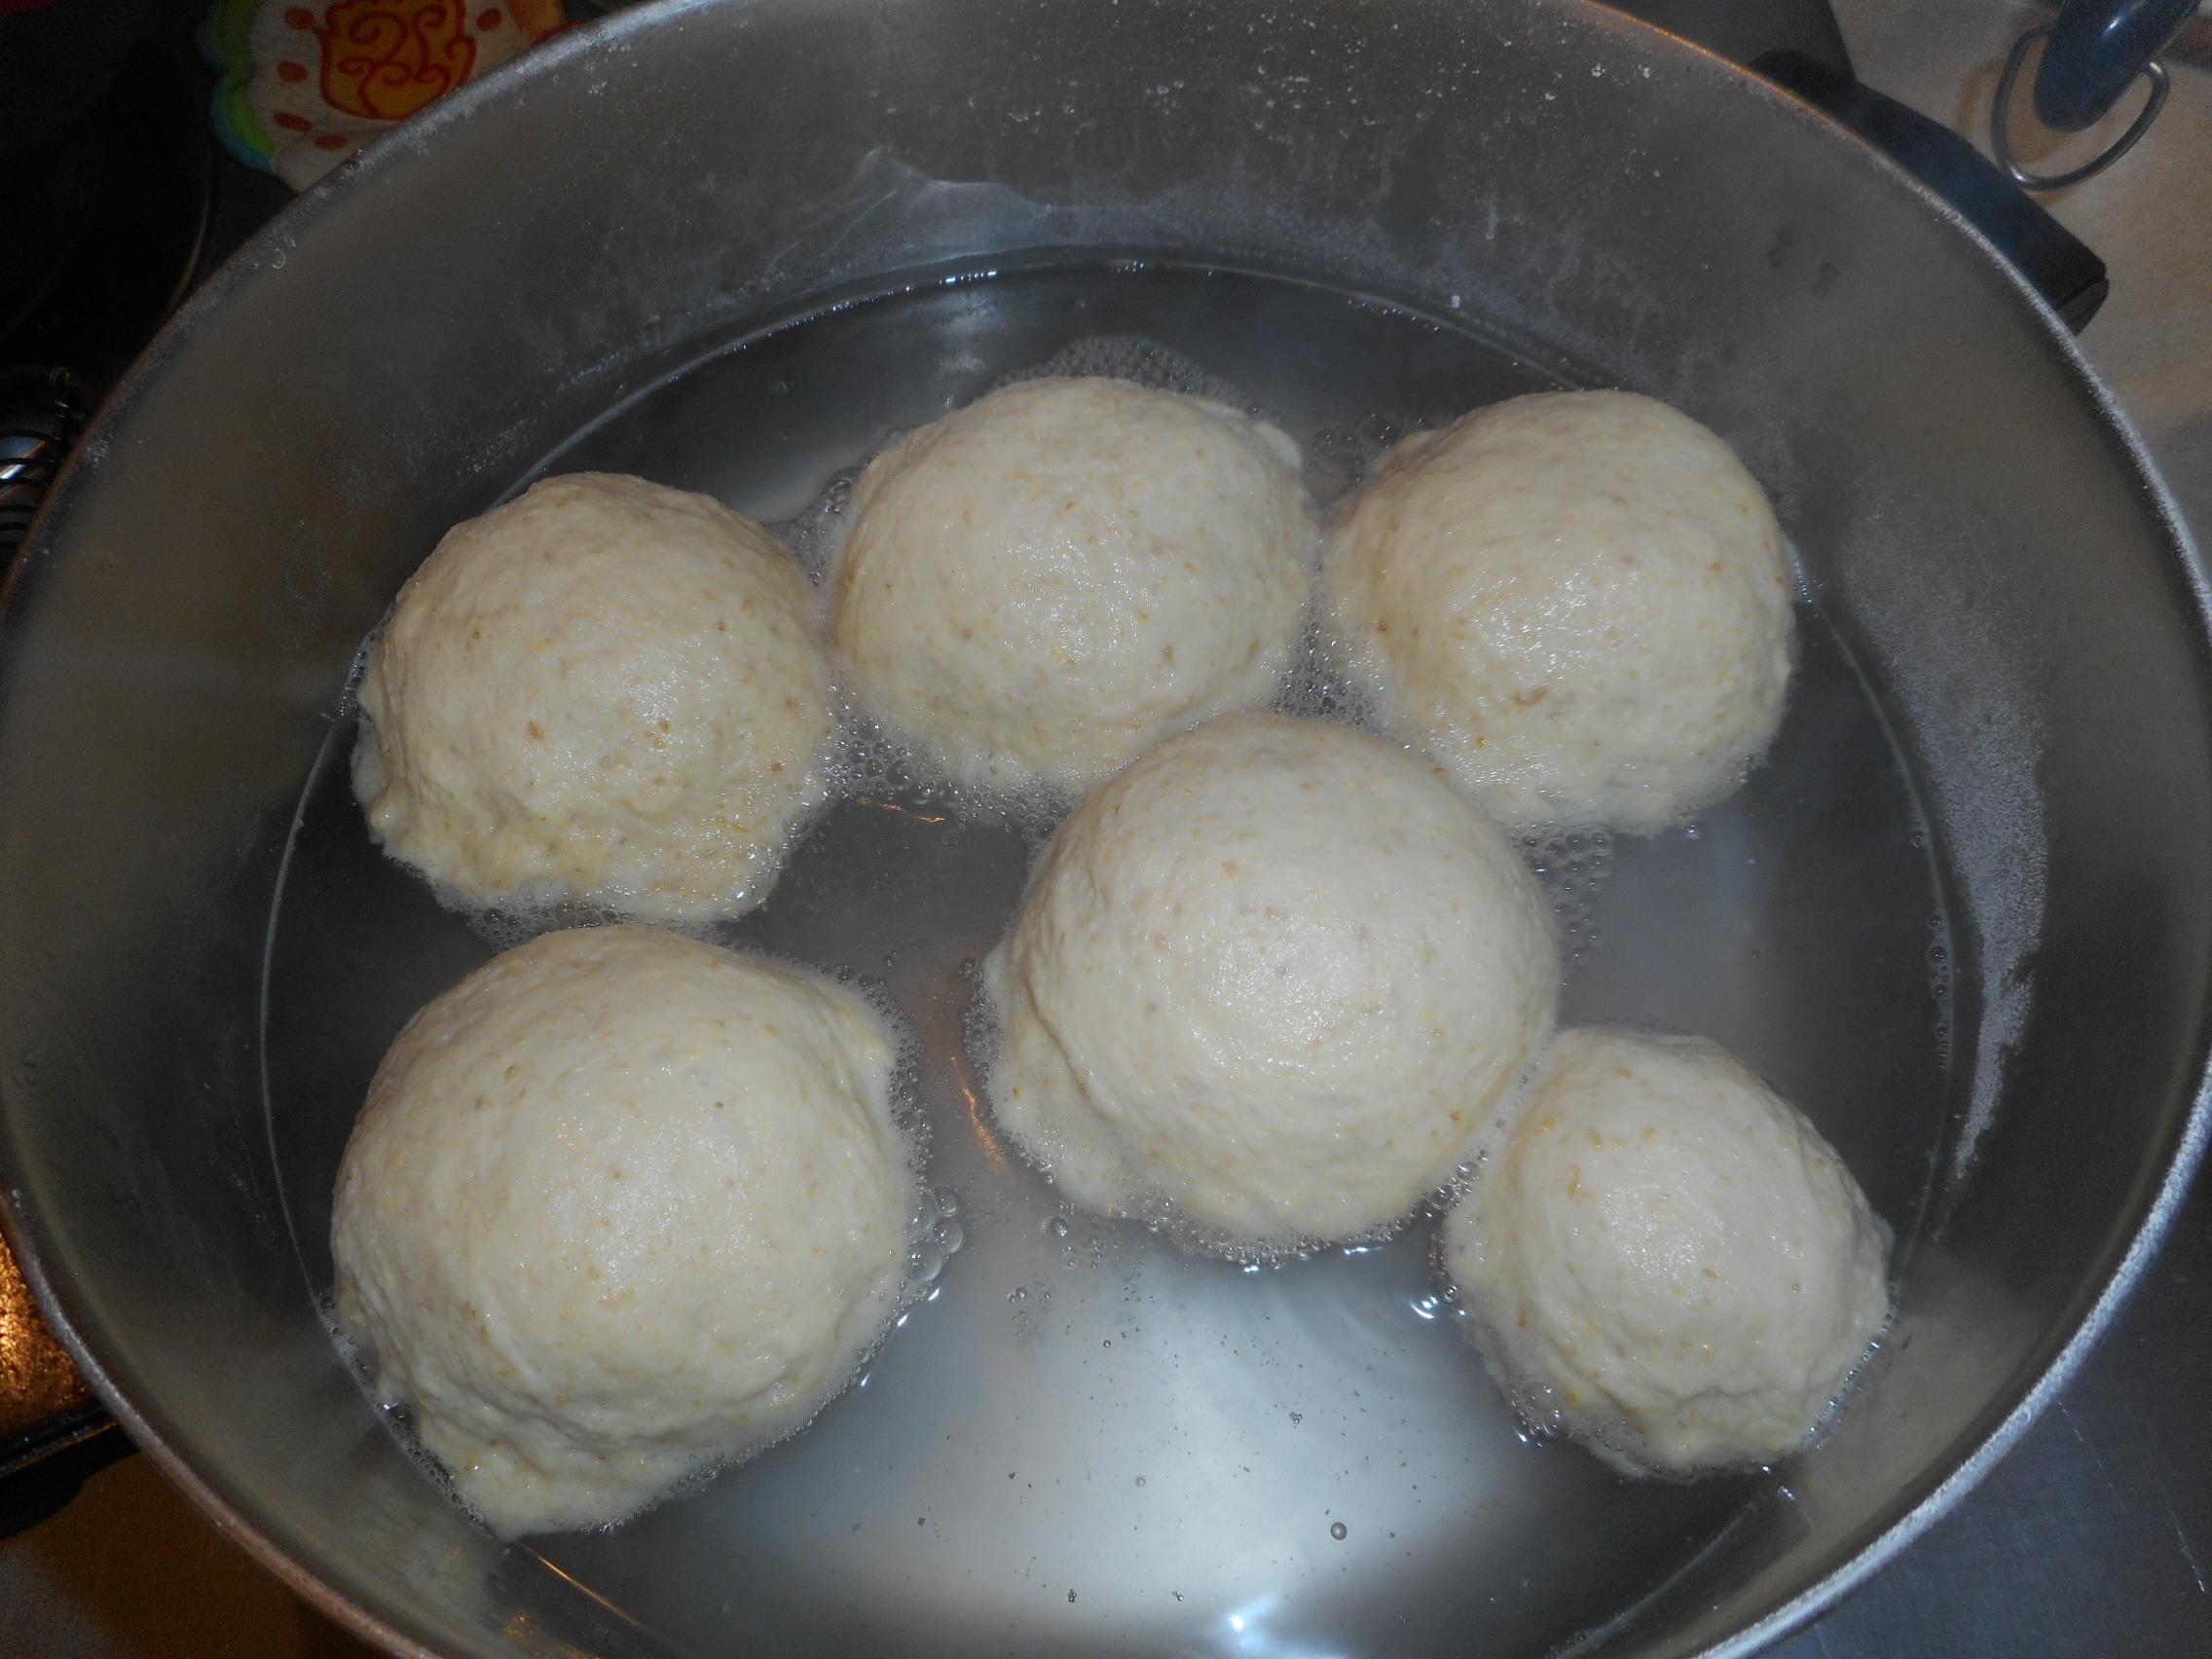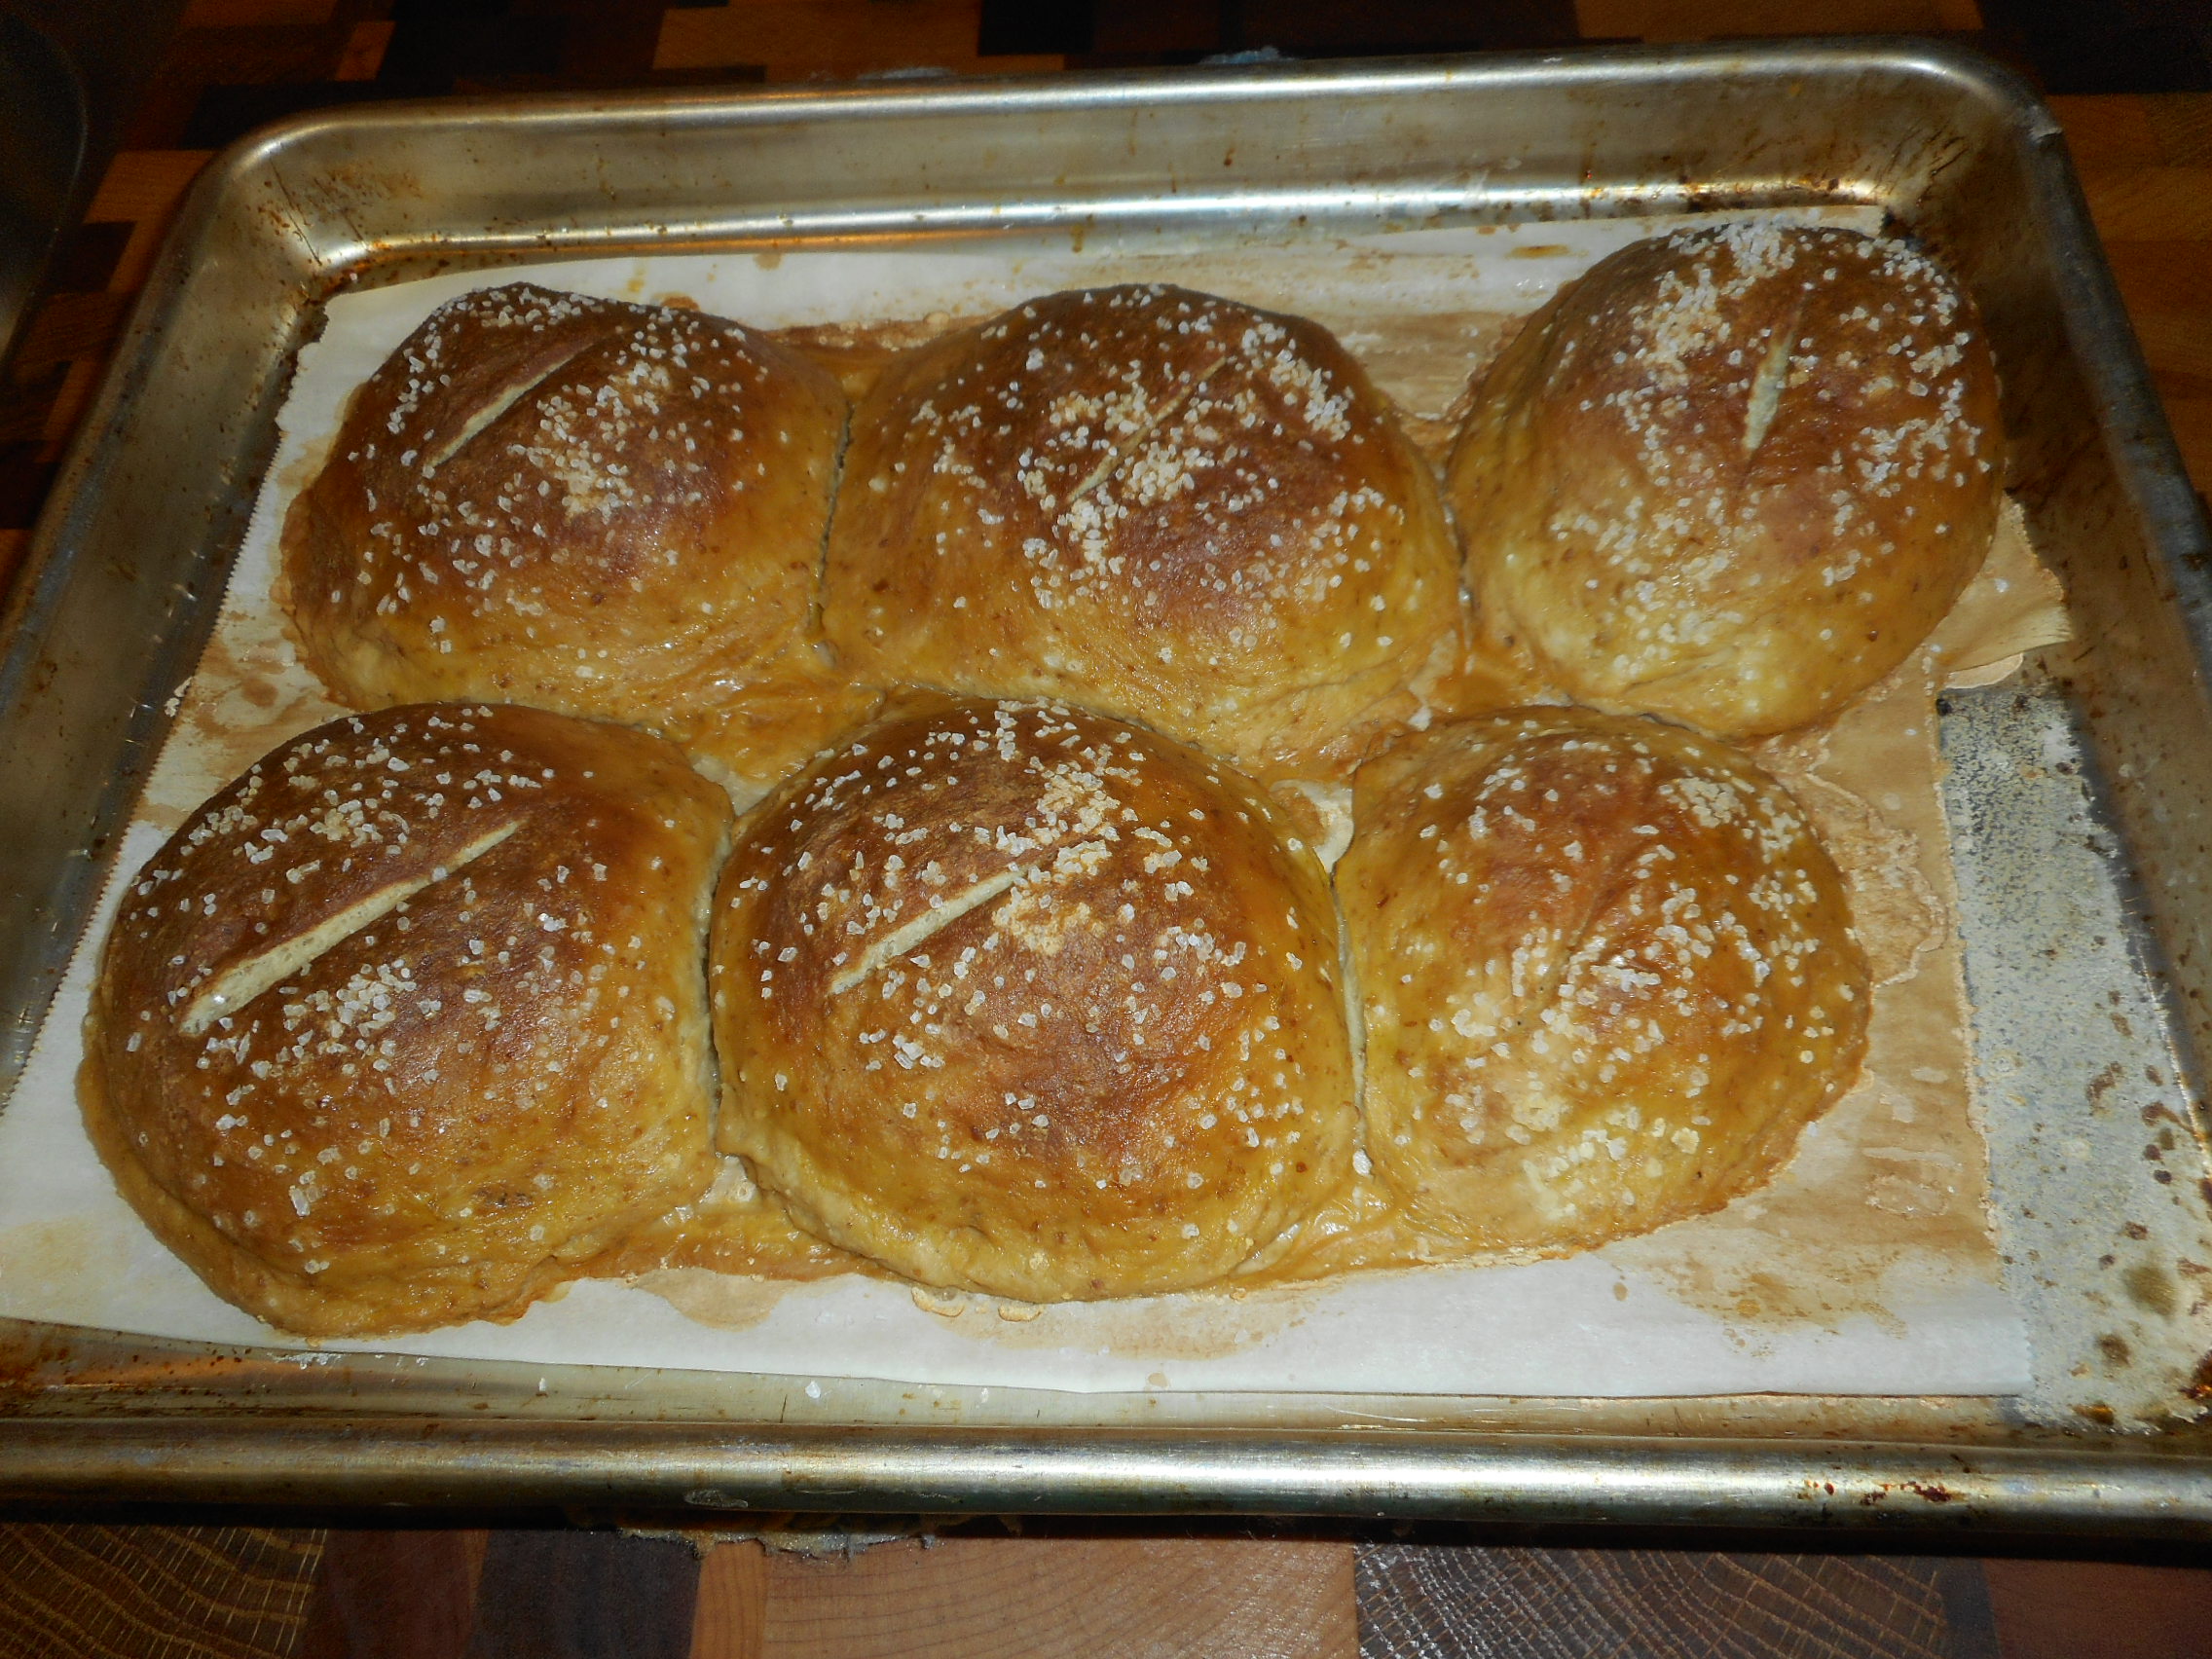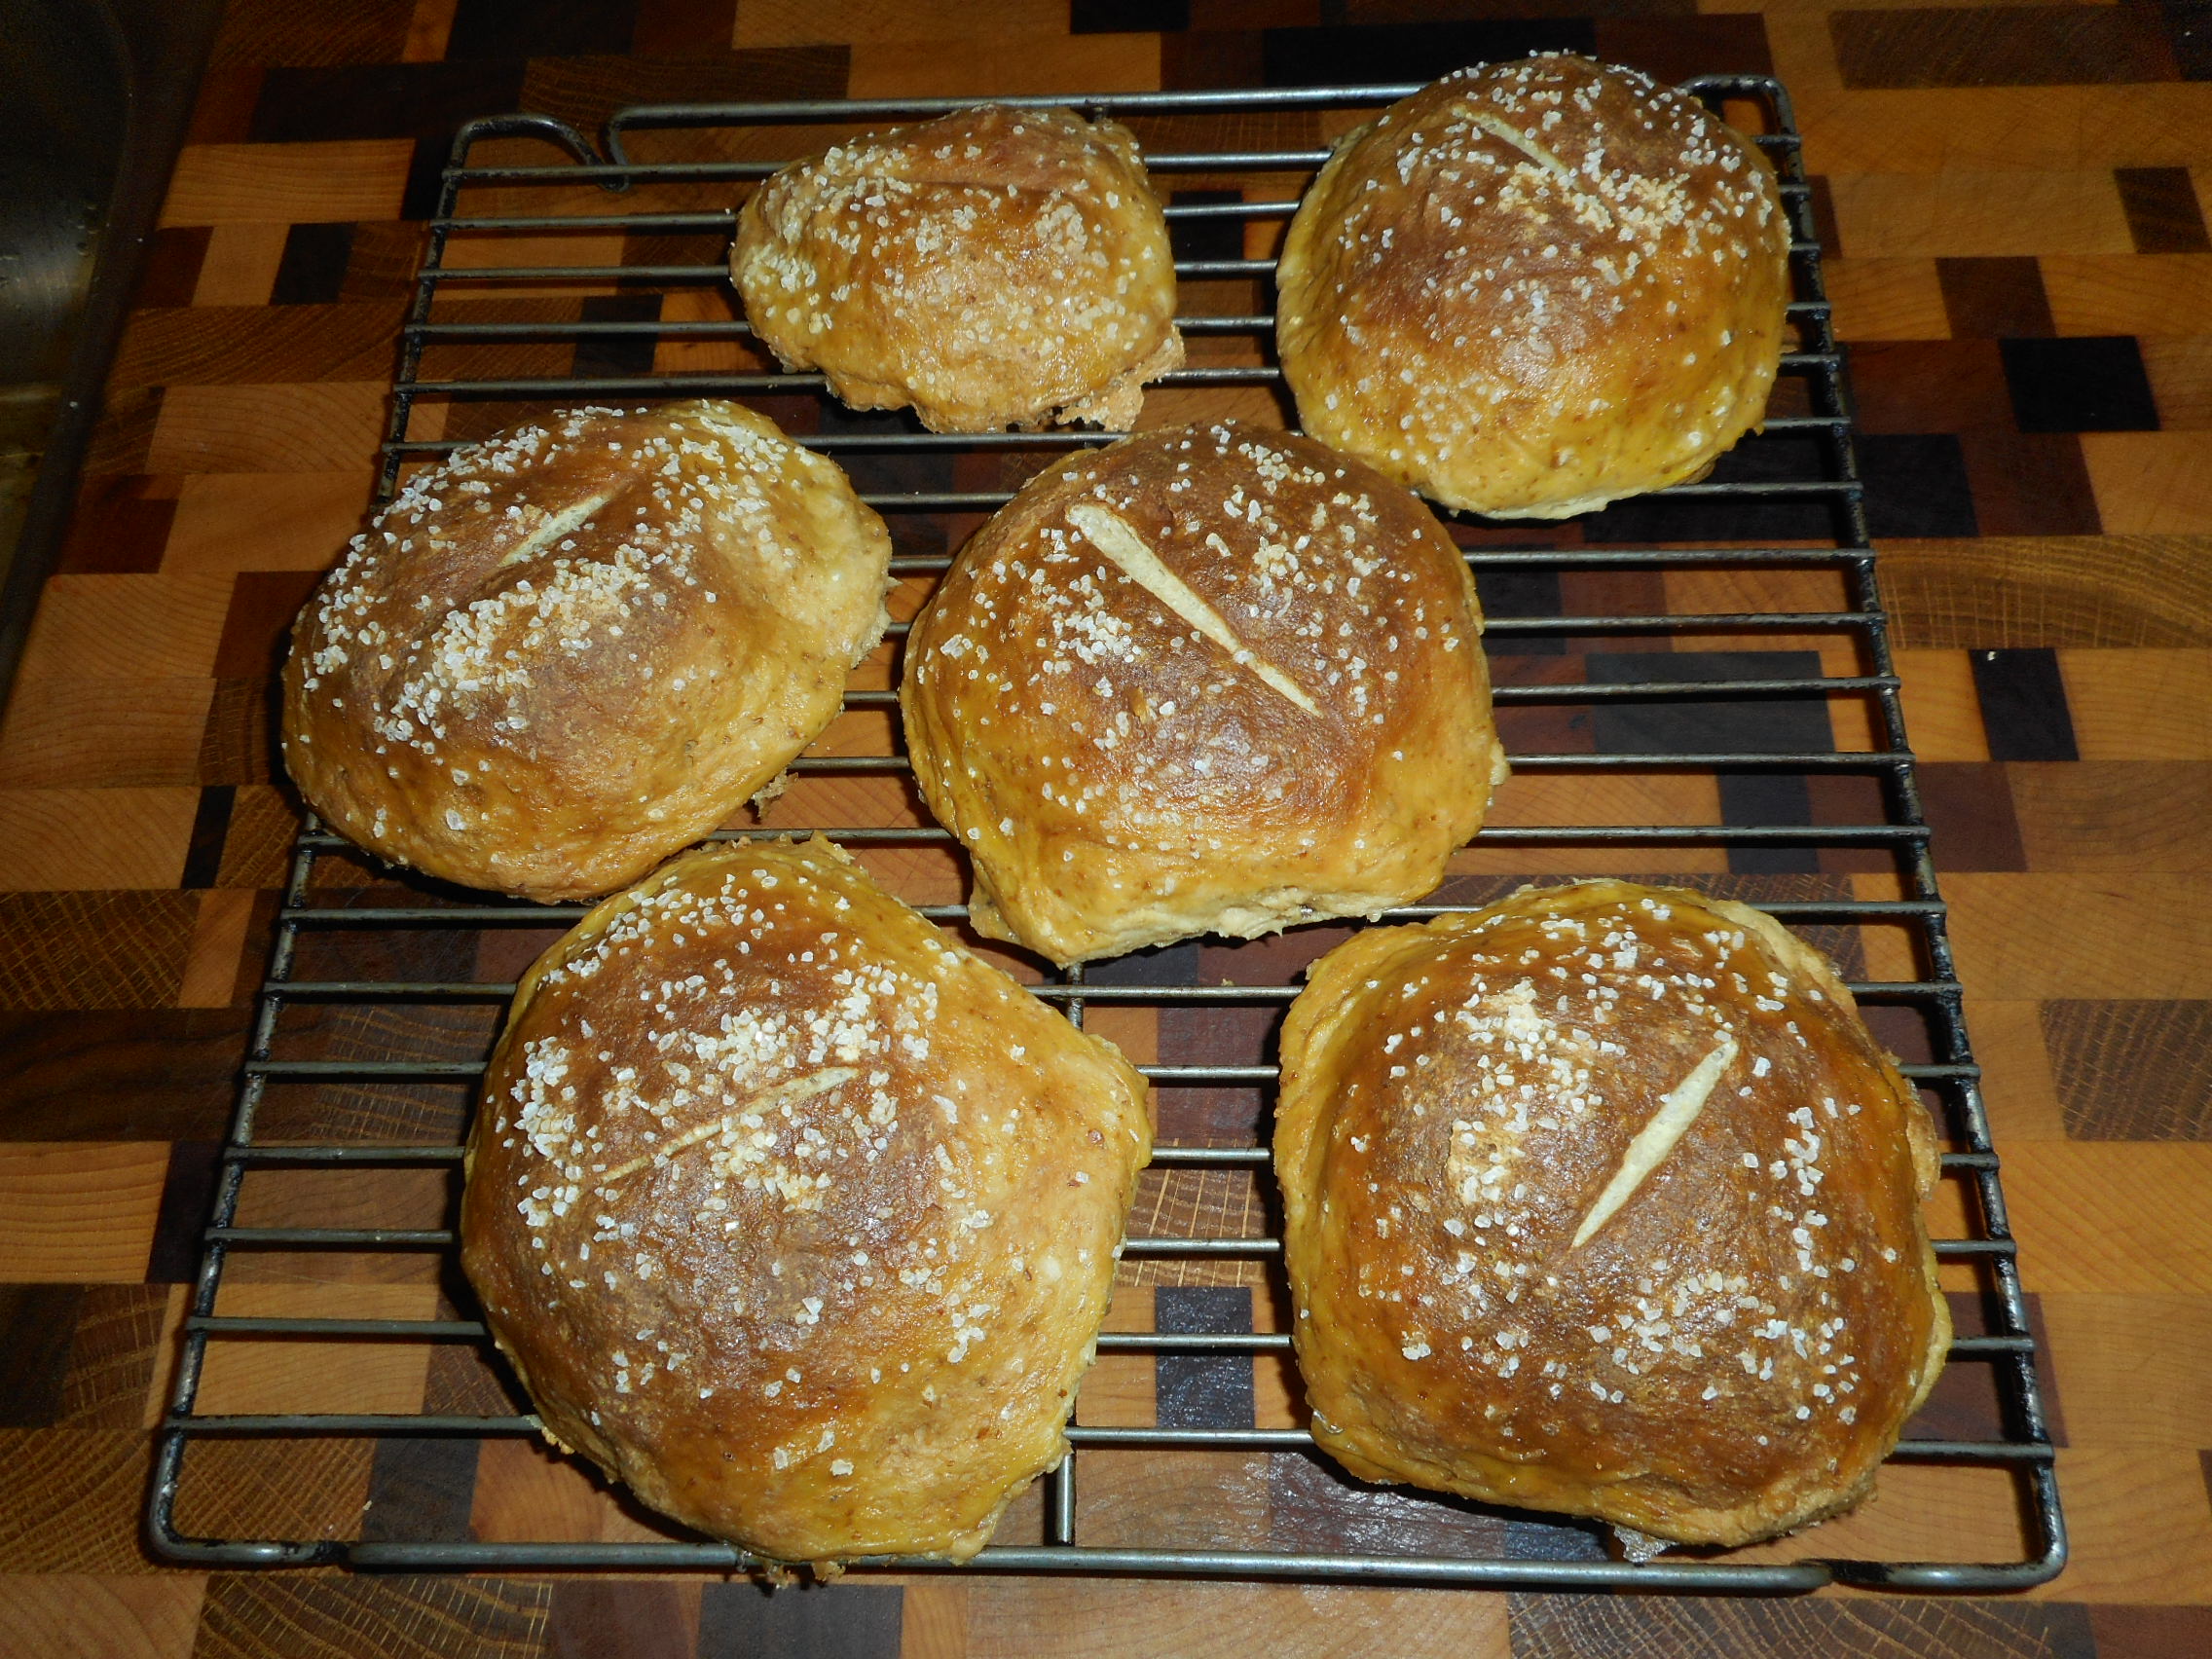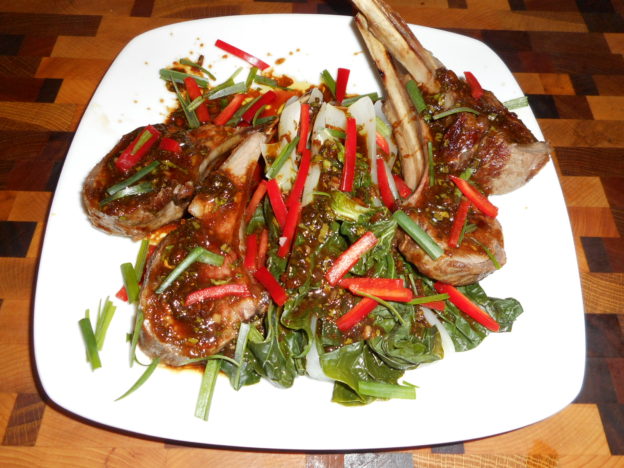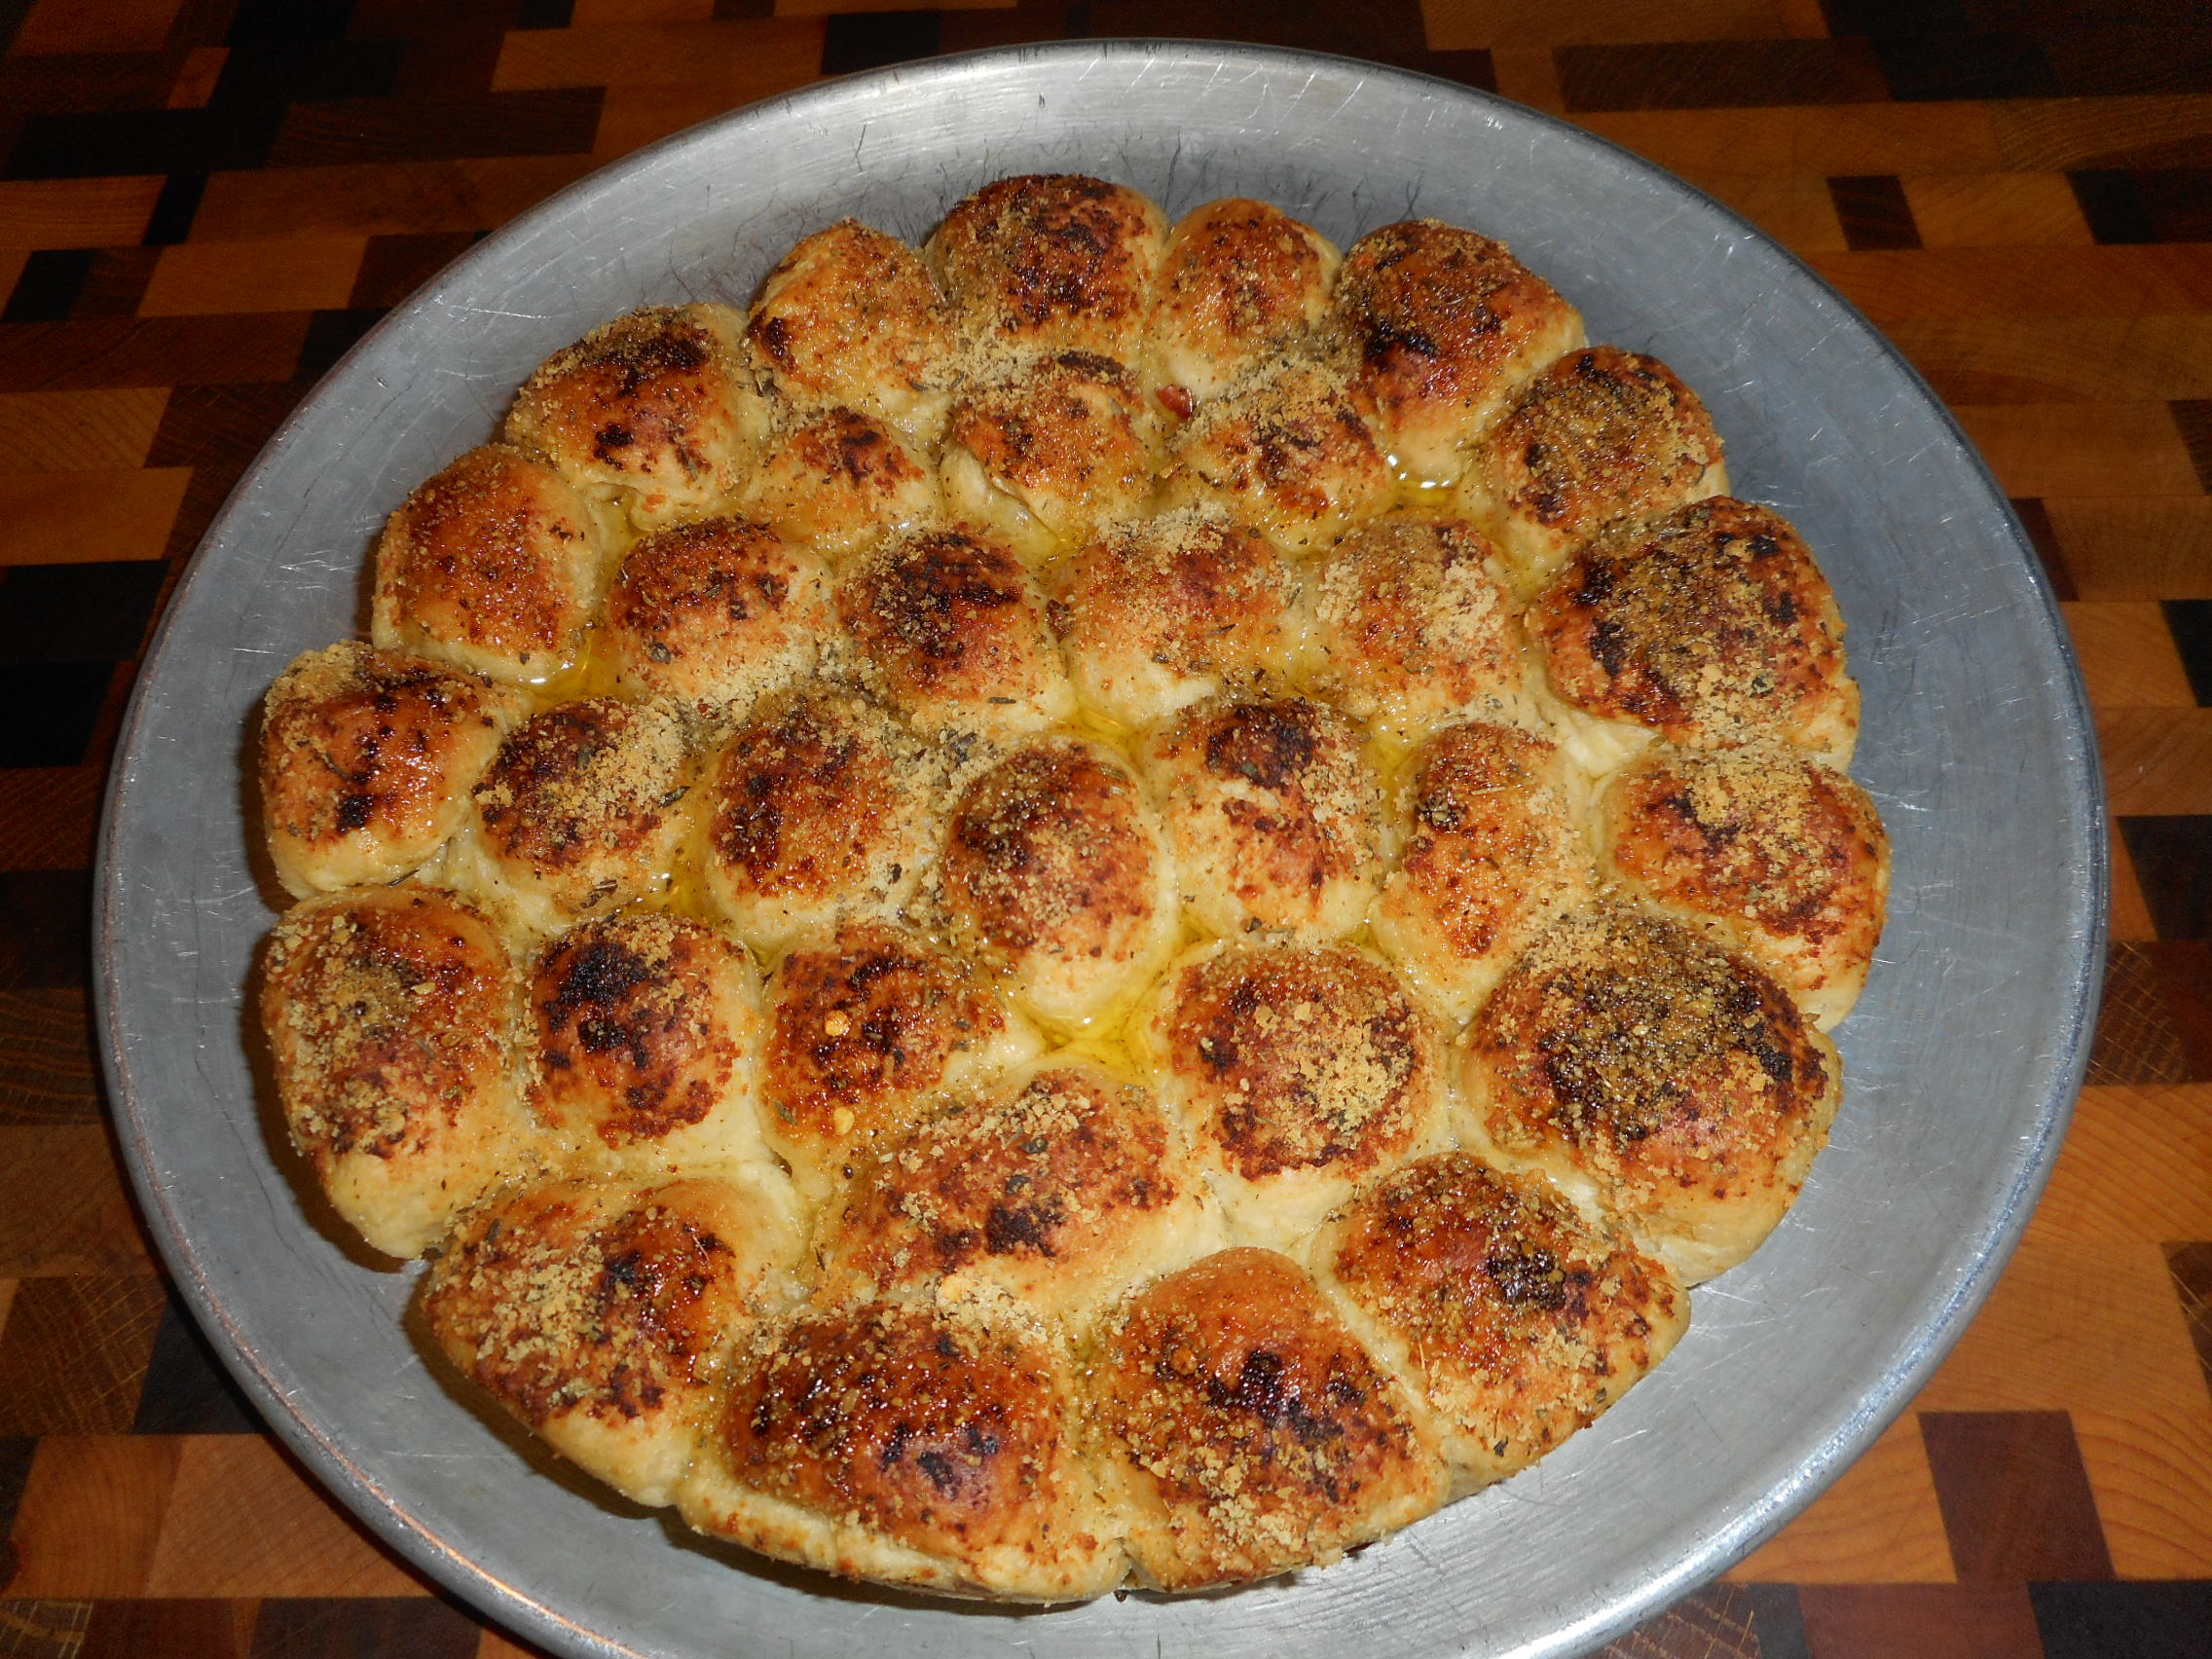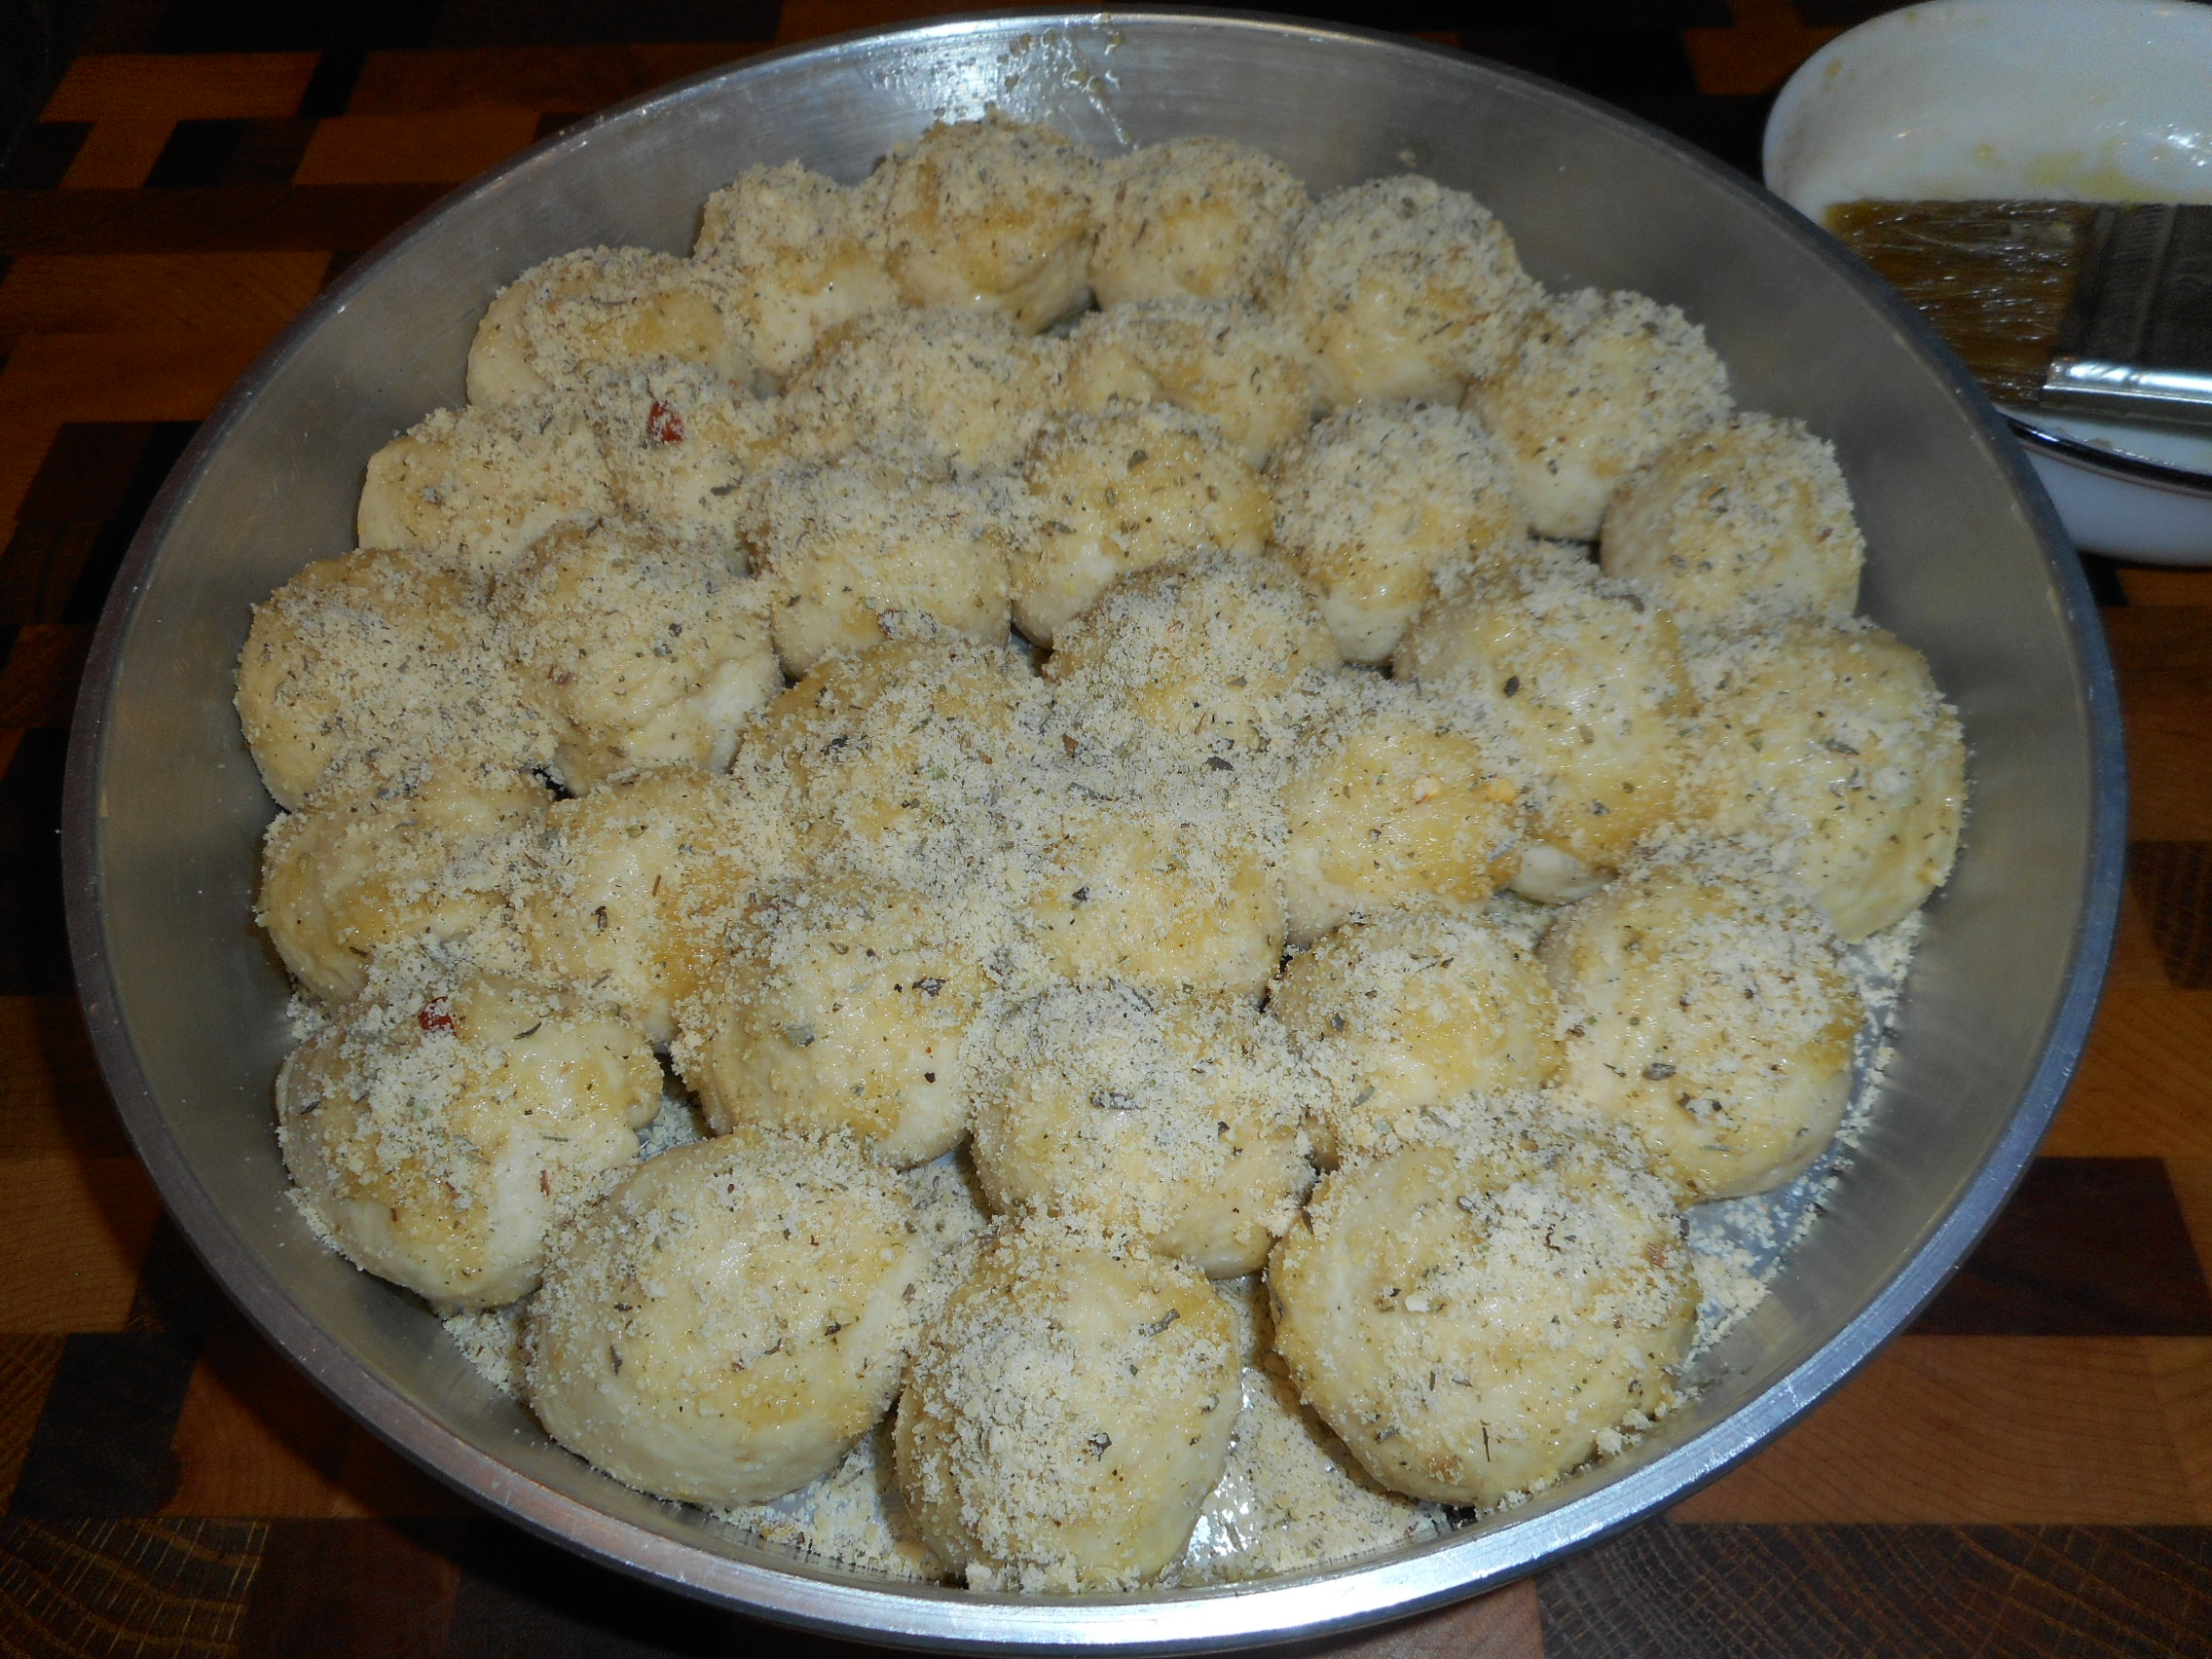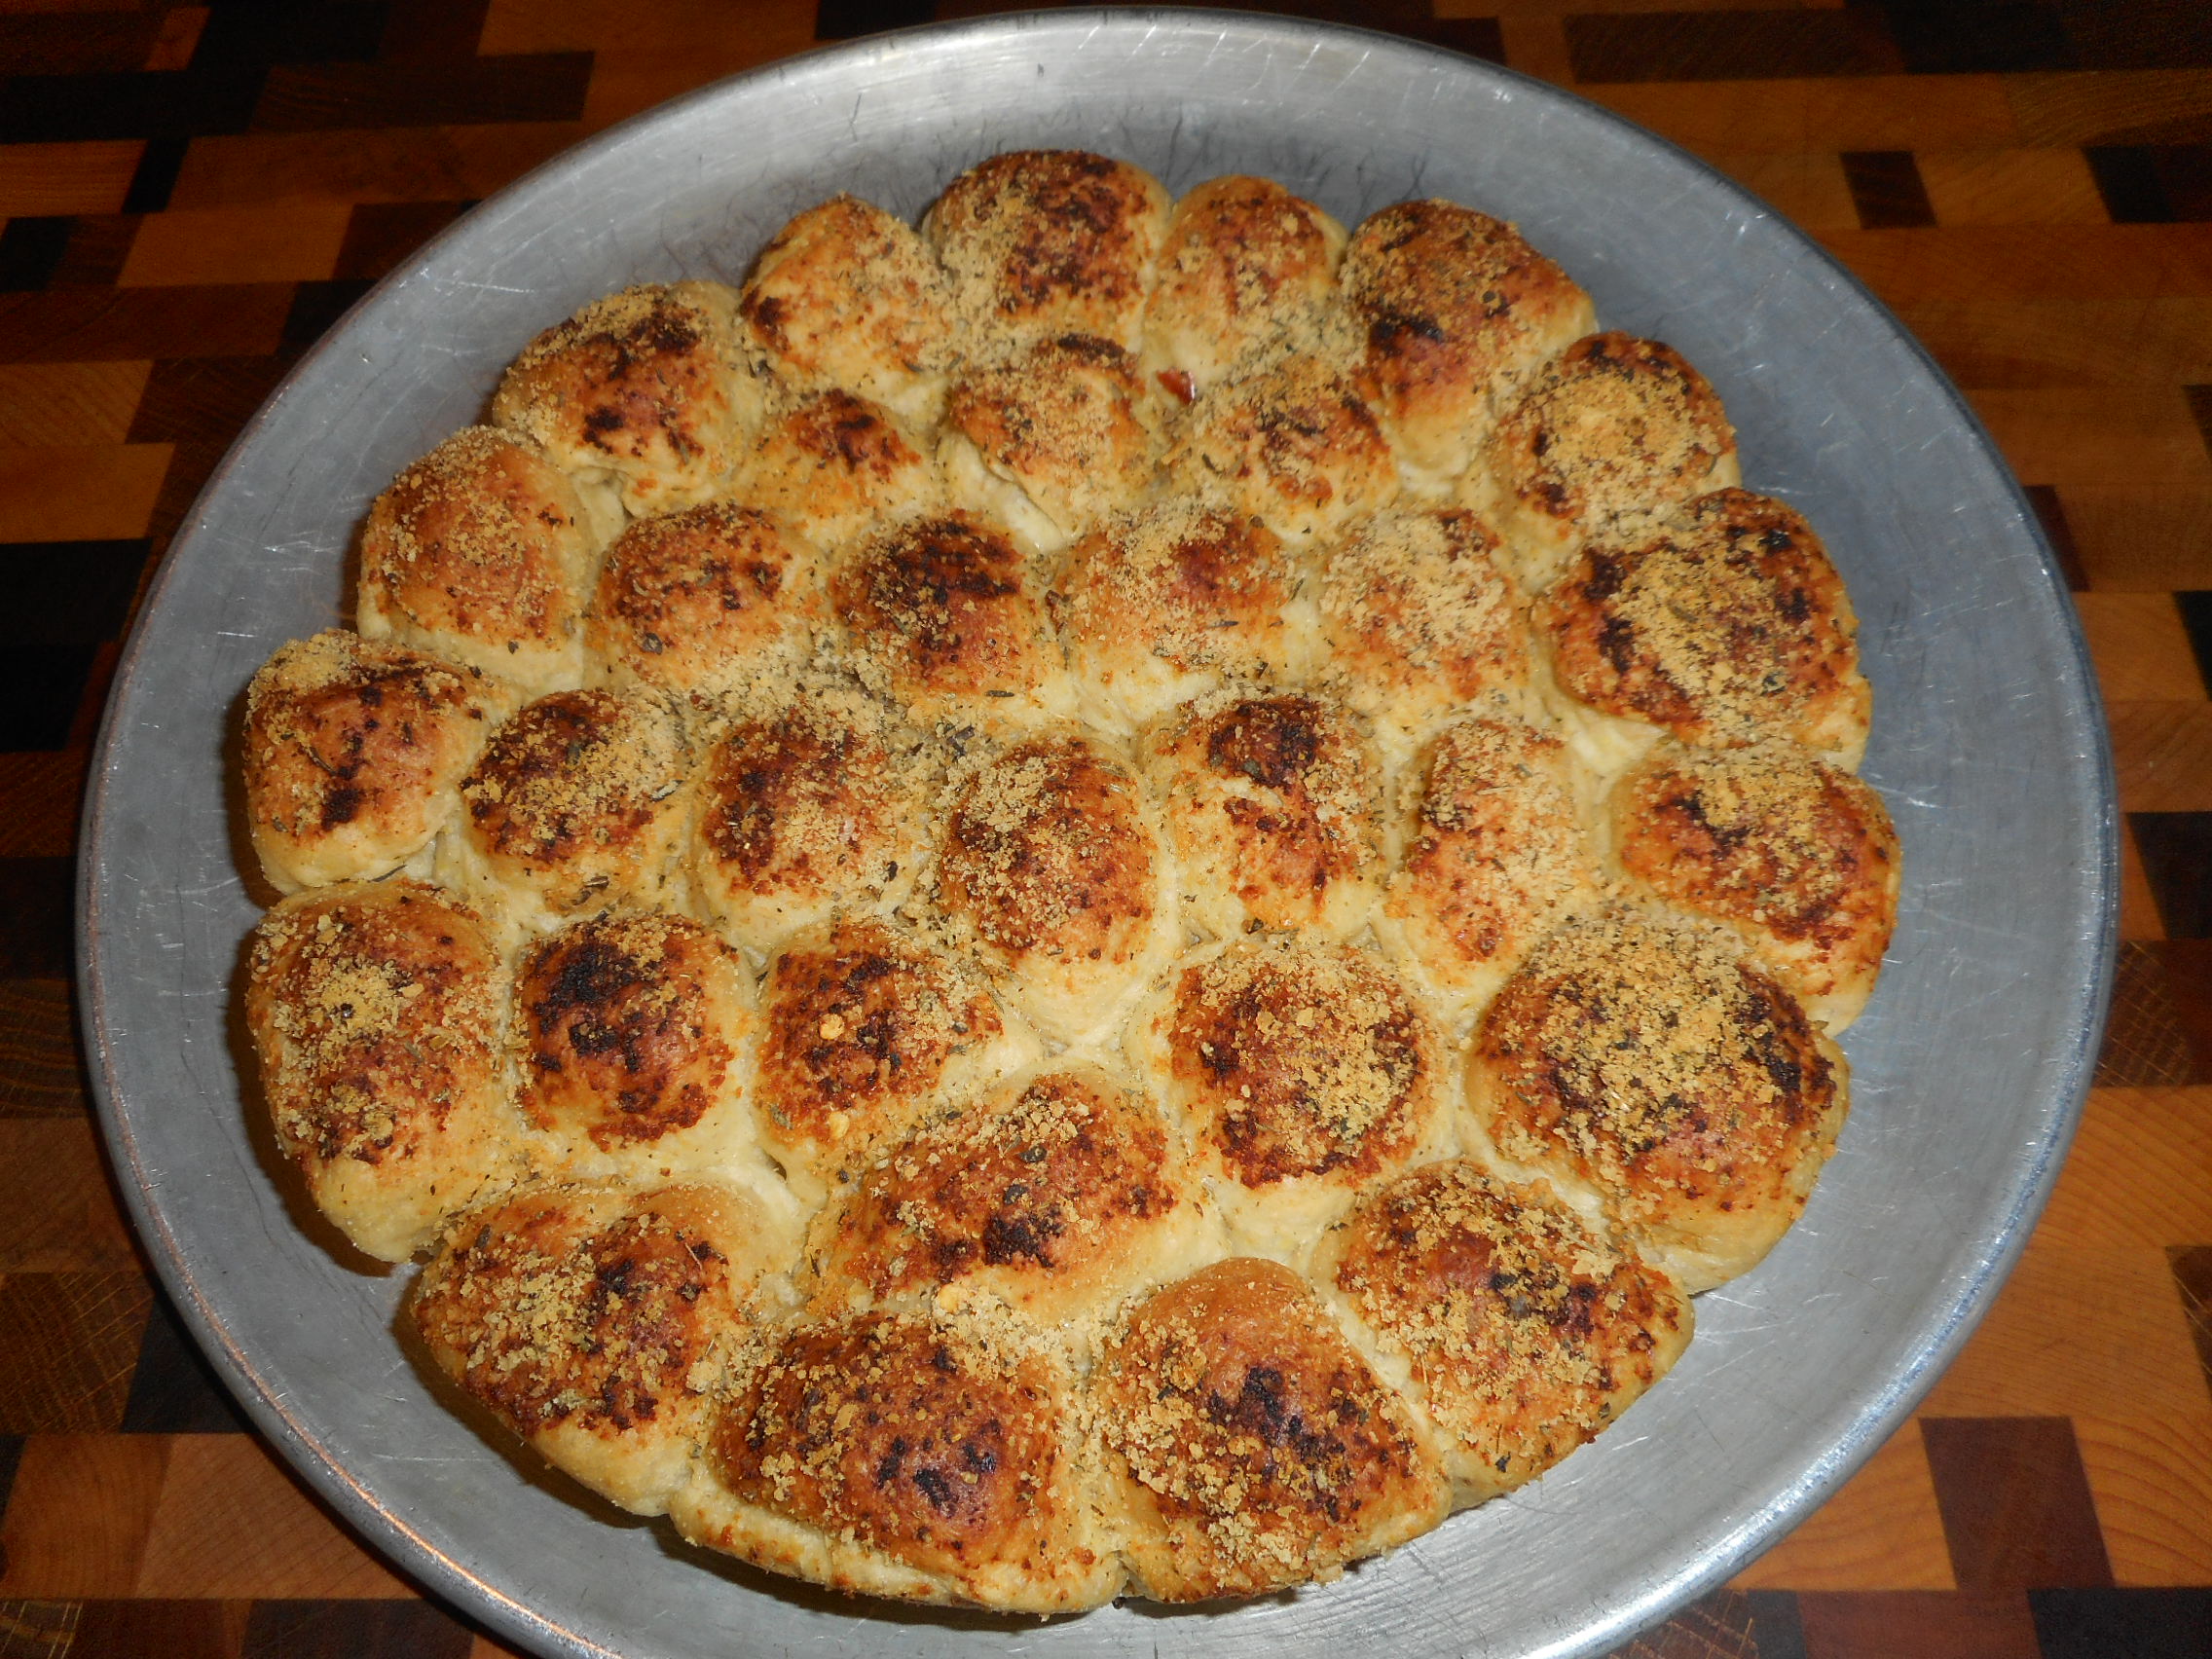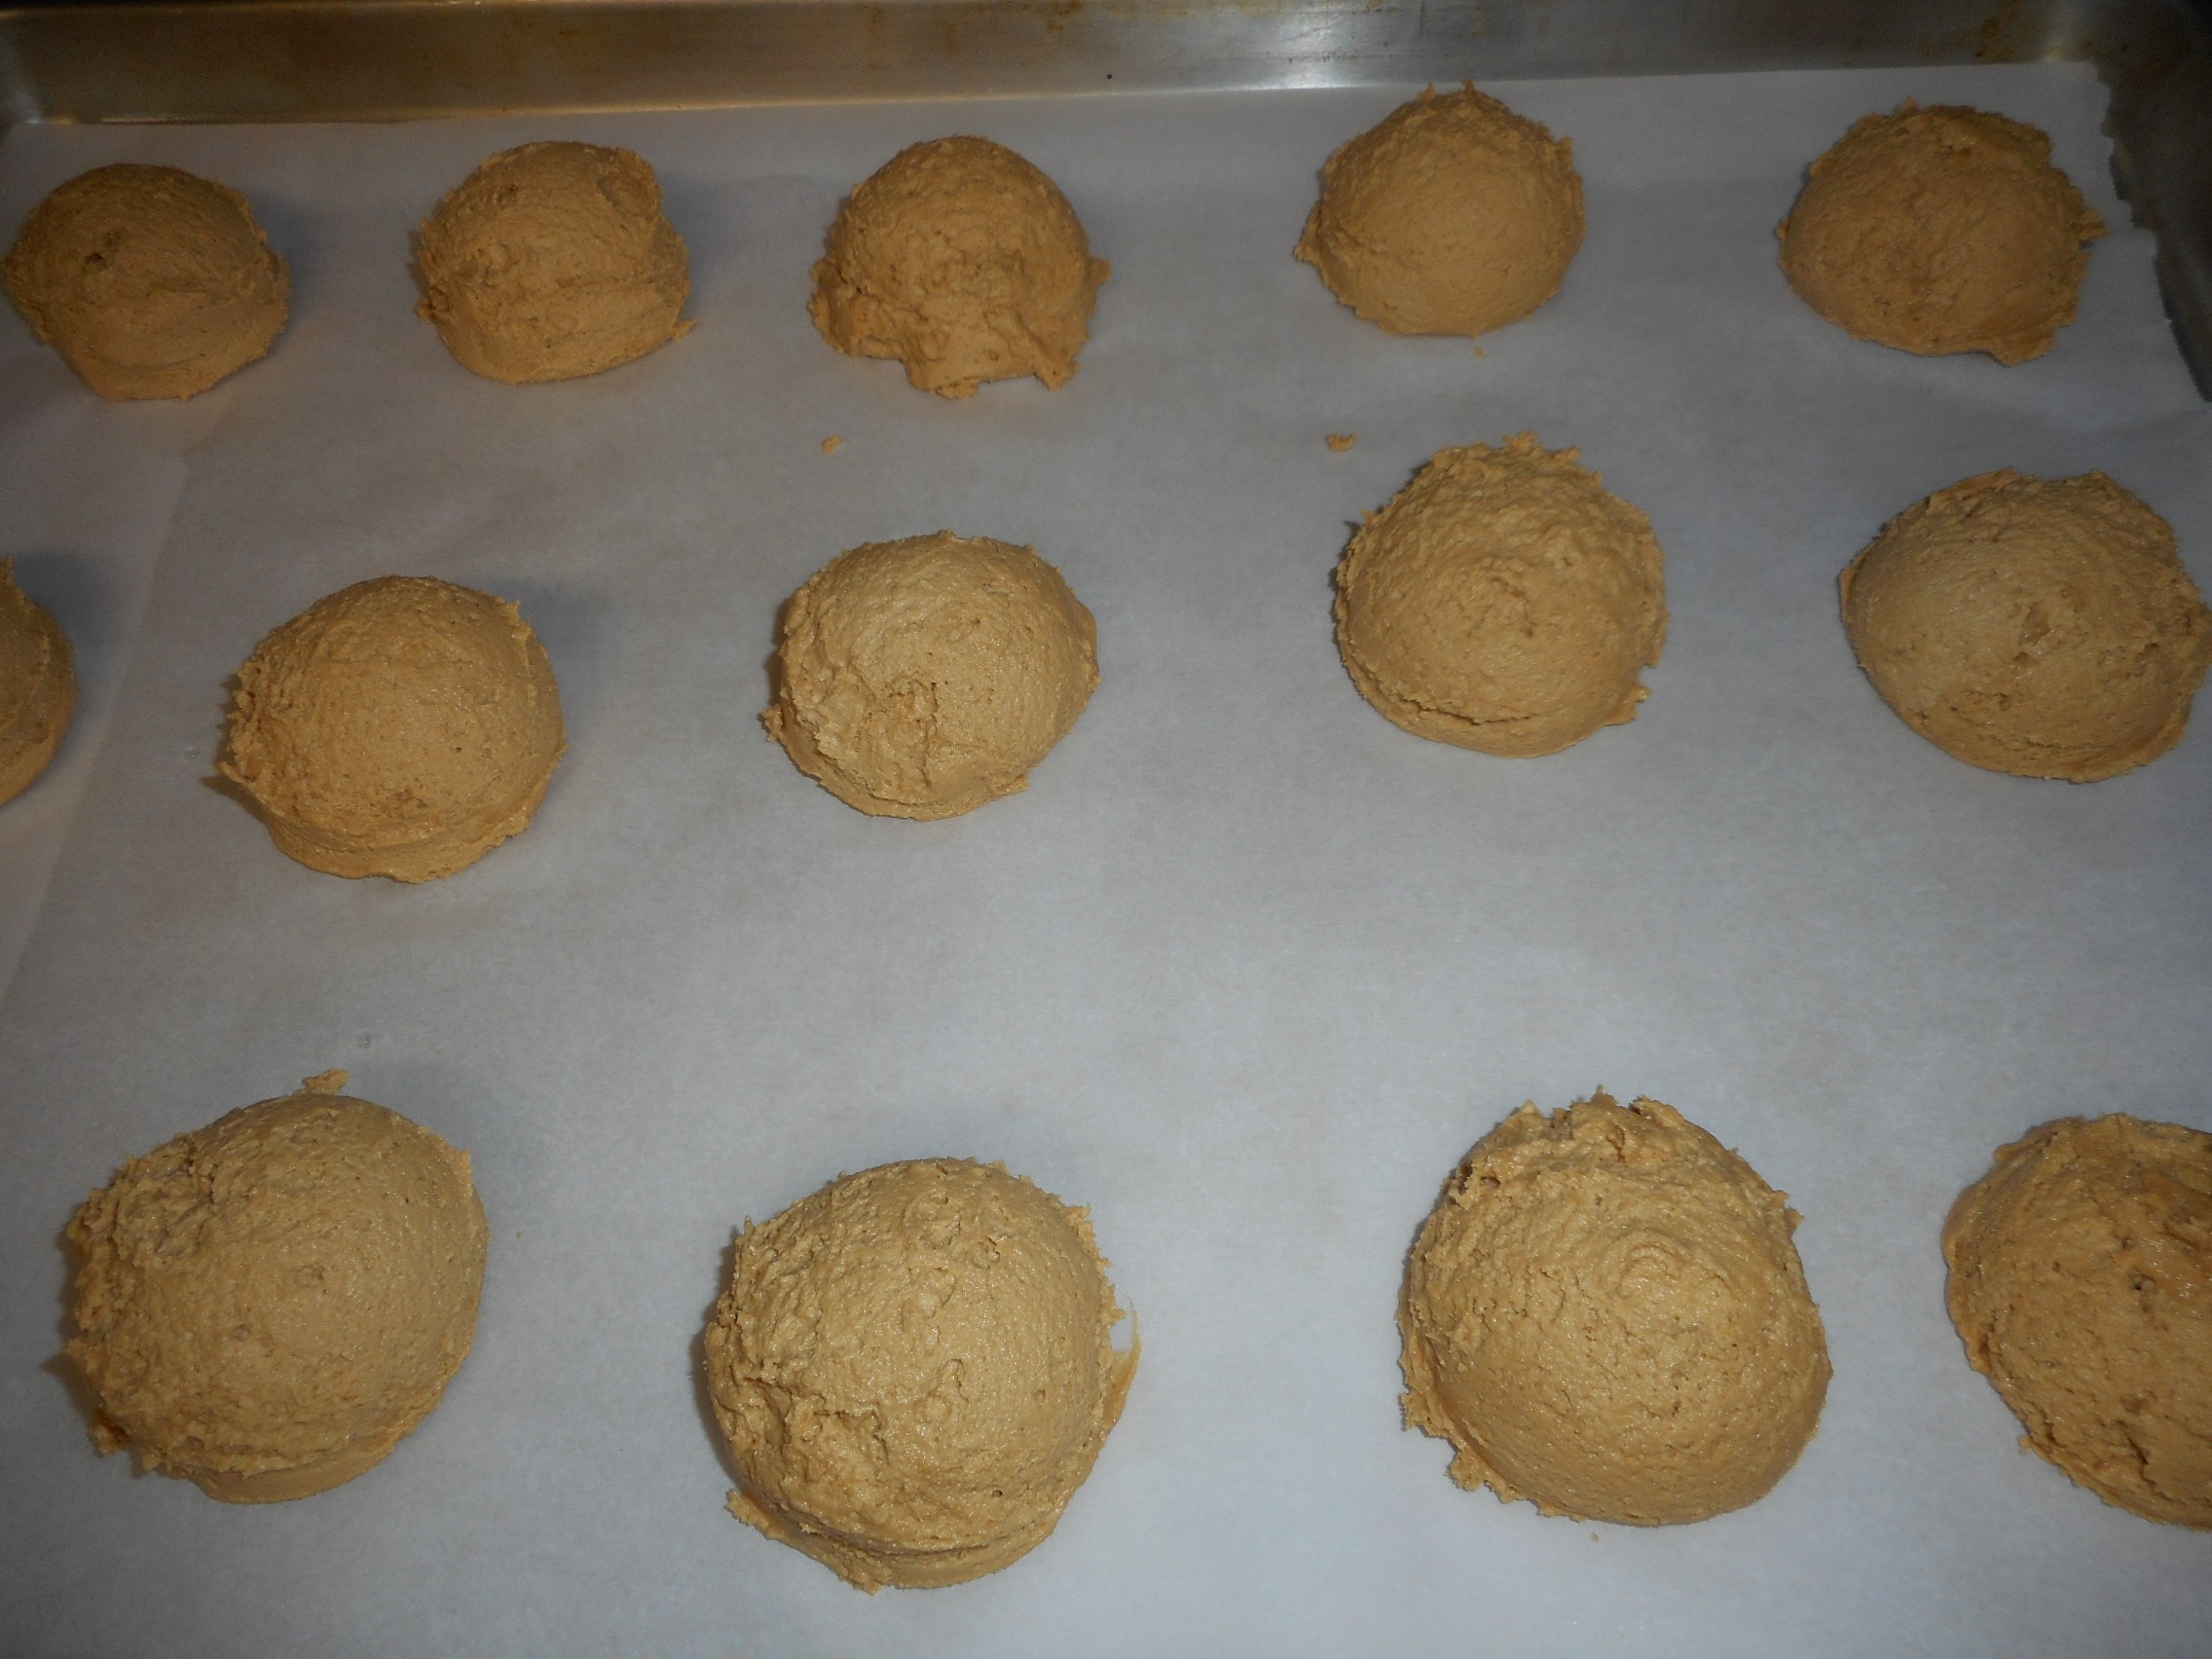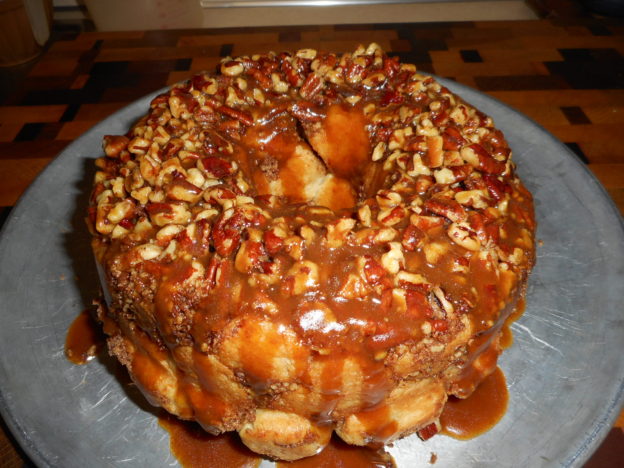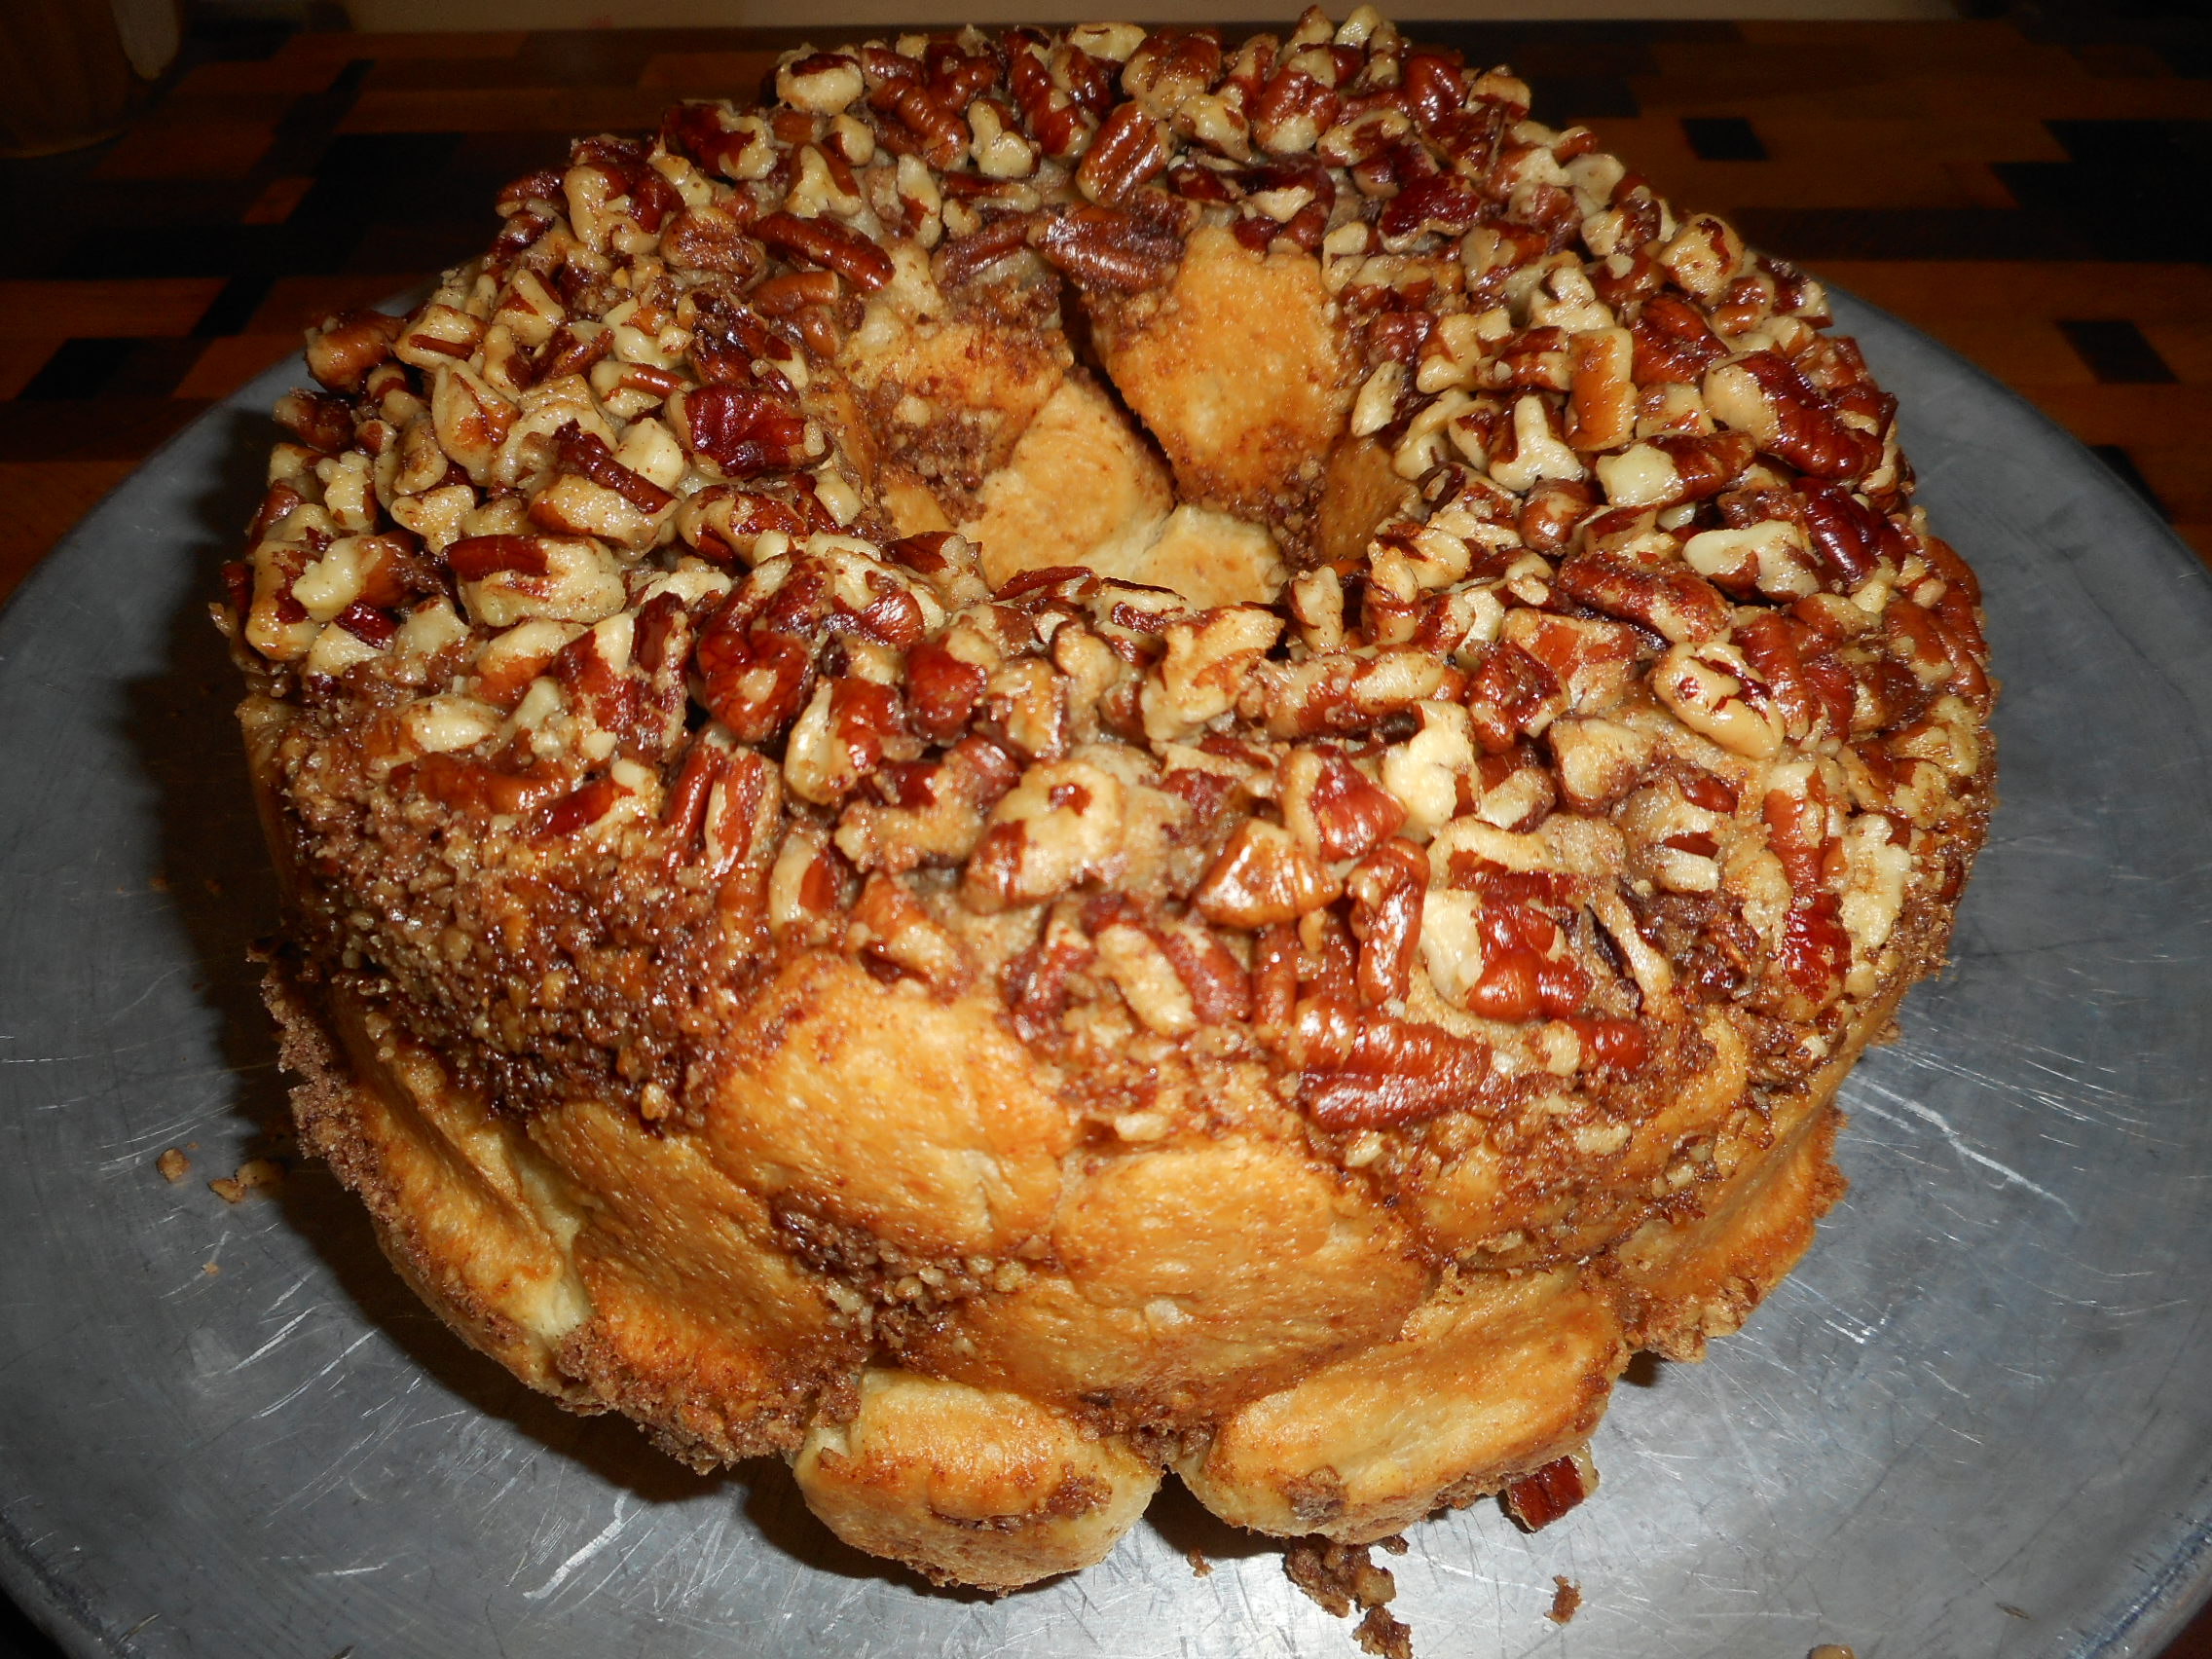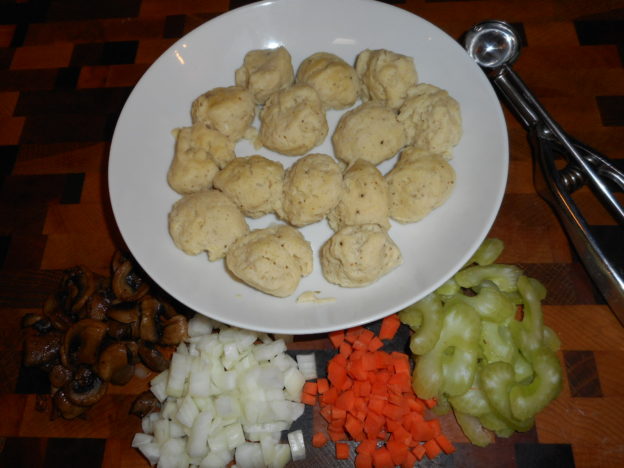
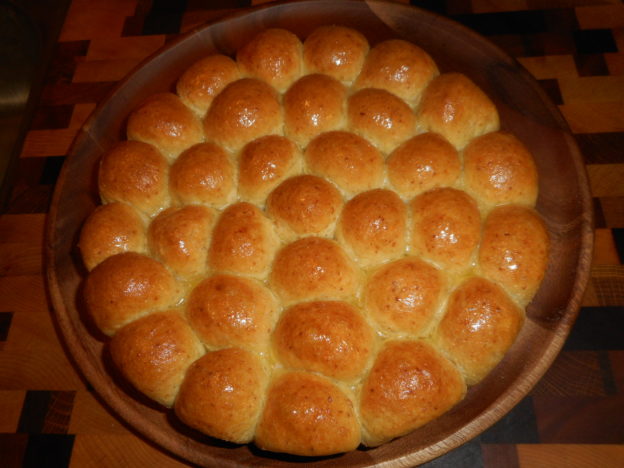
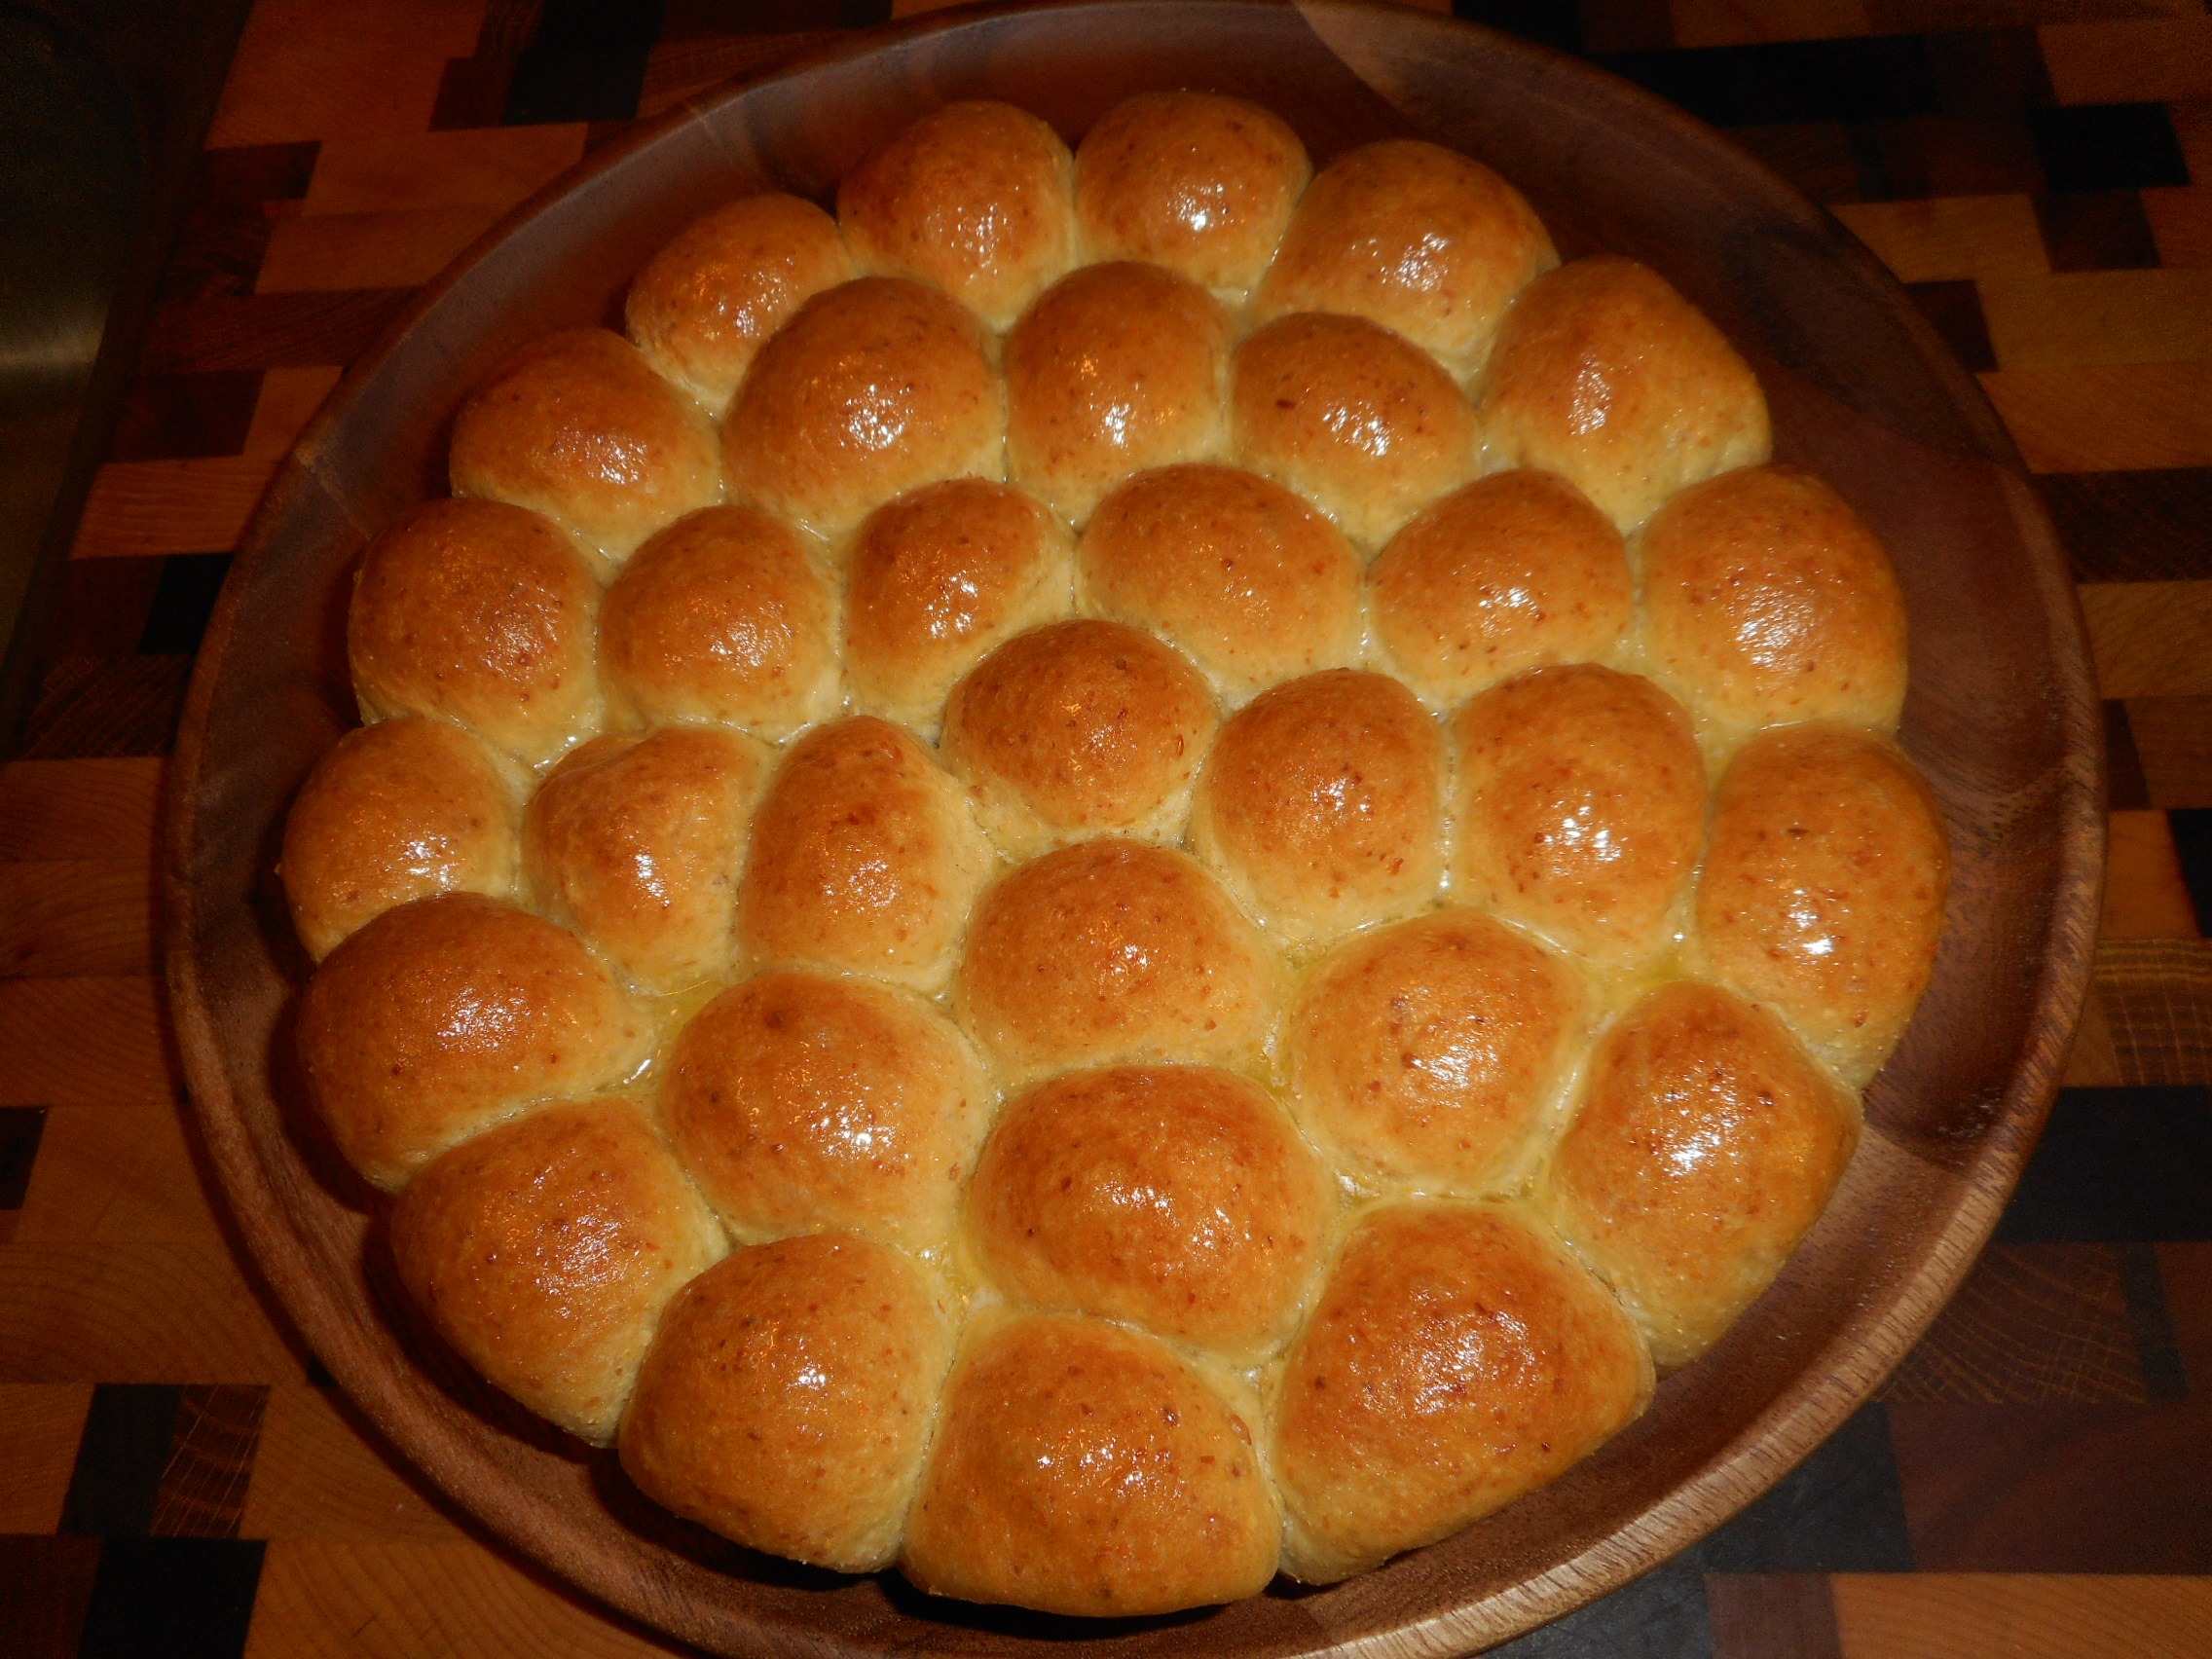
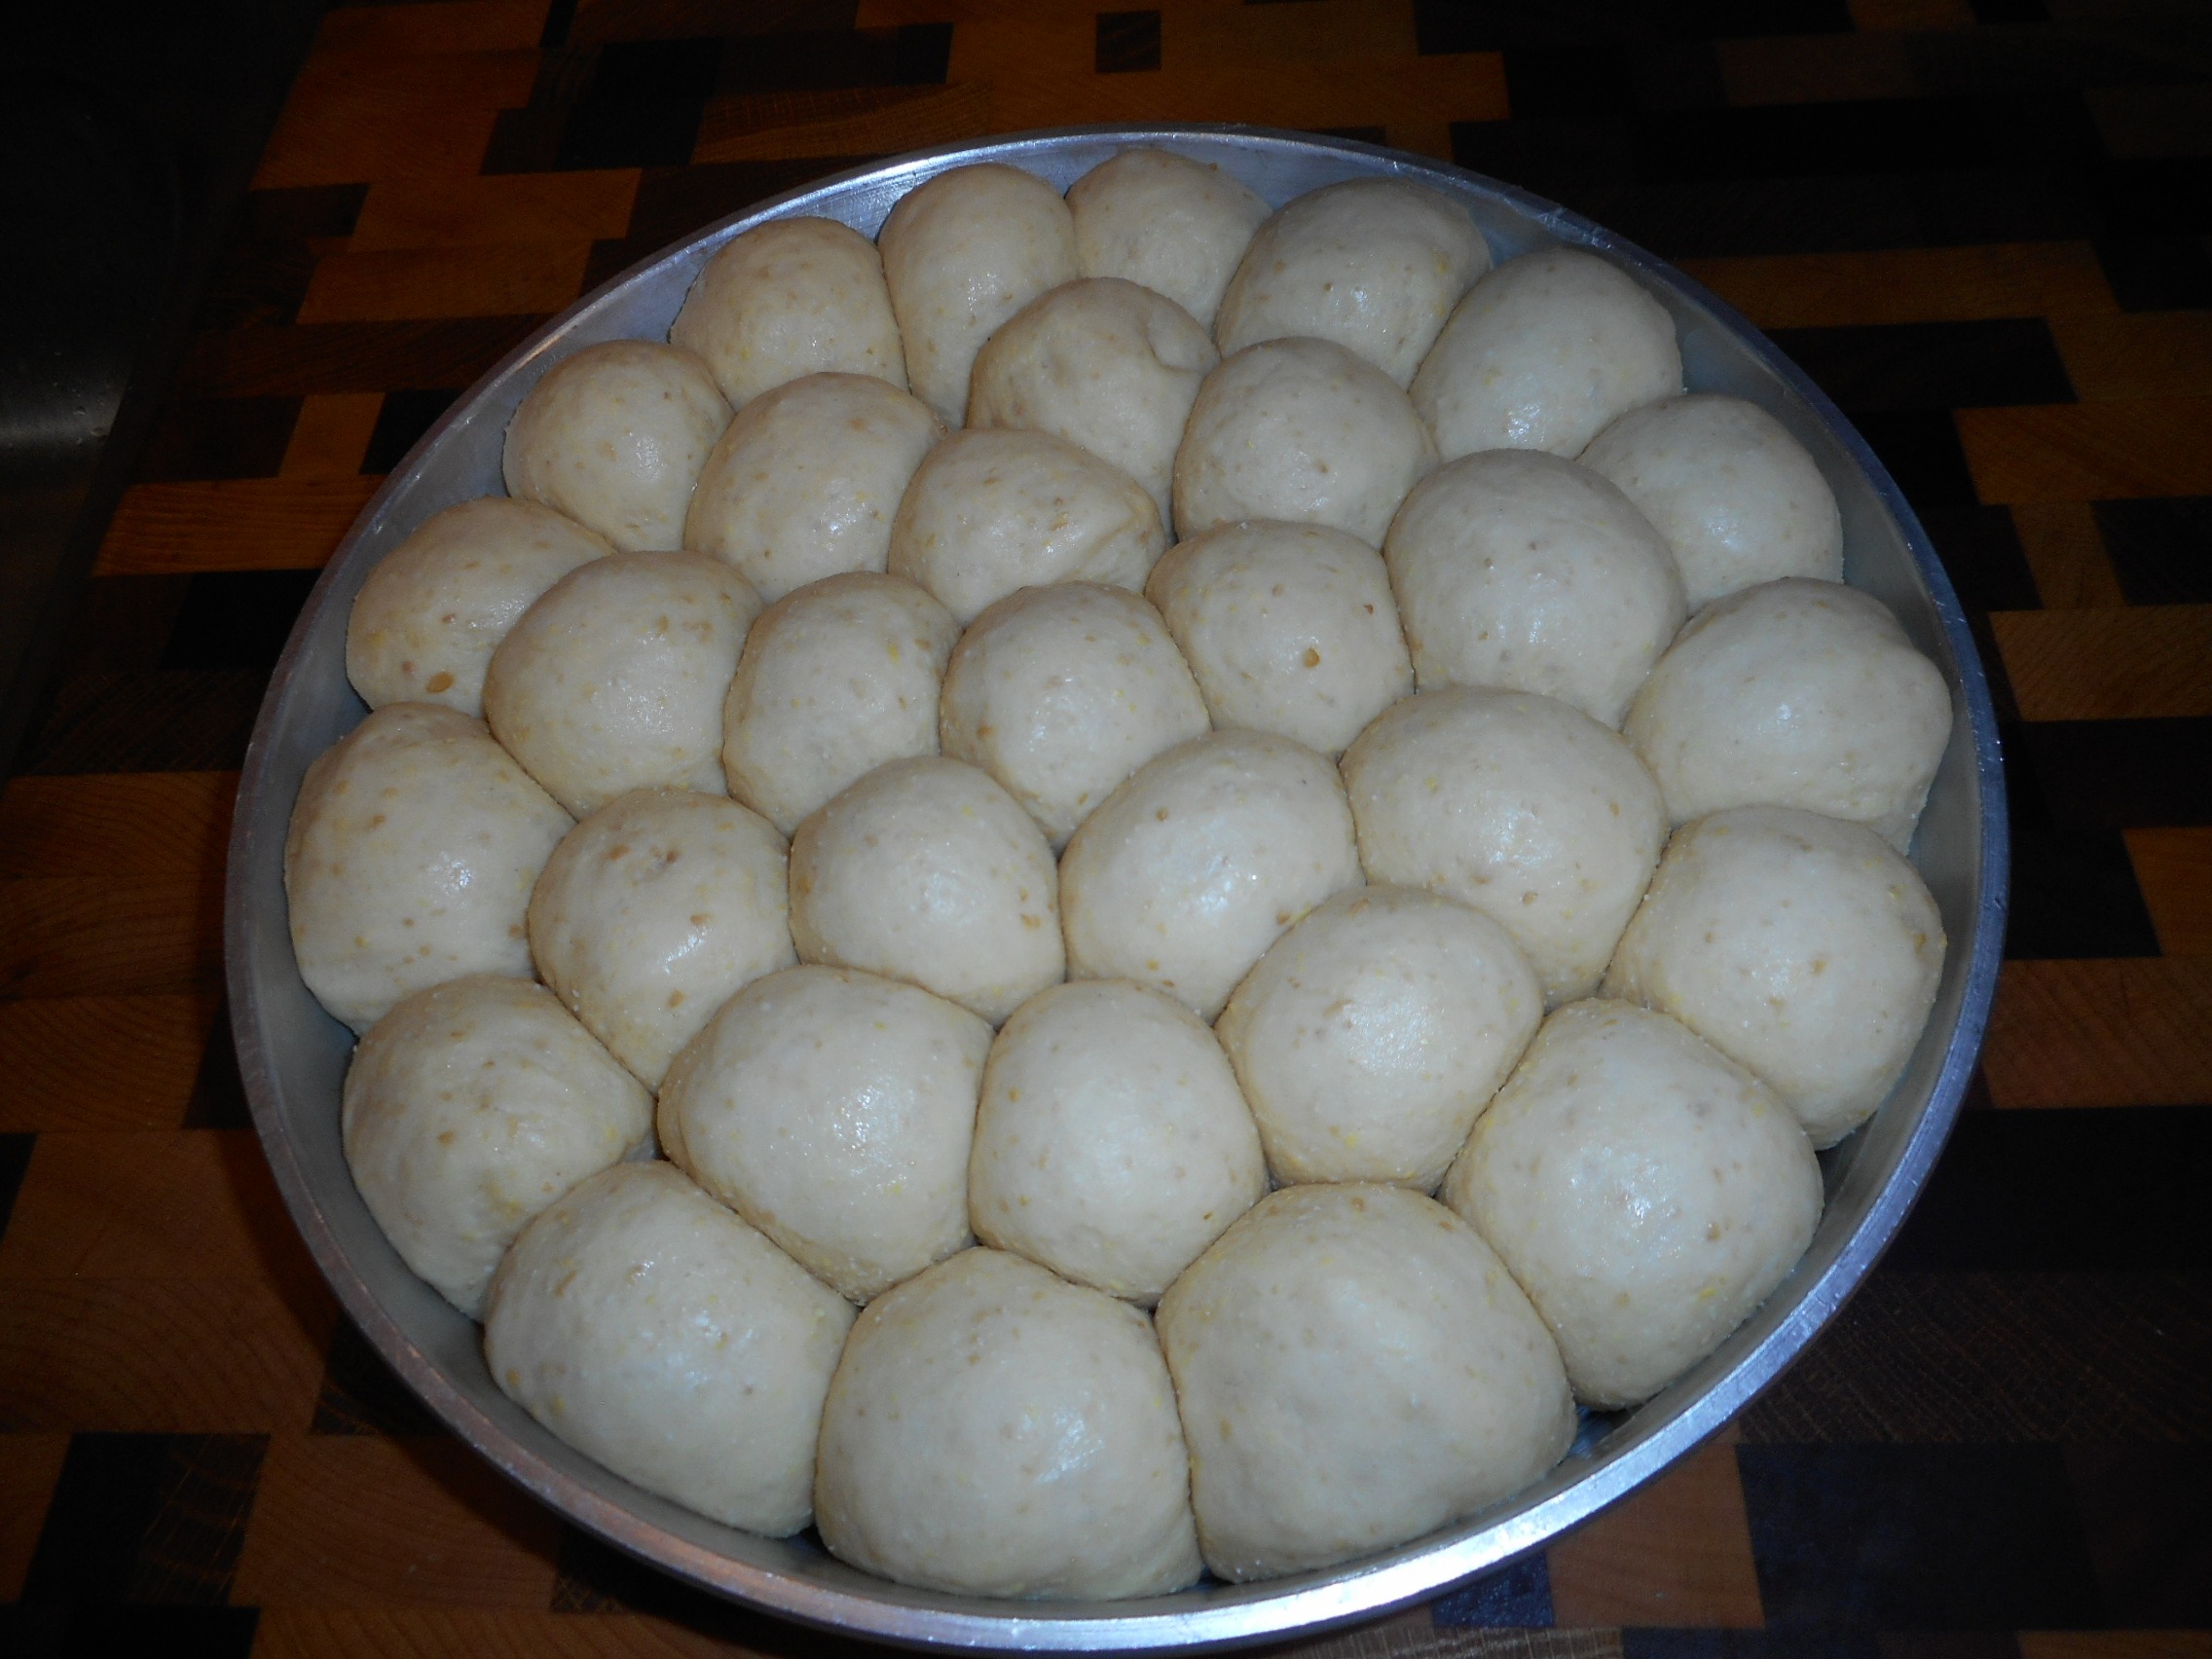
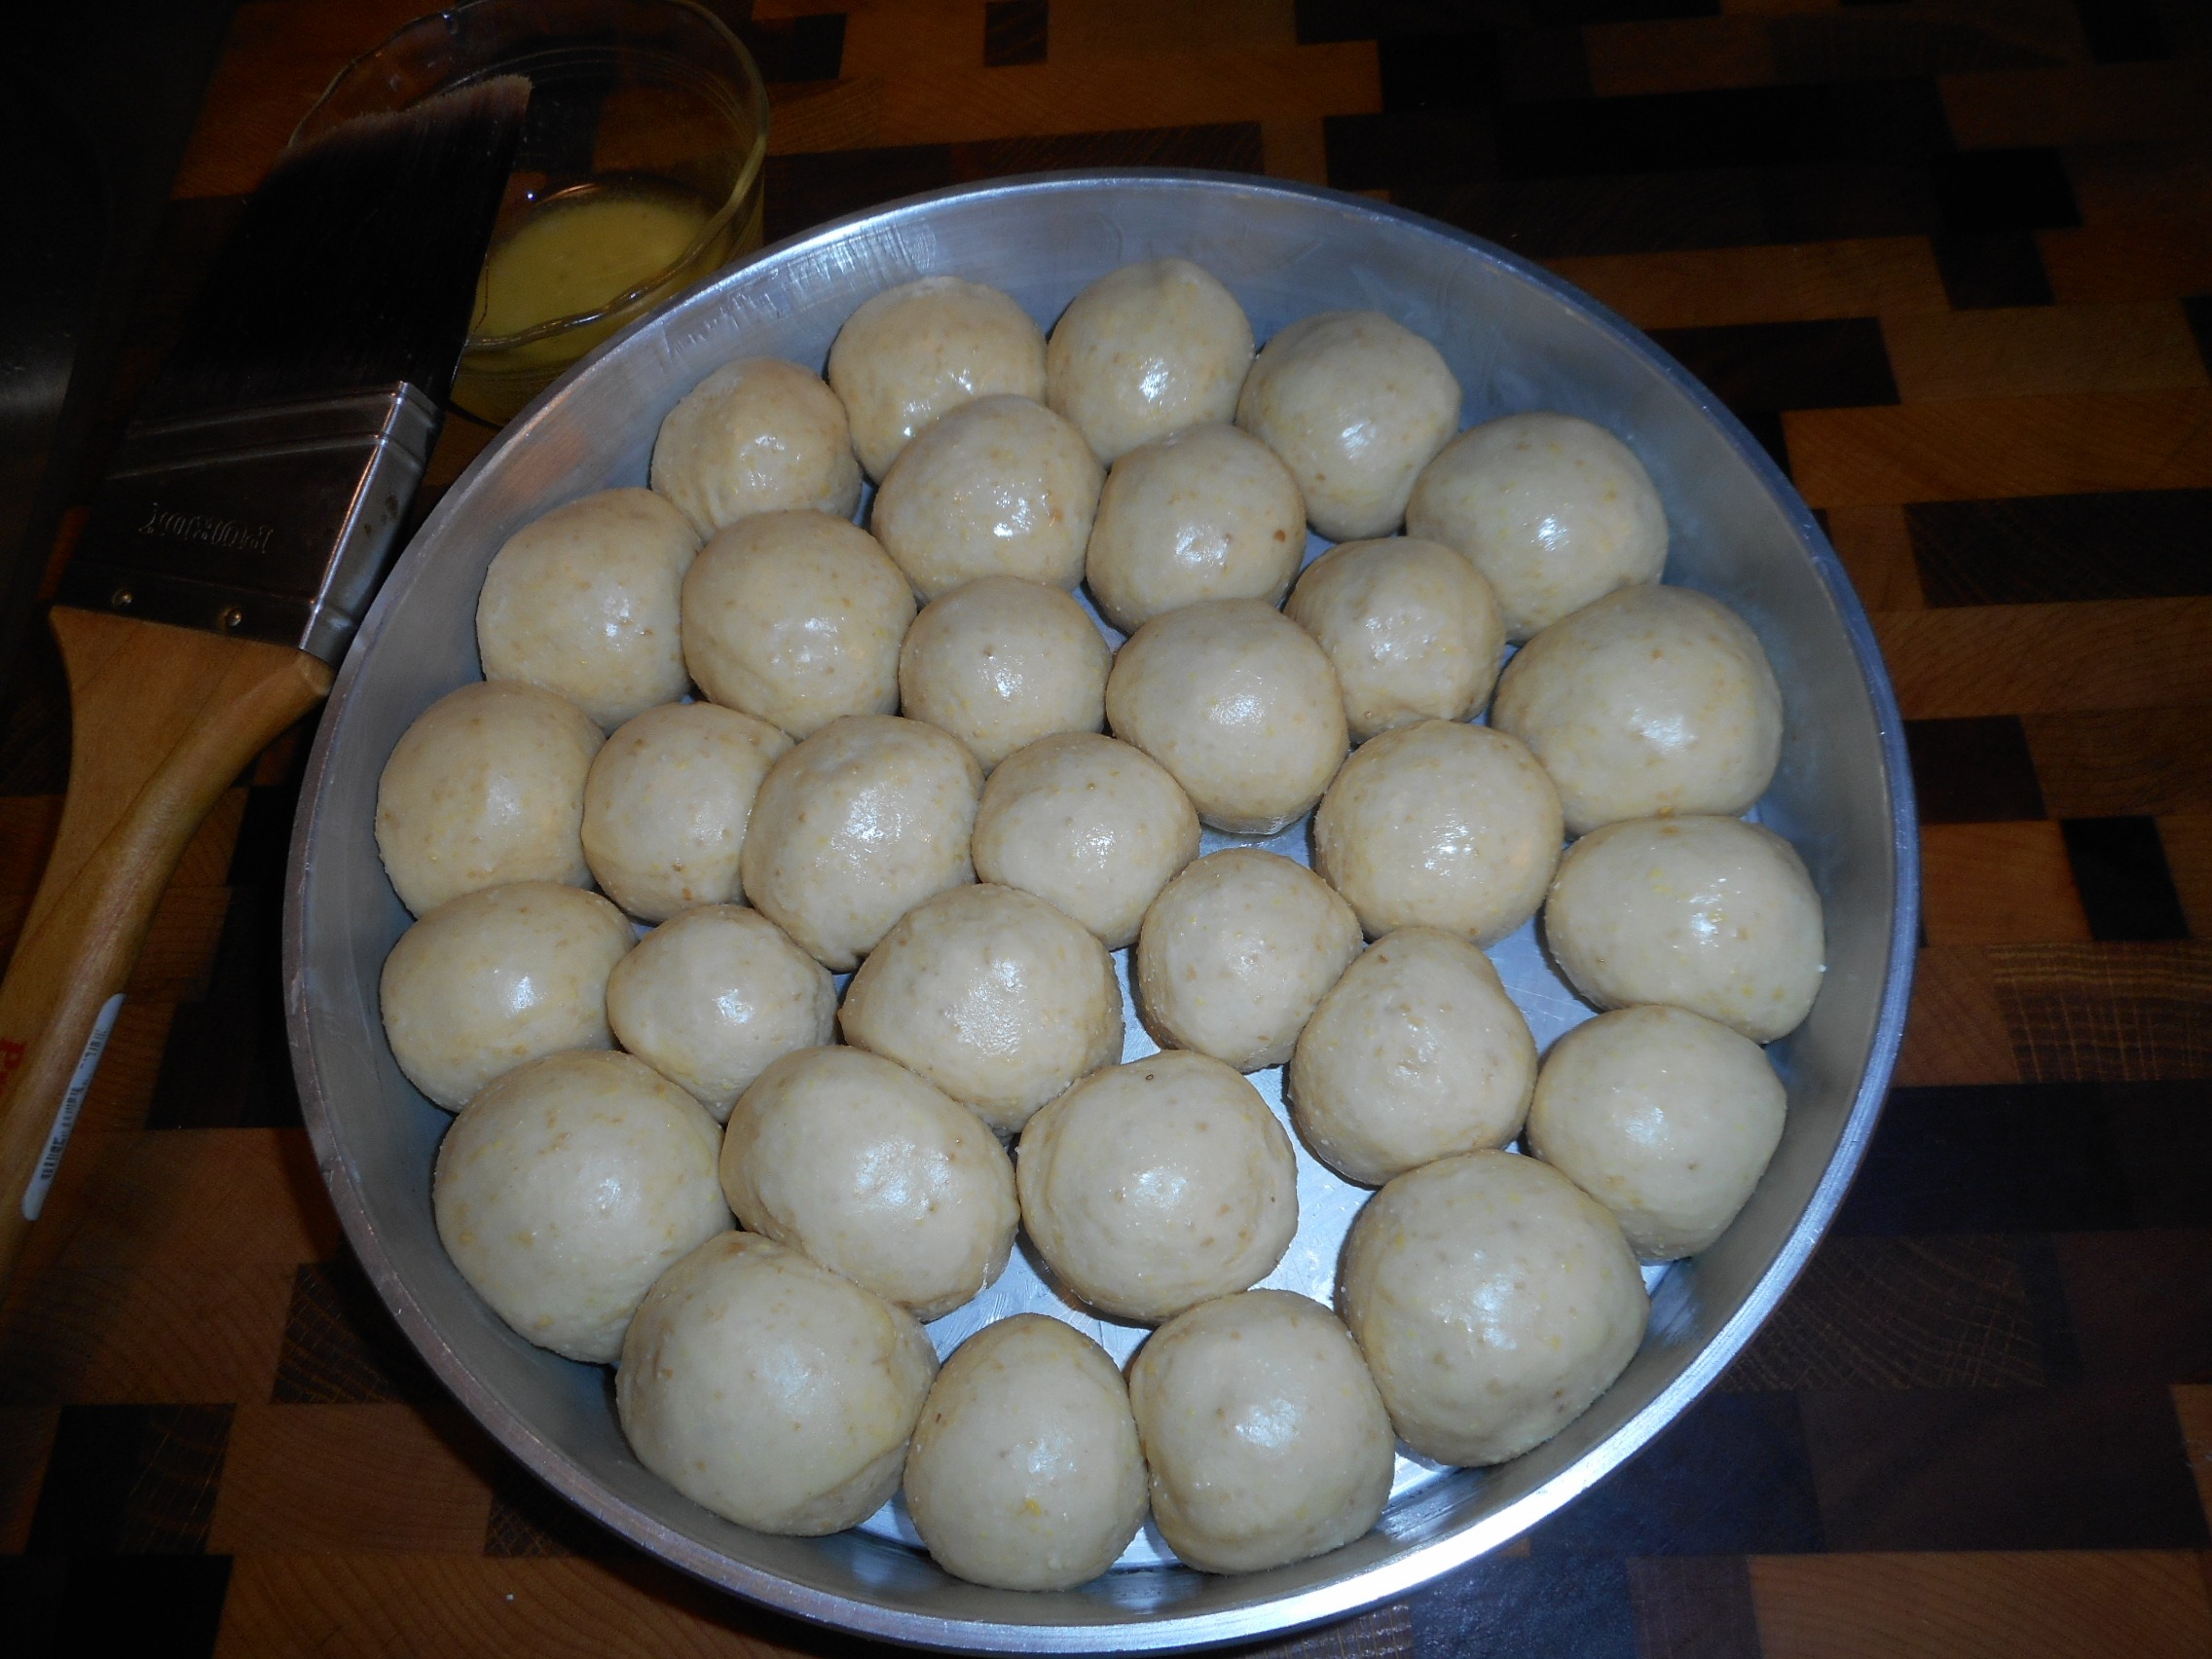
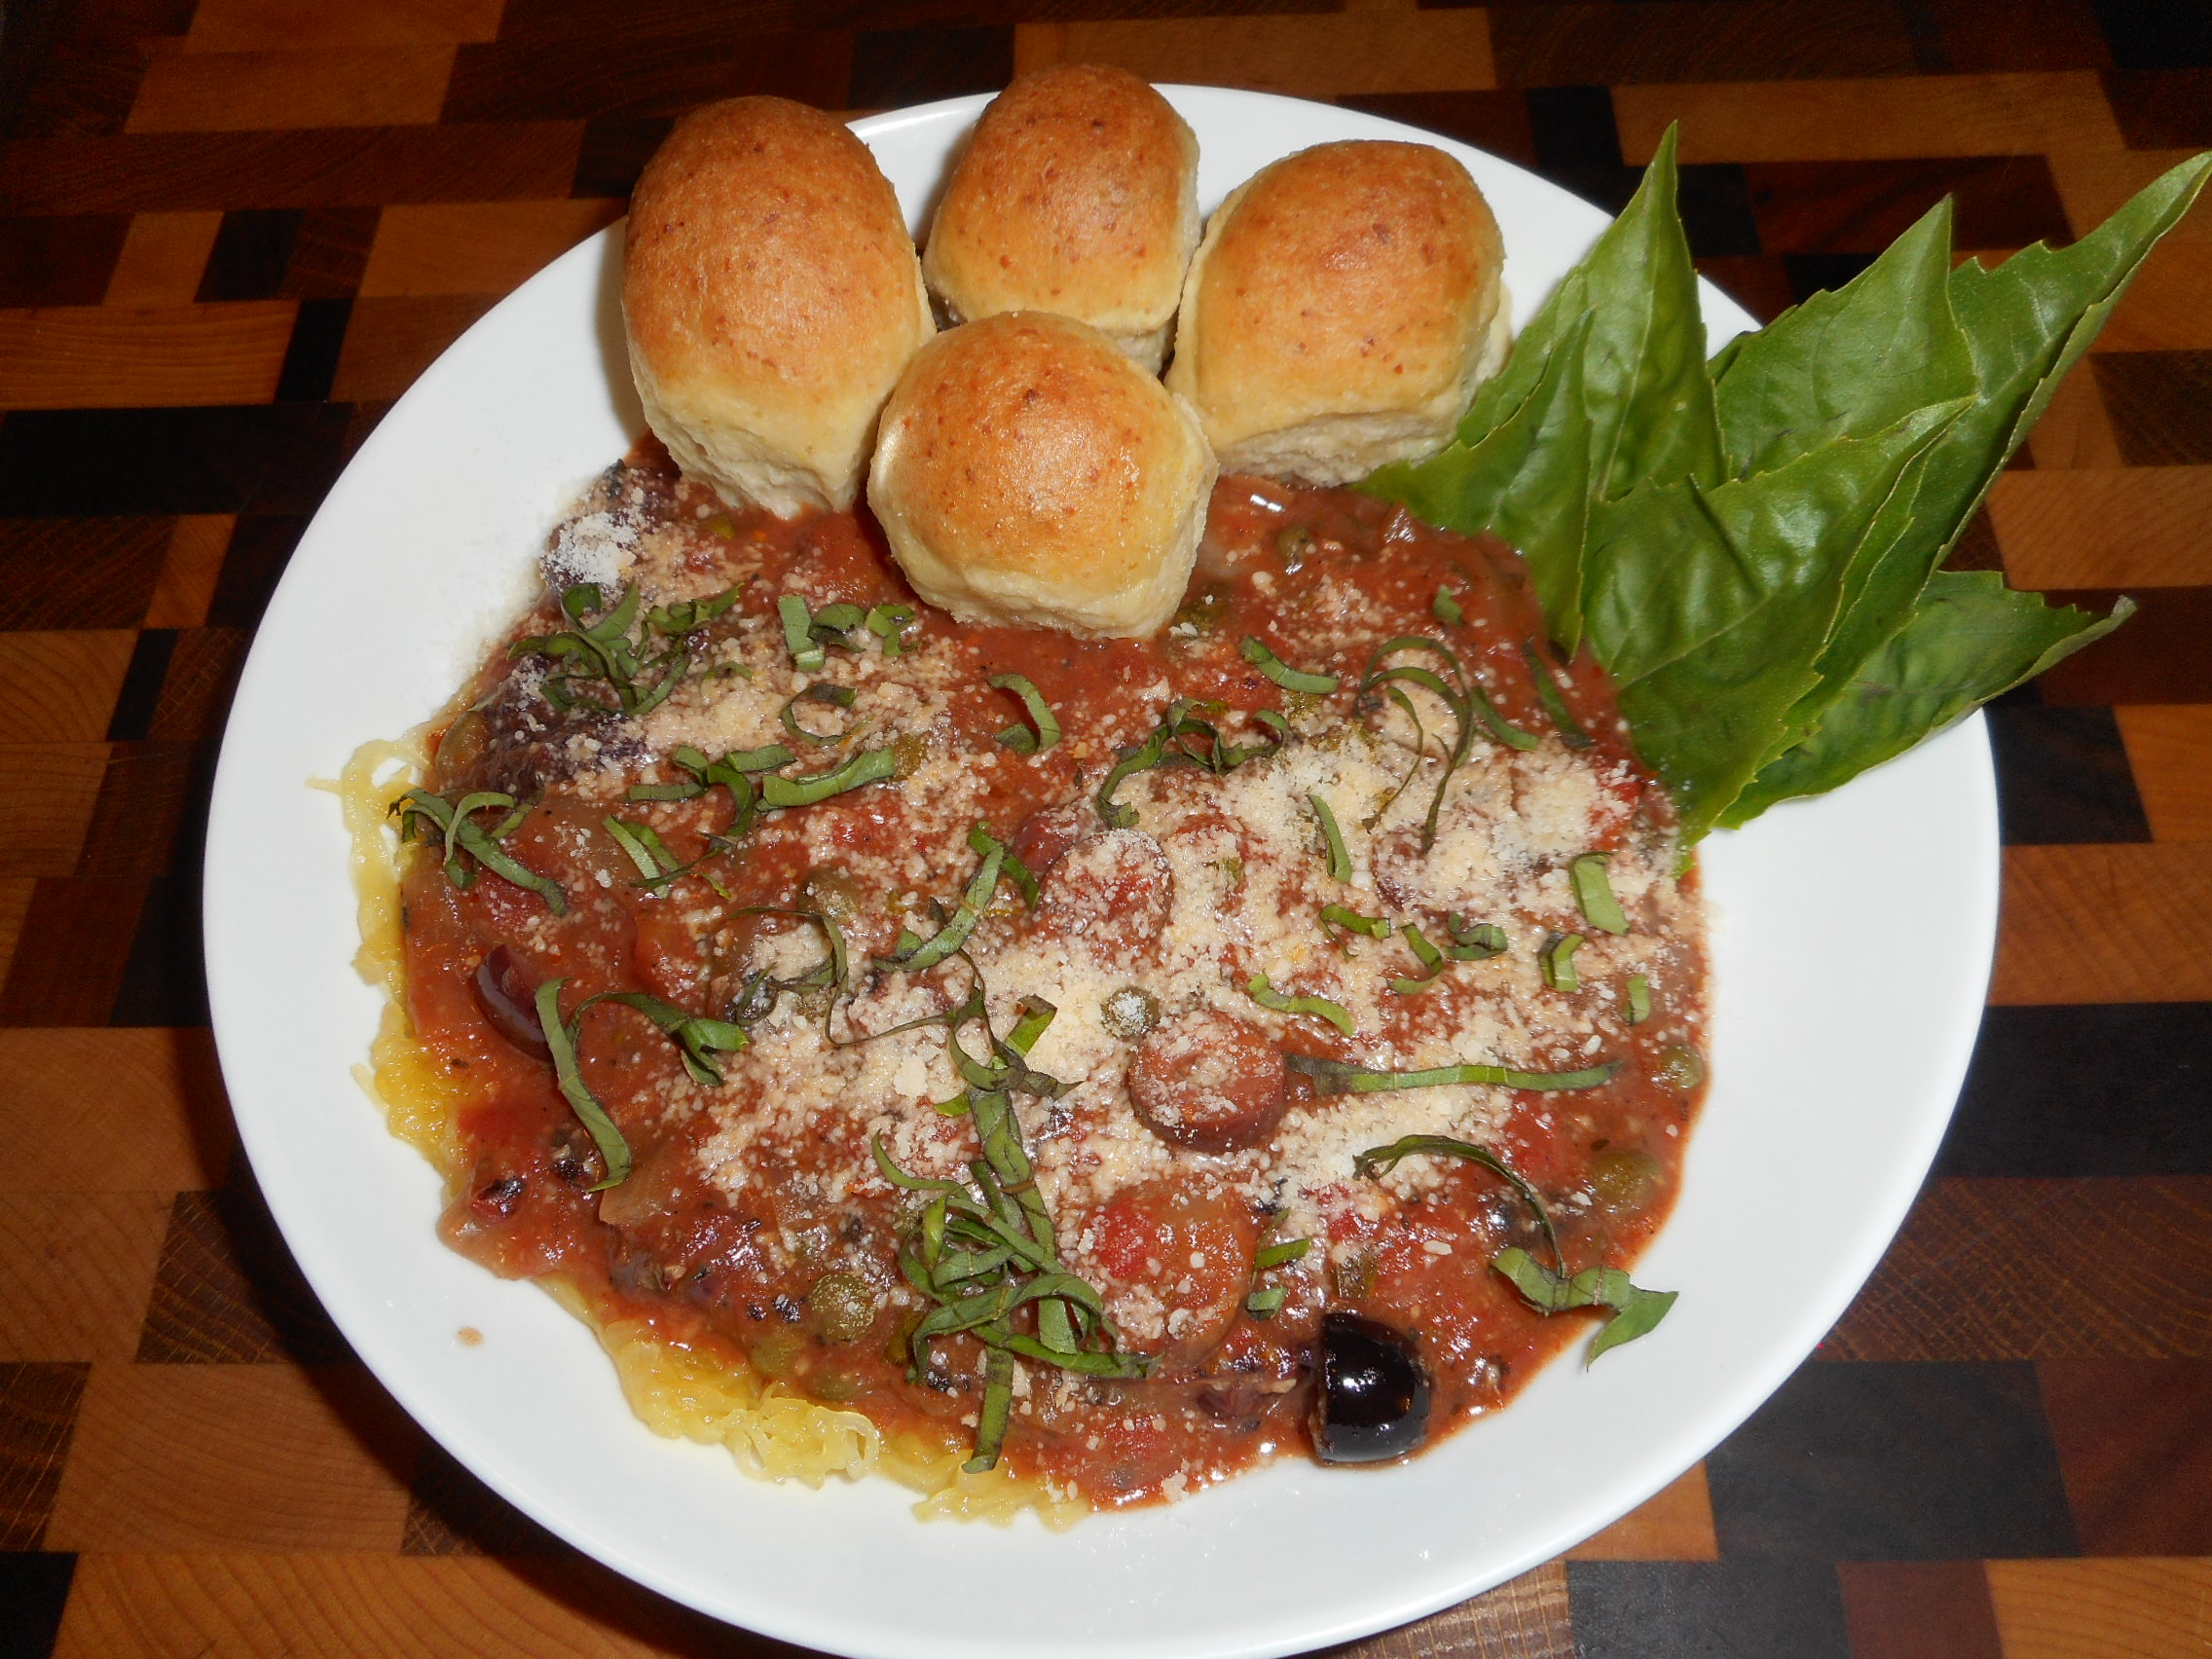
 Low Carb Mini Rolls. Seems kinda silly to do a recipe for these because I already have Keto Italian Bubble Bread but these are a bit different and oh so useful. There are still 32 lowcarb mini rolls but the taste is very different because of the lack of any spices or cheese in them. I have switched out olive oil for butter and added an egg. Believe it or not, every once in a while in the evening I nosh on these with butter and ham like a tiny 2-3 bite sandwich and they would be perfect for canapés or an Appetizer https://diabeticchefsrecipes.com/low-carb-appetizers/ and to serve as finger food at a party. Since I am by myself now I package 3-4 low carb mini rolls together, freeze them and use as needed/wanted. I have shown a picture of a full serving with Puttanesca Sauce served over Spaghetti Squash. Trust me these go well dipped into Spaghetti Sauce of any kind. Please, if you have never made rolls by hand do not try to compare your low carb mini rolls to mine. I have rolled thousands of them (larger of course) by hand and yours will be just as tasty even if they are not perfect. Just make sure to get the seams on the bottom and don’t be too concerned about the spacing because as you can see in the 2nd & 3rd picture they will fill the pan after rising.
For a list of products you may not be familiar with and used on this site, please read Low Carb Pantry Essentials. I am NOT sponsor-compensated for recommending a product that I use*** And here, in one tidy package, are over 550 Keto~Paleo~Low Carb~Diabetic Chef’s Recipes
As I am a Type II diabetic, all recipes on this website are keto or low carb and diabetic friendly.
- 1½ C Carbalose Flour***
- 2 T Coconut Flour
- 2 T Gluten
- ¼ t Salt
- ⅛ t Guar Gum
- ⅛ t Xanthan Gum
- 2 T Golden Flaxseed Meal
- 2 T Warm Water
- 2 T Melted Butter
- ½ C Warm Water + More As/If Needed 1 T At A Time
- 1½ T Yeast
- ½ t Sugar
- 1 Egg
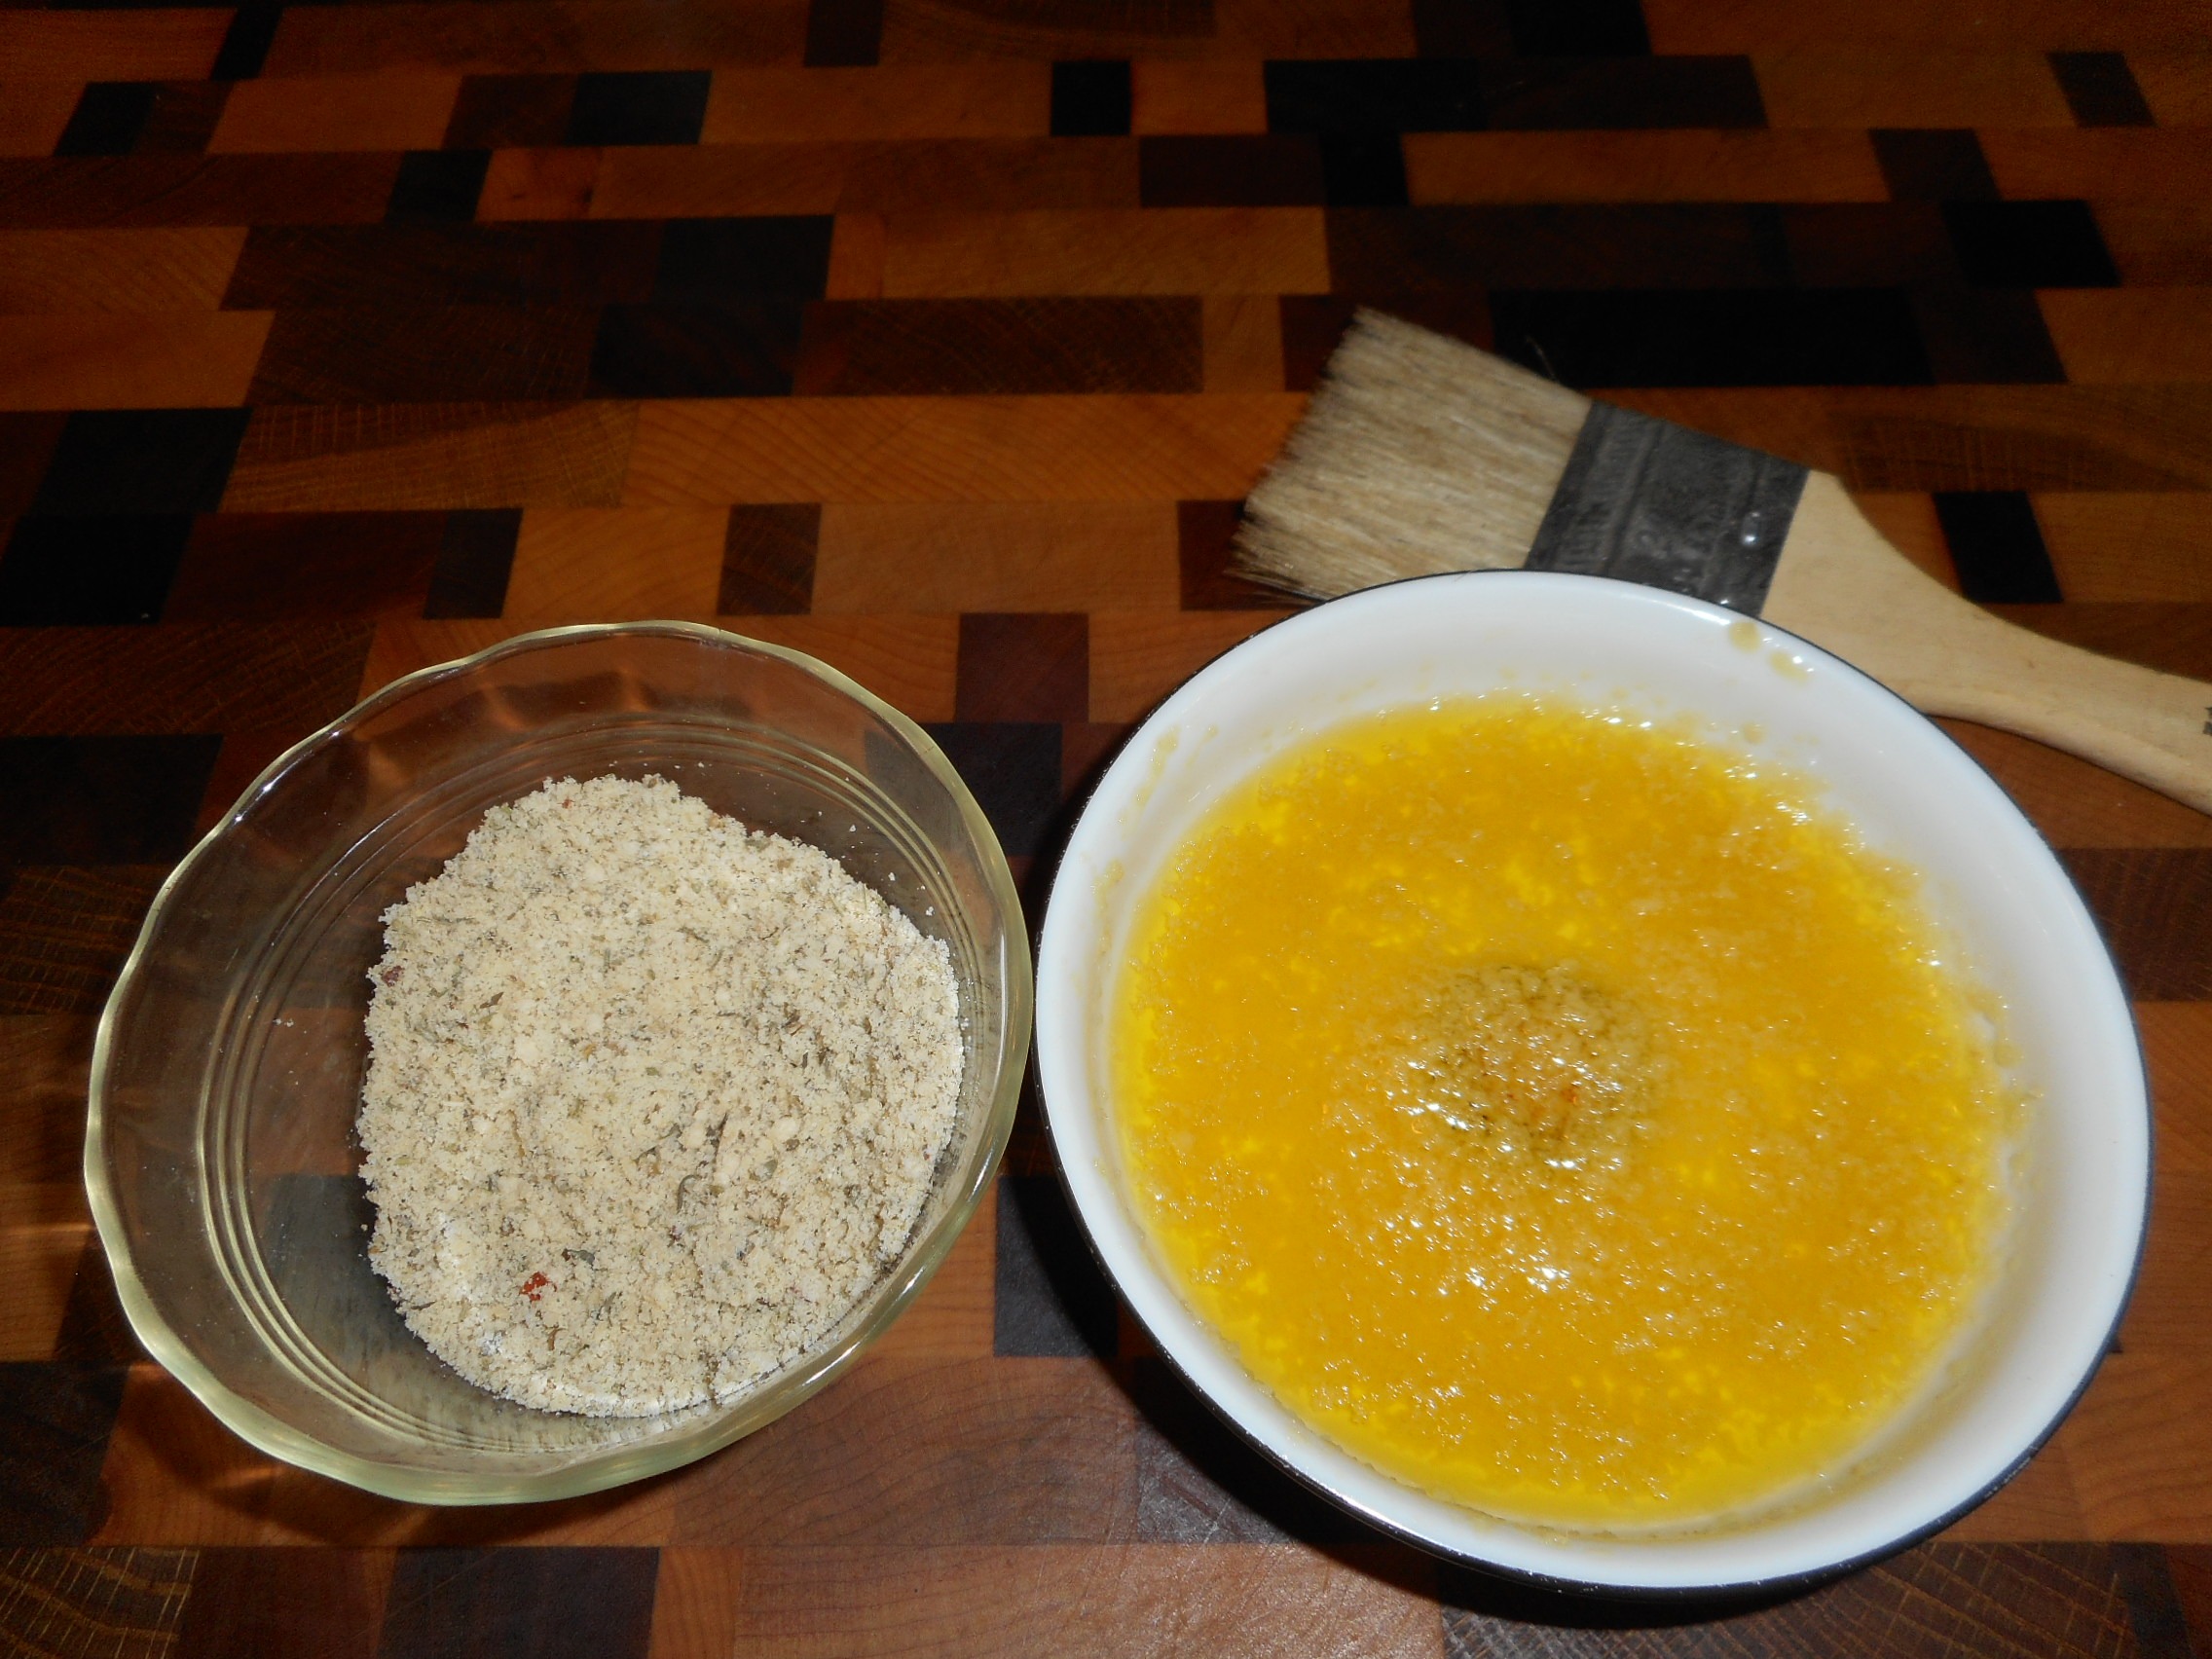
- 1 T Melted Butter Before Rising
- 1 T Melted Butter (For Finished Brushing)
- 1 t Butter (For Greasing Pan)
- Bloom yeast & sugar in ½ C warm water for 10 minutes or until foamy.
- Add flaxseed to 2 T warm water for 10 minutes. (It will become quite gelatinous)
- Put first 6 ingredients in processor and pulse to blend.
- Add flaxseed mixture to dry ingredients and pulse to blend.
- Add butter and egg to bloomed yeast, and with processor on, slowly add to dry ingredients and run for 1-2 minutes. If needed, add more water 1 T at a time.
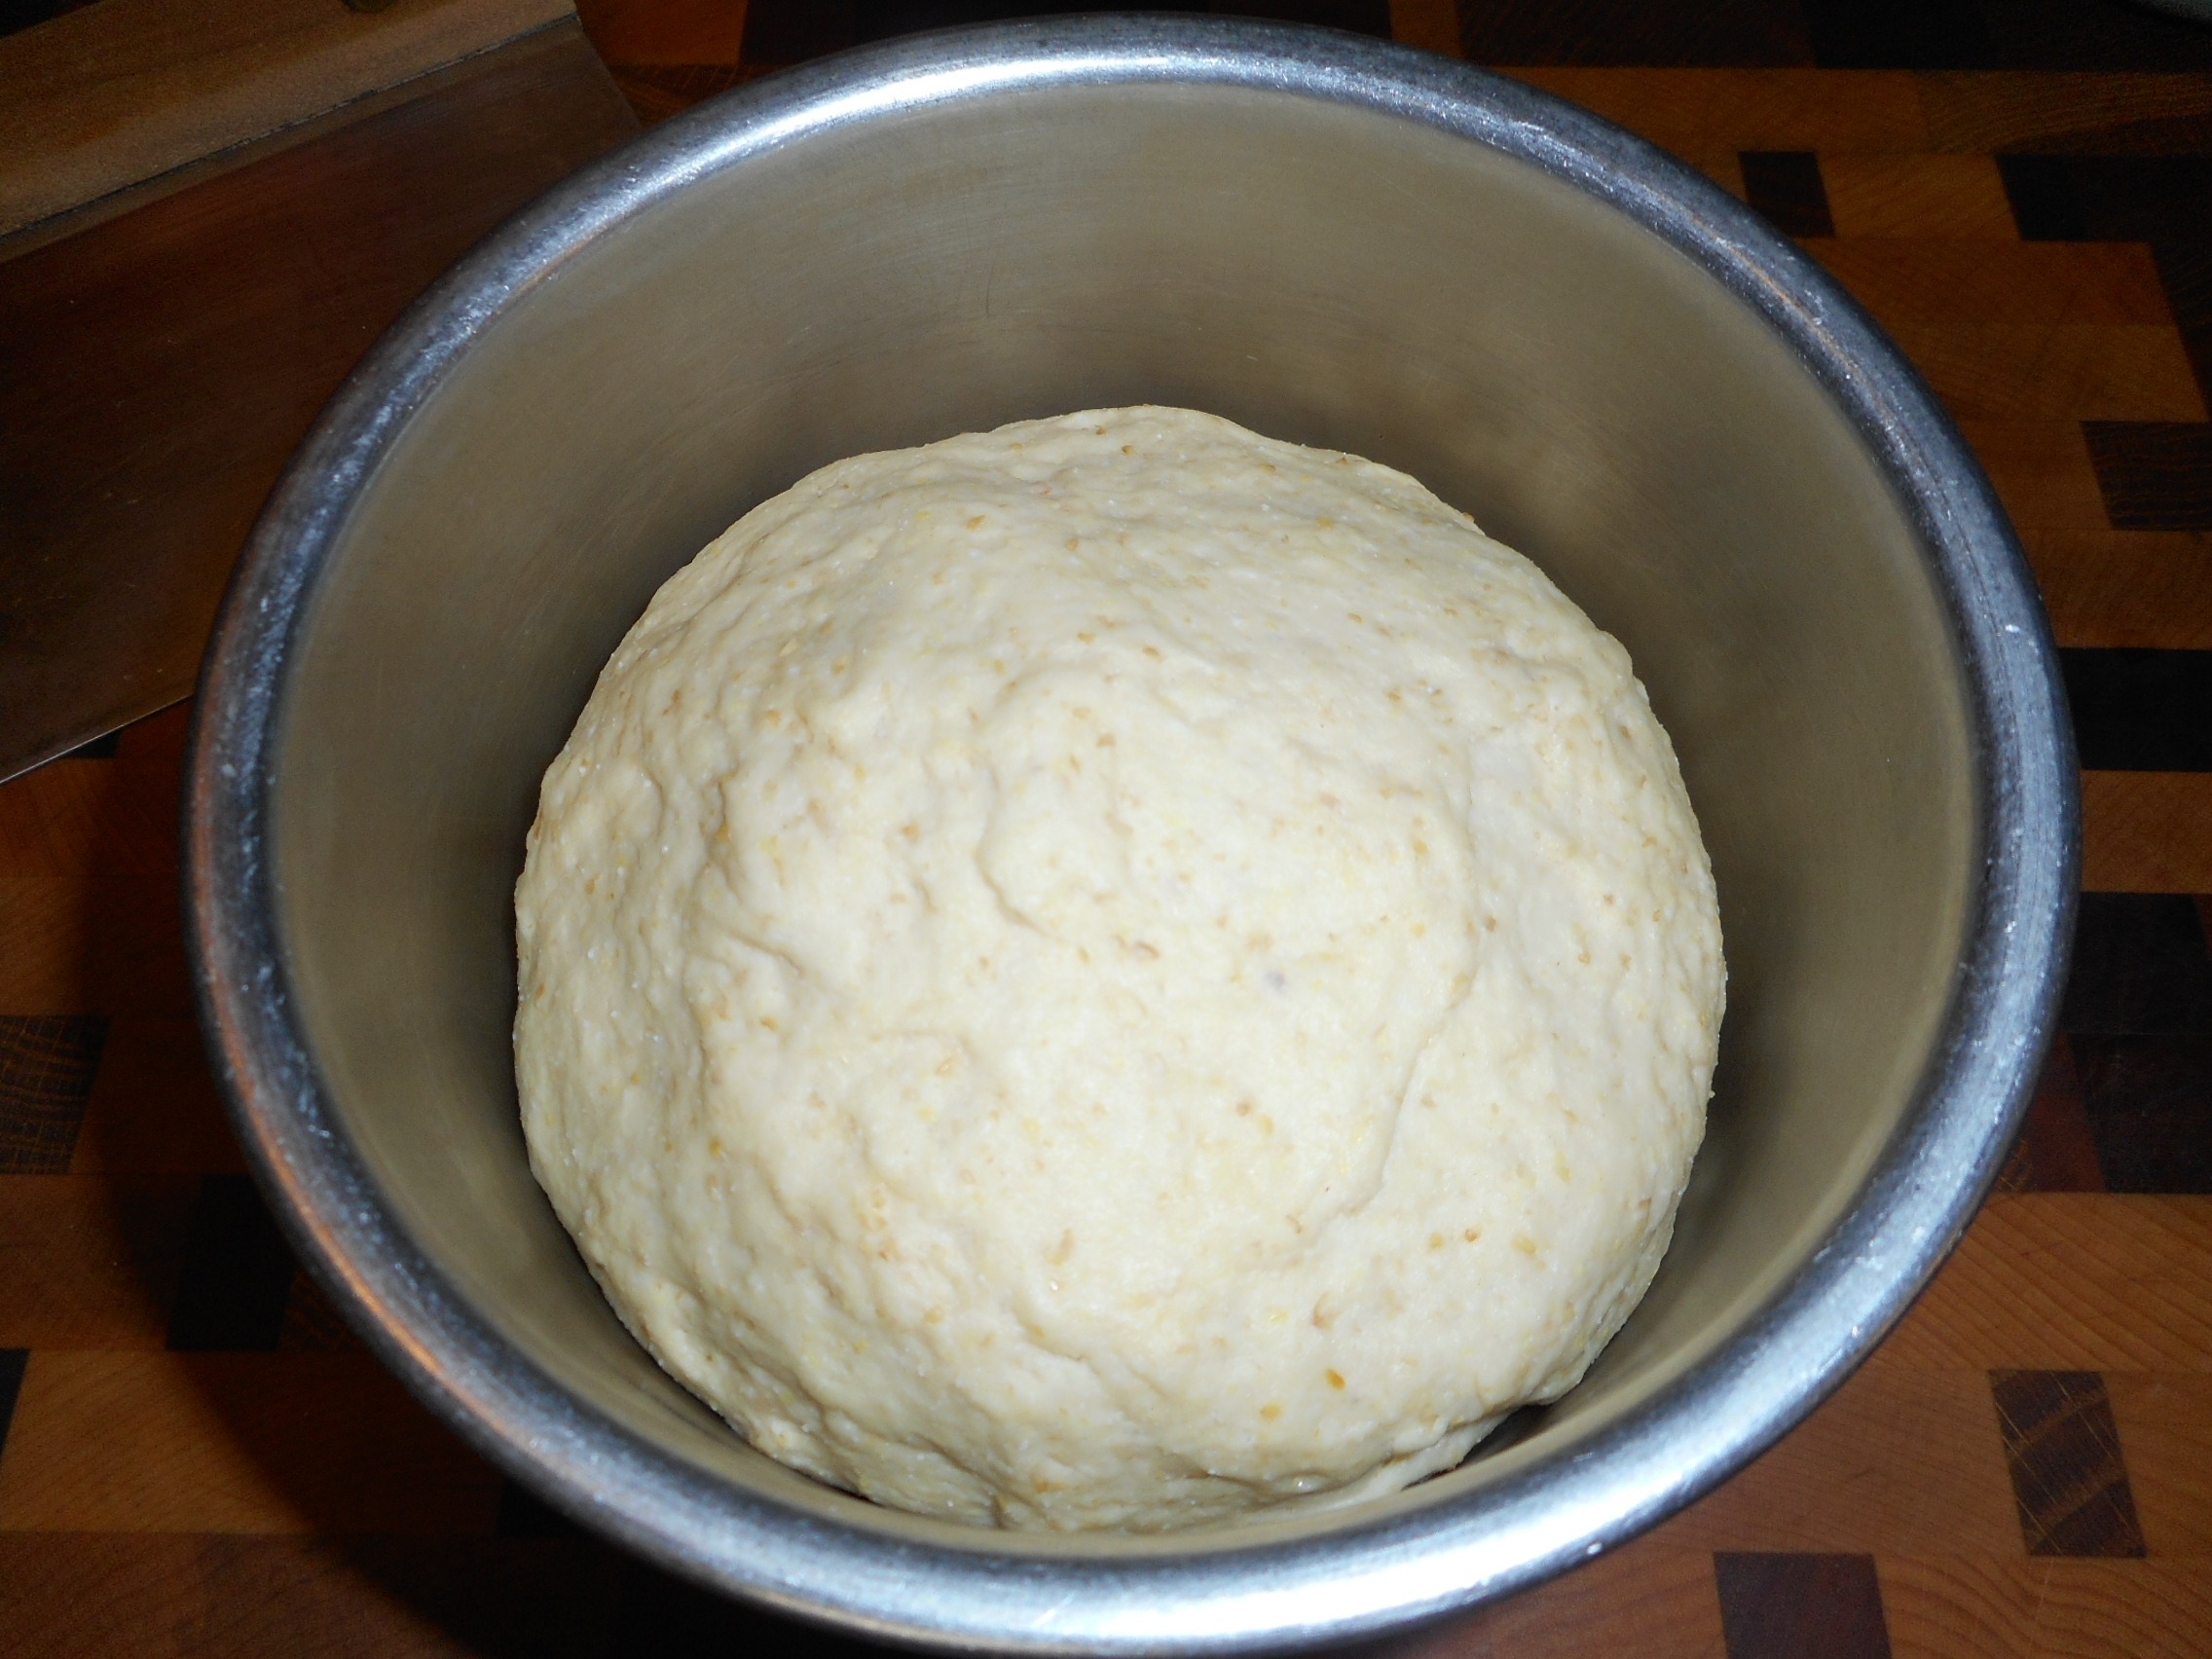
- You want to make sure there is enough water. Dough should hold together, have a loose consistency and should not be sticky on your hands. At this point the dough should have the same look and feel of regular bread dough.
- Form into a ball and put into un-greased bowl and cover with film for about 15-20 minutes or until less than doubled. If over-proofed, rolls will not rise well the second time.
- Preheat oven to 350°-360°.
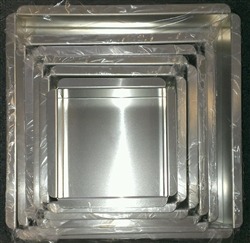
- Using either a 9” glass pie dish (easiest) or a 9” removable bottom cake pan (what I used) grease bottom and sides with 1 t butter.
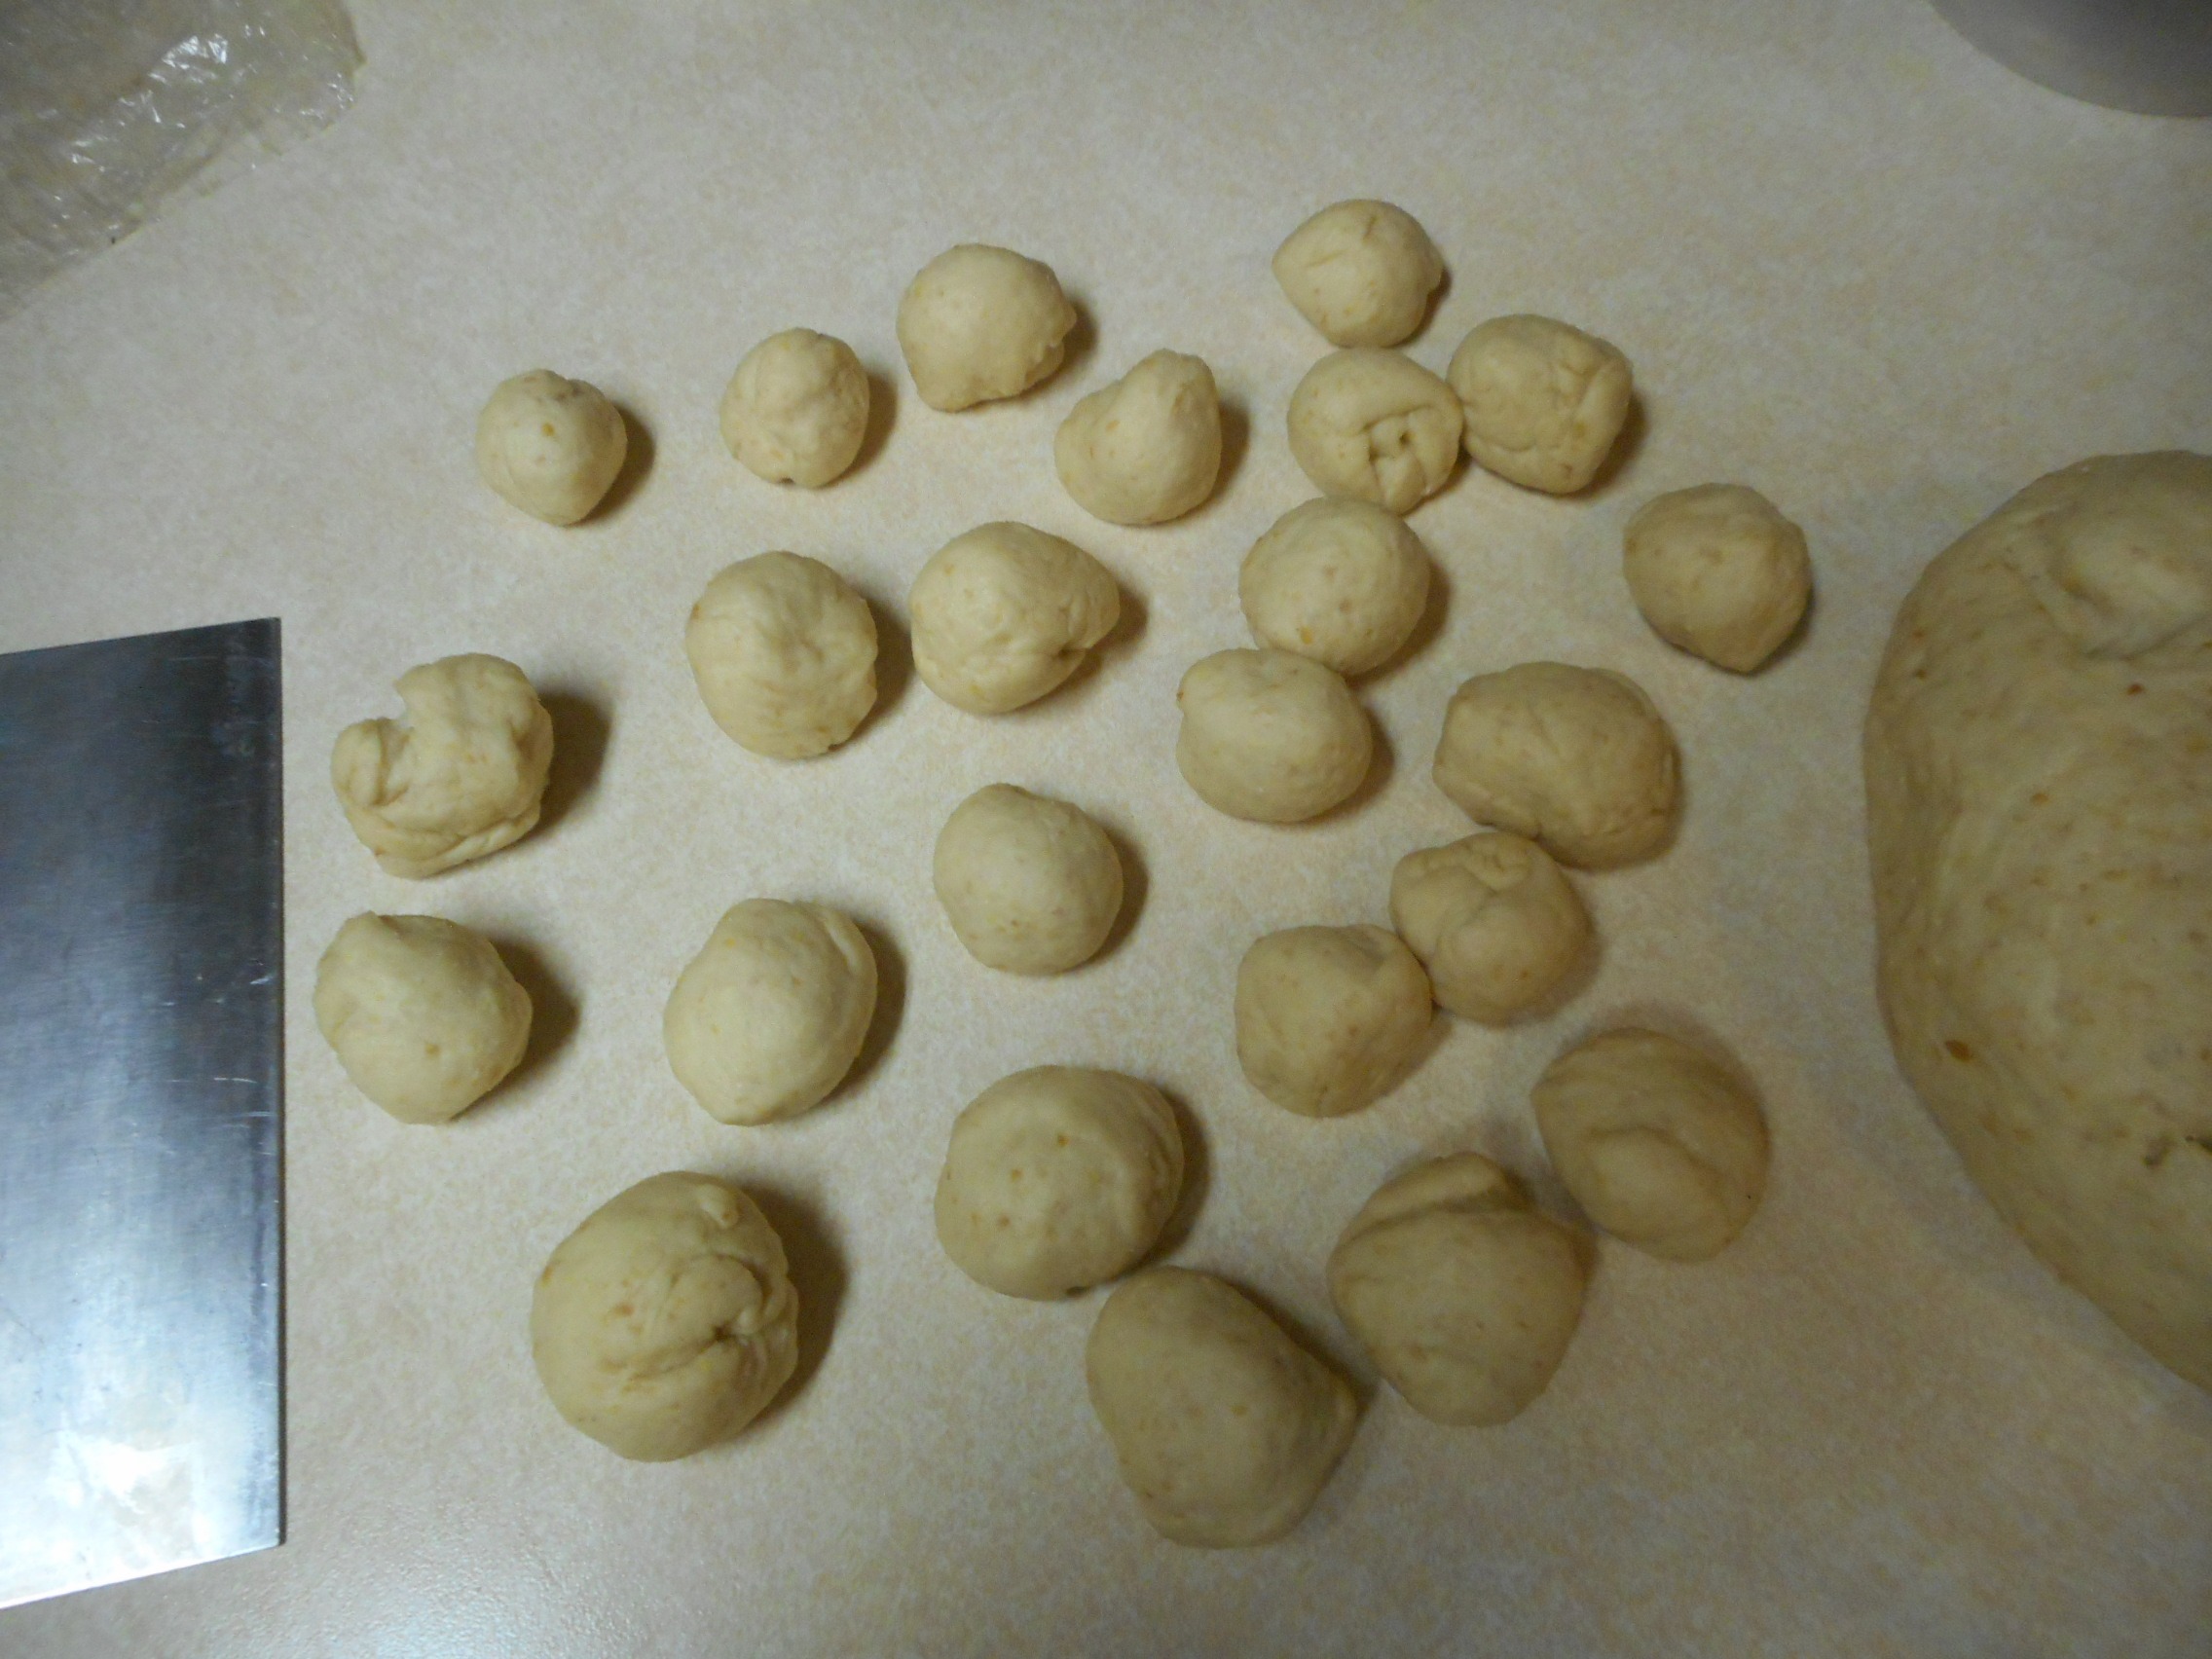
- Dump dough onto counter and gently knead to get rid of air bubbles.
- Divide dough into 4 quarters. Divide each quarter into 4 pieces and then the 16 pieces in half again for a total of 32 pieces.
- Quickly roll into small balls, place evenly in pan, brush with melted butter, cover, and allow to rise about 15-20 minutes. I did 16 around the exterior, then working in 10, then 5 and 1 in the center.
- Bake 20-25 minutes and slide onto serving platter.
- Servings 1 Each
- 28 Calories, 2.0g Protein, 1.6g Fat, 2.8g Carbs, 1.7g Fiber, 1.1g Net Carbs
- 8 Servings 4 Each
- 111 Calories, 8.2g Protein, 6.3g Fat, 11.2g Carbs, 6.7g Fiber, 4.5g Net Carbs
- If serving the whole pan of rolls immediately, brush with additional 1 T melted butter.
- I have given you 2 sets of nutritionals.
- 3-4 Rolls or 1 Roll Each to be determined by how many you eat.